The core move is simple: turn off data roaming on your home line before you fly, then get your data from Wi-Fi, a travel eSIM, or a local prepaid SIM. That is how to use a phone for travel without roaming charges, and the setup takes about twenty minutes on a calm evening before departure. One thing most guides skip: incoming calls and texts can still be billed while you are abroad, so switching the home line off entirely or routing it through Wi-Fi calling is the safer version of the plan.
Your phone attaches itself to whatever network it finds in the country you land in. Because your plan only covers your home network, the foreign carrier sends the usage back to your carrier, and your carrier applies a roaming rate on top. Those rates have historically run at a multiple of domestic data pricing, and the multipliers have climbed over the years rather than fallen. The result is the classic travel bill shock, discovered weeks later on a statement you did not know was coming.
There are four workable ways to stay connected abroad, and they cost wildly different amounts: airplane mode plus Wi-Fi, a travel eSIM, a local prepaid SIM, or an international pass from your home carrier. The steps below walk through all four, plus the settings that stop the expensive path from ever opening.
Table of Contents›
- What You Need
- Step-by-Step: How to Use a Phone for Travel Without Roaming Charges
- Step 1: Check whether your phone is carrier-unlocked
- Step 2: Choose a local SIM or travel eSIM to use a phone for travel without roaming charges
- Step 3: Install and activate the SIM or eSIM before departure
- Step 4: Disable data roaming and confirm cellular settings
- Step 5: Set up Wi-Fi calling, messaging, and app access
- Step 6: Control apps, background data, and hotspot use
- Step 7: Test the setup and take action at the airport
- Common Mistakes
- Roaming was still on because you changed the wrong toggle
- An old travel eSIM is still installed and still switched on
- Using a physical SIM without switching the digital line off
- Assuming disabling data roaming disables Wi-Fi
- Activating a plan too late
- Running past the data allowance
- Frequently Asked Questions
- Does airplane mode stop roaming charges on its own?
- Can I use Wi-Fi calling without international roaming?
- Does my phone have to be unlocked to use a travel eSIM?
- What happens if my phone has both a physical SIM and an eSIM?
- Can I send text messages while using a travel eSIM?
- Conclusion: What to Do First
What You Need
Everything below depends on having the right pieces ready before you leave the house, not at the airport counter.
- An unlocked phone. A phone tied to a carrier’s network by a payment agreement or an outstanding device balance may refuse a different SIM or eSIM entirely. Ask your carrier whether the device is carrier-unlocked, and what the outstanding balance is, before you buy anything.
- Access to your carrier account. You will want the app or the account login, plus the account PIN or the passcode a support agent asks for. Wi-Fi calling usually has to be switched on by your carrier as well as by you.
- Your carrier passcode or account PIN. If something is wrong at the airport, this is what a support agent will ask for. Write it on paper and keep it with your travel documents.
- Photo identification. Buying a prepaid SIM in person almost always requires one, and some countries require the passport itself, not a photocopy.
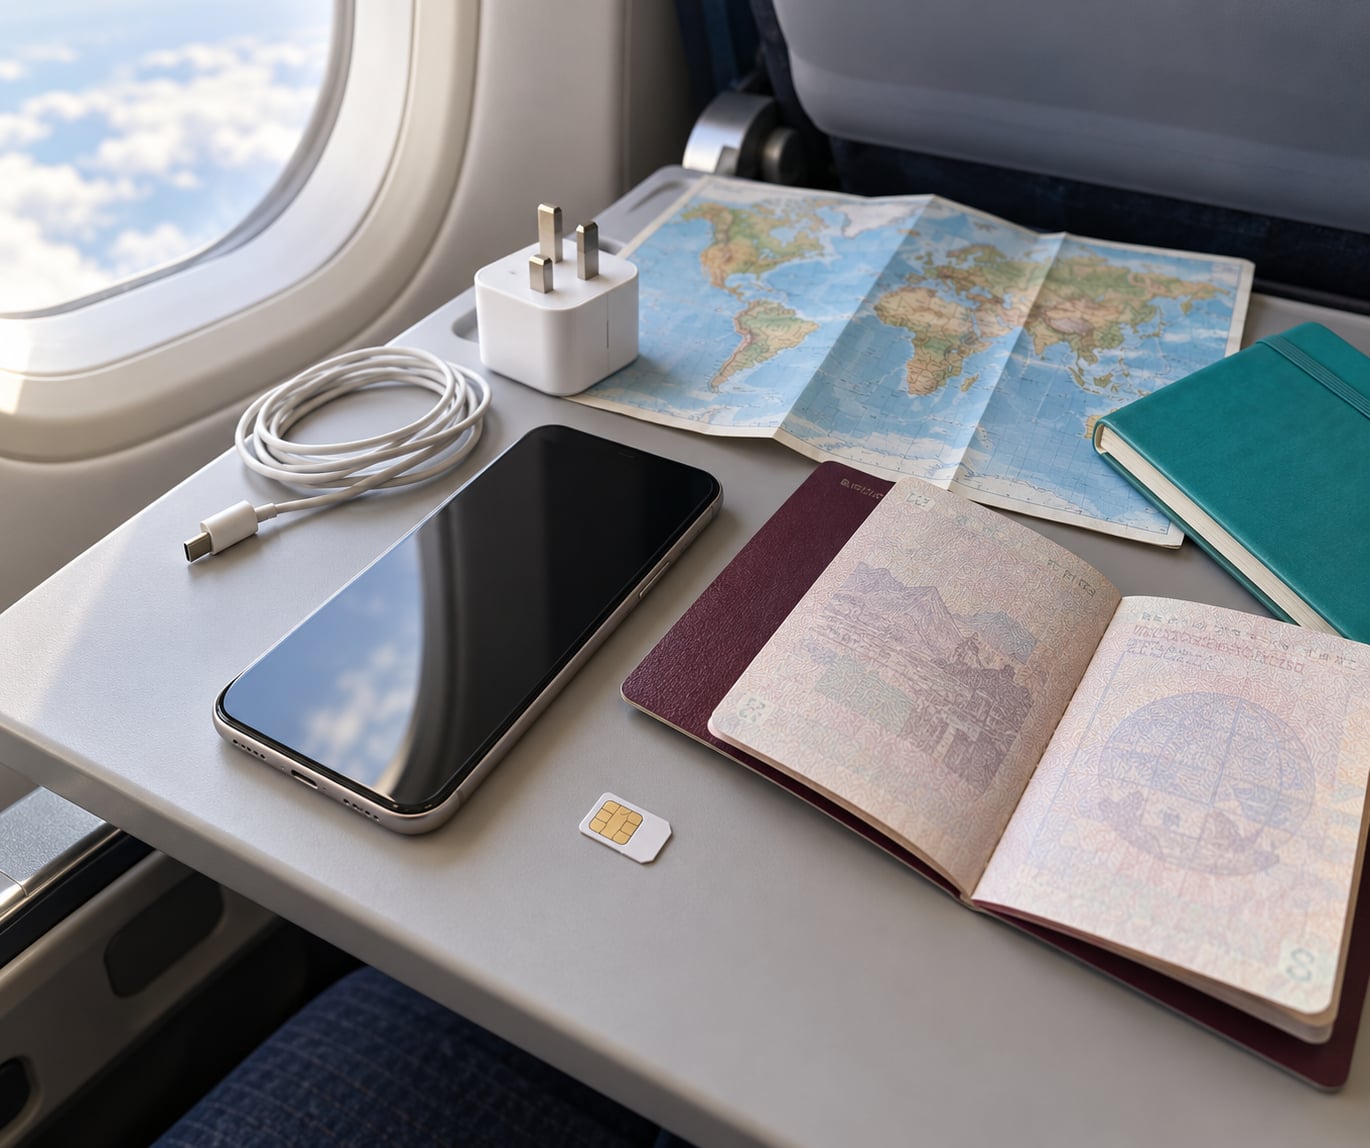
- A charger, a charging cable, and a plug adapter. A flat battery is how travelers end up paying carrier prices for connectivity out of desperation.
- A local SIM card or a travel eSIM. One of the two, not both. Decide which one before departure using Step 2.
- An unlocked eSIM-capable phone, if you are going the eSIM route. Many budget and older phones have no eSIM hardware at all, and some carrier-locked variants sold in certain markets cannot install a travel profile.
Optional but worth having: Wi-Fi calling turned on before you fly, offline maps downloaded for your destination, and your airline’s app with the boarding pass already saved to the wallet.
Step-by-Step: How to Use a Phone for Travel Without Roaming Charges
Start about three days out so a carrier support call or a replacement eSIM still fits inside your window. Each step ends with a signal that tells you it worked, because every one of these menus has moved at least once in the last few years.
Step 1: Check whether your phone is carrier-unlocked
Ask your current carrier directly whether the device is carrier-unlocked and whether it is fully paid off. That one phone call removes the most common reason a travel eSIM fails on arrival, and it costs nothing. Your carrier can also confirm which network bands and technologies your model supports, which matters more in some countries than others.
Here is the trap people fall into. An active cellular plan is not the same as a carrier-unlocked device. You can have a perfectly good line with a monthly bill and still be unable to drop in a local SIM, because the device itself is locked until the balance is clear. Confirm the device, not the line.
How to tell it worked: your carrier confirms the device is unlocked and free of an outstanding balance, or tells you exactly what is owed and whether paying it releases the lock.
Step 2: Choose a local SIM or travel eSIM to use a phone for travel without roaming charges
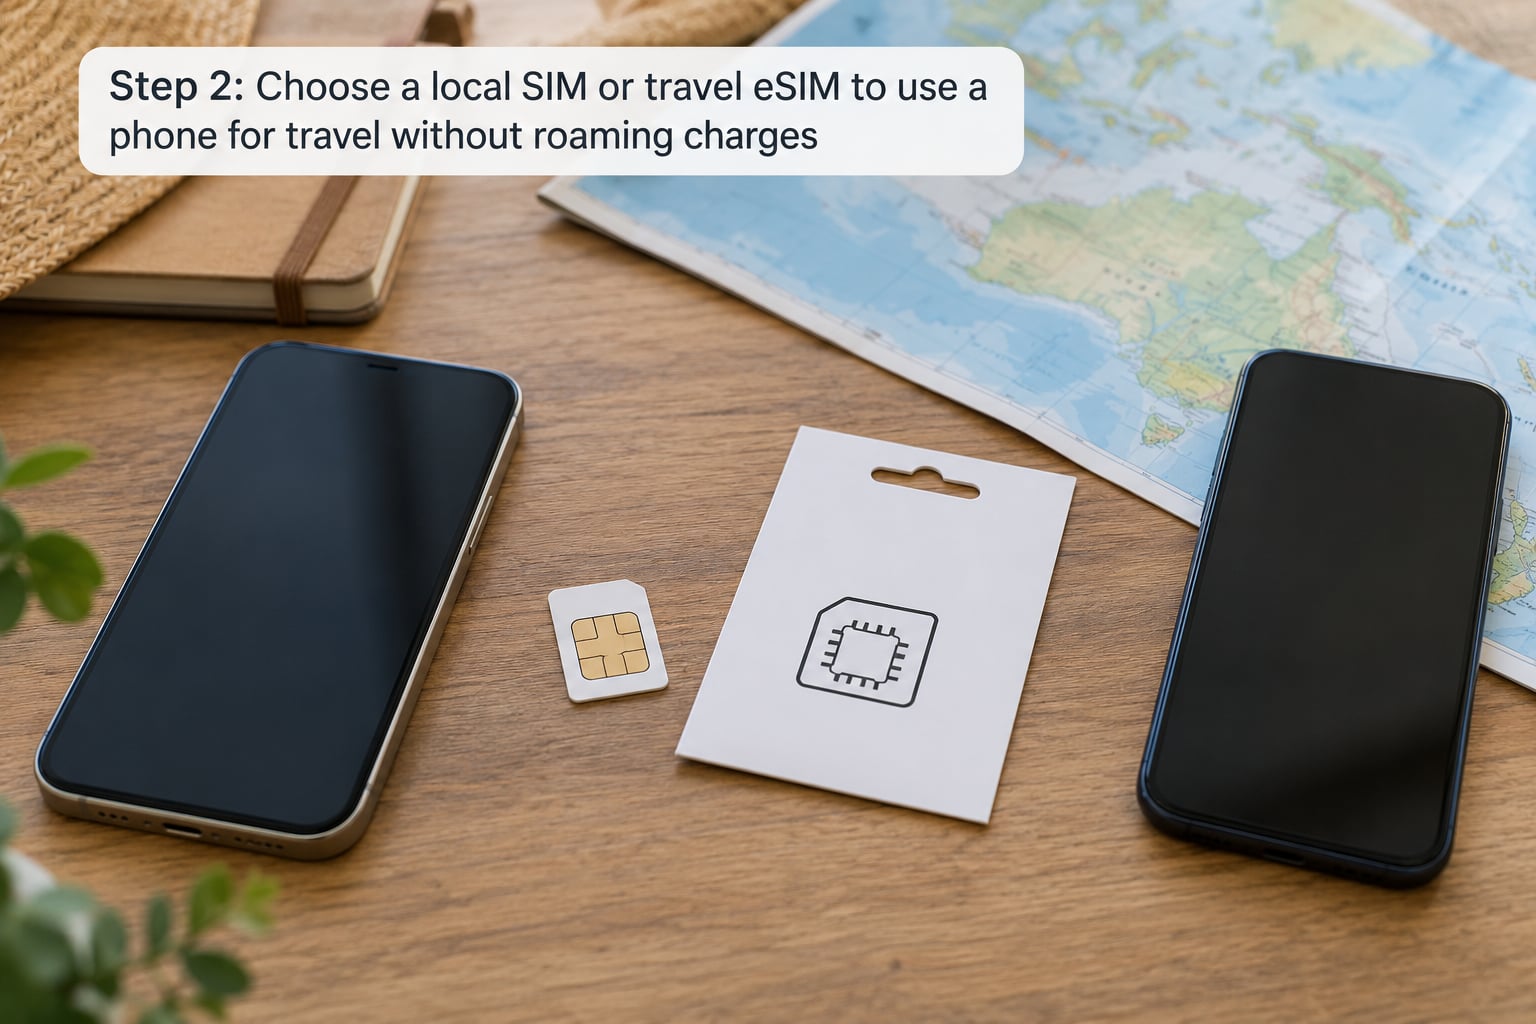
A physical local SIM is bought at the airport or a shop in your destination city. You swap it into the tray, and it works immediately on a local network with local rates and local customer service if something breaks. The friction is the hardware: a tray tool, a phone without a second slot, and the risk that your home number becomes unreachable for the length of the trip.
A travel eSIM is a small profile downloaded over Wi-Fi before you leave. Nothing physical changes, your home number stays reachable, and you can install a second profile alongside your carrier one. The friction is timing: some plans start their clock the moment you install them, others only when the profile connects to a network abroad.
Four things decide it. Data allowance, whether your phone supports hotspot tethering, whether the plan is single-country or regional, and whether you need your home number for verification codes or work calls. For a multi-country trip, a regional plan usually costs less than buying a local SIM in each country.
| Option | Setup time | Keeps home number reachable | Calls and SMS | Needs carrier-unlocked phone |
|---|---|---|---|---|
| Airplane mode plus Wi-Fi | Seconds | Only with Wi-Fi calling | Over Wi-Fi only | No |
| Travel eSIM | About ten minutes at home | Yes | Yes, on the travel number | Yes |
| Local prepaid SIM | Twenty minutes at the airport | No, unless dual-SIM | Yes, on the local number | Yes |
| Carrier international pass | A few minutes in the app | Yes | Yes, on the home number | No |
How to tell it worked: you can name the exact plan you bought, the region it covers, and the line that will carry your data. If you cannot answer all three, you are not ready to fly.
Step 3: Install and activate the SIM or eSIM before departure
Install a travel eSIM at home on Wi-Fi, several days before you fly, so you can fix a broken code without hunting for support in a foreign airport.
On iPhone, open Settings, tap Cellular, tap Add eSIM near the top, then scan the QR code your provider sent. Some providers hand you an activation code to type in by hand instead. On Android, open Settings, tap Network and internet, then SIMs, tap the plus icon to add a mobile network, and either scan the QR code or enter the activation details manually. Samsung menus put this under Connections and Mobile networks.
Install and activate are not always the same moment, and the difference matters. Under an install-triggered plan, your validity clock starts the minute you add the profile, so installing three days early burns three days of data allowance. Under a connect-triggered plan, the clock starts when the profile attaches to a network abroad. Your provider’s page will say which one you have, and it is worth reading before you scan anything.
For a physical local SIM, buy it in your destination city rather than online, then slide it into the tray with the phone powered off. Check that it seats flat; a half-seated tray is a common cause of a phone that sees no network.
How to tell it worked: Settings shows the new plan listed under your cellular or SIM settings, and its network name appears there too, while you are still on your home connection.
Step 4: Disable data roaming and confirm cellular settings
This is the single most important step, and it takes fifteen seconds. Users on carrier forums consistently describe switching off cellular data and roaming on the home line before departure as the core defensive move, because data is where the enormous charges come from.
On iPhone, open Settings, tap Cellular, choose the line that is your home carrier, tap Cellular Data Options, and set Data Roaming to Off. Do this for the home line specifically, not just at the top level, because the toggle sits per line. On Android, open Settings, tap Network and internet, tap SIMs, select the home line, then turn off Data roaming. On Samsung, look under Connections and Mobile networks, then the roaming switch for the relevant SIM.
Do not confuse airplane mode with Wi-Fi. Airplane mode cuts the cellular radio entirely, which stops any network from attaching to your phone. Turning off Wi-Fi does nothing to prevent roaming, which is a mix-up that shows up constantly.
How to tell it worked: with the home line’s roaming toggle off, your phone will still find a signal abroad for calls, but it will not pass data over that network.
Step 5: Set up Wi-Fi calling, messaging, and app access
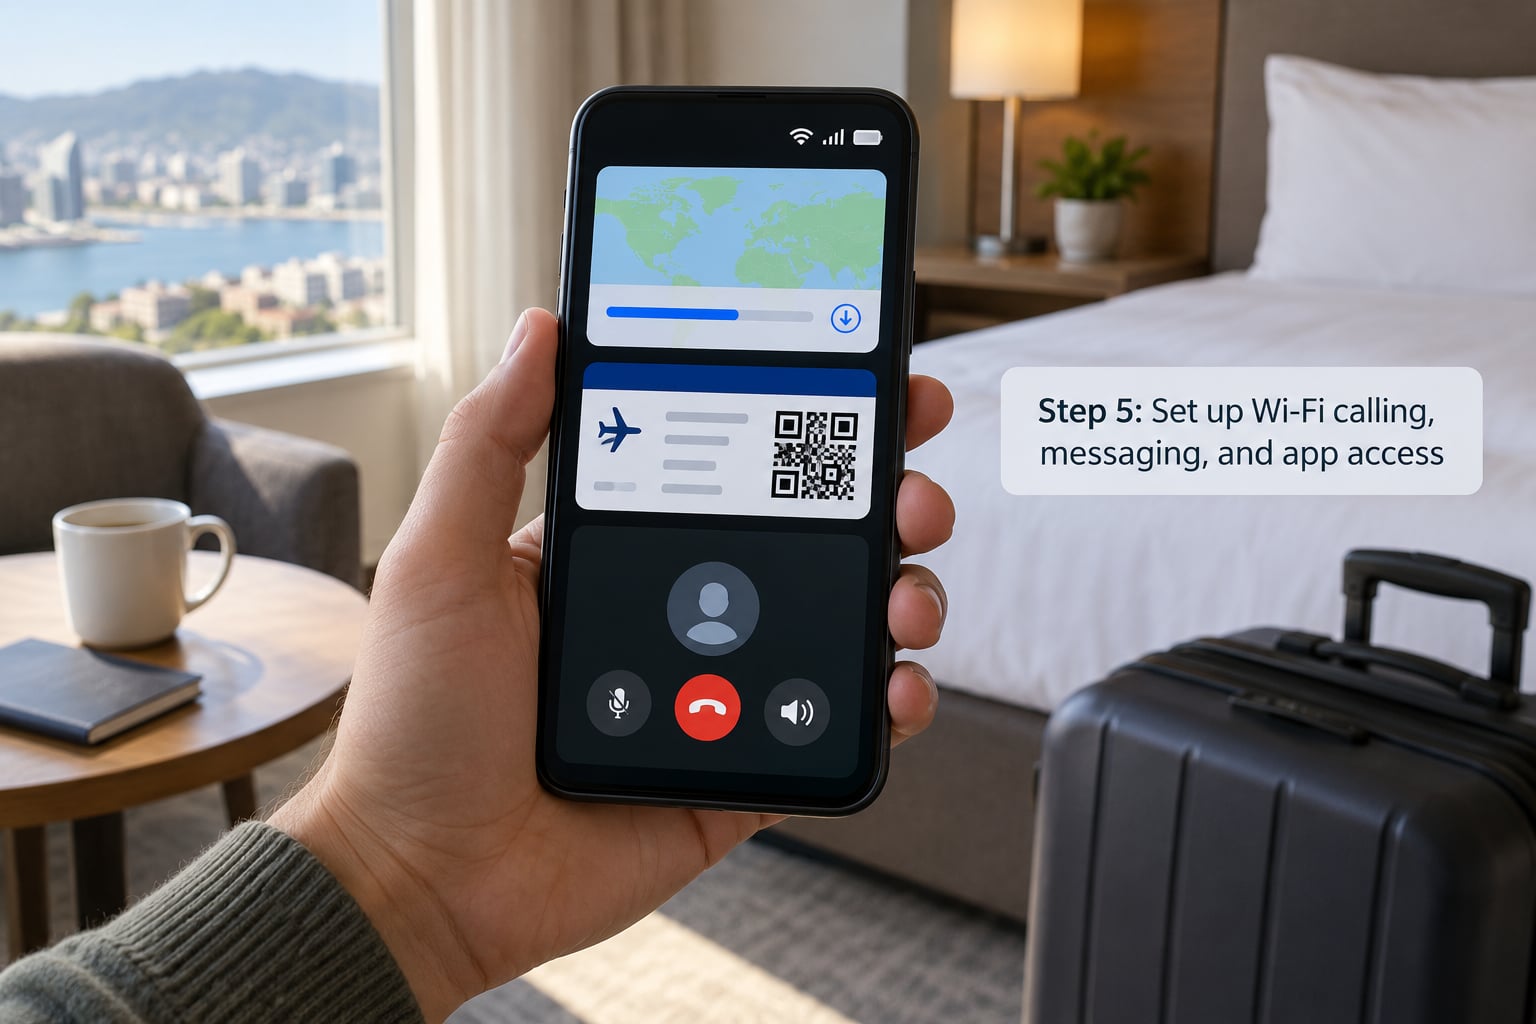
Wi-Fi calling is what makes the home line safe to leave on. Turn it on before you fly so your carrier can confirm it is active. On iPhone, open Settings, tap Cellular, then Wi-Fi Calling, and switch it on. On Android, the setting usually lives under Settings, Network and internet, Wi-Fi calling, or in the phone app under Call settings. If the toggle is greyed out, your carrier has not enabled it and needs to.
Test it properly: join a Wi-Fi network, turn off cellular data temporarily, and place a call. If the call connects, your verification codes and normal texting will keep working over Wi-Fi even with the cellular line switched off, which is the whole point.
Before departure, download offline maps for the whole trip, save boarding passes into the wallet app rather than a screenshot, and make sure the apps that send you codes are logged in and not waiting on a first-time verification. Update your authenticator app before you leave. Most messaging apps work over Wi-Fi, so a Wi-Fi connection between boarding and arrival is enough for a full conversation home.
How to tell it worked: you place a call and receive a text with cellular data turned off, both over Wi-Fi, and an offline map opens with no signal at all.
Step 6: Control apps, background data, and hotspot use
The data that drains a travel plan fastest is almost never map navigation. It is video streaming in the background, photo and video backup to the cloud, automatic app updates, and voice assistants quietly listening.
On iPhone, open Settings and tap Cellular, then scroll to the app list and switch individual apps off. Turn off Low Data Mode’s opposite, meaning switch Low Data Mode on, under Cellular Data Options, and turn off Background App Refresh under General. On Android, open Settings, tap Network and internet, then Data Saver, and switch it on; on Samsung, the toggle sits under Connections and Data Saver.
Check whether your plan supports hotspot tethering before you rely on it. A top-up package usually does not, and connecting a laptop will exhaust a small allowance in an afternoon. Ask the provider, then test it briefly before you leave so you find out at home instead of at the gate.
How to tell it worked: your usage counter barely moves over a half-hour test on the new line, which tells you the background apps are behaving.
Step 7: Test the setup and take action at the airport
On Wi-Fi at home, switch your active data line to the travel eSIM, open a page, and check that the network name in your settings matches the travel provider rather than your home carrier. Then switch the data line back so you do not drain the plan before you land. That round trip catches most configuration mistakes.
At the airport, wait until you are through security and near the gate before connecting, so the phone is on Wi-Fi instead of hunting for networks. Turn airplane mode on while you board, and turn it off after landing once you are walking. Turn airplane mode off only when you want the phone back on a network; you do not need it on during the flight, and in-flight connectivity usually requires it to stay on.
On arrival, confirm the new line shows as active, open a map to check you have a working connection, and look at your data usage to see how fast it is moving. If there is no data, check that data roaming is on for the travel line only, that the line is set as the cellular data line, and that network selection is set to automatic rather than pinned to a network from another country.
How to tell it worked: a map loads outdoors in under a few seconds and the network name shows your travel provider or local carrier.
Common Mistakes
Roaming was still on because you changed the wrong toggle
On a dual-SIM phone, the roaming setting lives per line, and the top-level cellular menu shows only one line at a time. Open each line separately and confirm the home line’s roaming toggle is off. This is the most common cause of a surprise charge after doing everything else correctly.
An old travel eSIM is still installed and still switched on
Travelers accumulate profiles. A leftover eSIM from last summer can silently reconnect and quietly consume a plan you forgot about, or attach a line you thought was off. Review the SIM list before departure and turn off or delete anything you are not using this trip.
Using a physical SIM without switching the digital line off
Swapping in a local physical SIM does not disable the line that was already active. On phones that hold both a tray SIM and an eSIM, confirm which line carries cellular data. If the eSIM still shows as the data line, turn it off or switch the data assignment.
Assuming disabling data roaming disables Wi-Fi
These are separate radios with separate switches. Turning off data roaming does nothing to Wi-Fi, and turning off Wi-Fi does nothing to roaming. The combination you want is roaming off plus Wi-Fi on, so calls and messages route over Wi-Fi calling.
Activating a plan too late
Installing an eSIM at the destination may start a short validity clock immediately. Buy it days ahead and read whether the plan is install-triggered or connect-triggered. If it is install-triggered, install at home on Wi-Fi and let it sit until you arrive.
Running past the data allowance
Plans stop or slow down at the limit, and top-ups are usually bought in the provider app with the card you left at home. Watch the usage counter for the first day, set a low-data-mode reminder, and know what your plan does at the cap before it happens rather than after.
A note for long or high-risk trips: some travelers call their carrier and ask them to suspend the line or disable travel passes at the network level, so even a hardware mistake cannot generate a charge. You lose service on that number entirely, so it only suits trips where nobody expects to reach you.
Frequently Asked Questions
Does airplane mode stop roaming charges on its own?
Yes. Airplane mode switches off the cellular radio, so your phone cannot attach to any network, and no roaming traffic can be generated. It also stops incoming calls and texts, which some carriers bill. The catch is that you lose all cellular service, so people turn airplane mode off on landing and are exposed again. Keep roaming off on the home line as well, so nothing is exposed if the mode gets switched off by accident.
Can I use Wi-Fi calling without international roaming?
Yes, and this is the main reason to set it up. With roaming off and Wi-Fi calling active, your home line places and receives calls and messages over any Wi-Fi network, including hotel and airport Wi-Fi. It needs to be enabled by your carrier as well as on the phone, and it must be tested before you fly. Testing means placing a call with cellular data switched off and confirming it connects.
Does my phone have to be unlocked to use a travel eSIM?
Usually yes. A travel eSIM is a different network, so a device that is locked to one carrier generally refuses to install it or refuses to use it. Ask your carrier whether the device is carrier-unlocked and whether an outstanding balance is holding the lock. Some phones sold in certain markets have no eSIM hardware at all, so confirm eSIM support for your exact model before you buy any plan.
What happens if my phone has both a physical SIM and an eSIM?
Both lines stay active and you choose which one carries cellular data. Set the travel eSIM as the cellular data line and leave the home SIM installed for calls and text if you want your number reachable, or switch the home line off entirely if you do not. Set the roaming toggle on the home line to off regardless, since a per-line setting left on is the most common cause of an unexpected charge.
Can I send text messages while using a travel eSIM?
Yes. A travel eSIM carries a local number that handles texts and calls on local rates, so texting home usually costs a small fixed amount per message rather than international pricing. Wi-Fi messaging apps cost nothing at all. Keep in mind that verification codes for banking and email often go to your home number, which is another reason to enable Wi-Fi calling rather than disabling the home line completely.
Conclusion: What to Do First
Start by naming the destination and the countries involved, because that decides whether a single-country plan, a regional plan, or a carrier pass makes more sense. Next, call your carrier and confirm the phone is carrier-unlocked with no outstanding balance. Then choose one primary connection, either a travel eSIM installed at home or a local prepaid SIM bought on arrival, and read whether the plan’s clock starts at installation or at connection.
Before you fly, switch off data roaming on the home line itself, turn on Wi-Fi calling, test a call over Wi-Fi with cellular data off, download offline maps, and do a full round-trip test on the new line. That final test is the one that saves money, because it happens on your own Wi-Fi instead of on somebody else’s network.