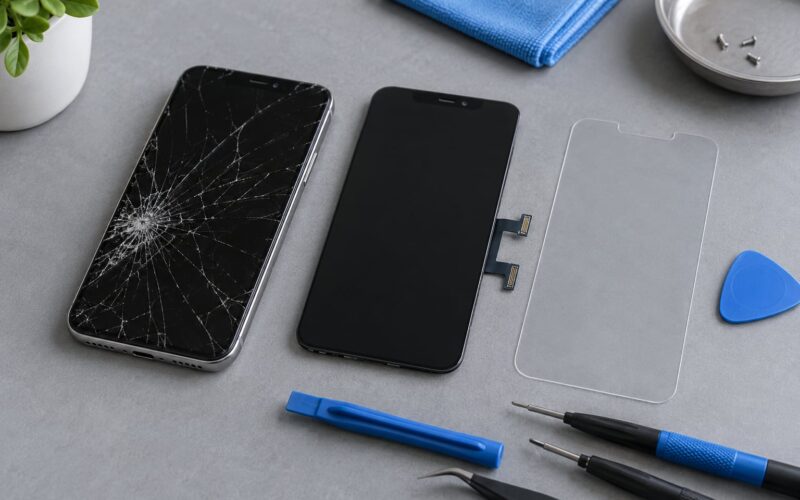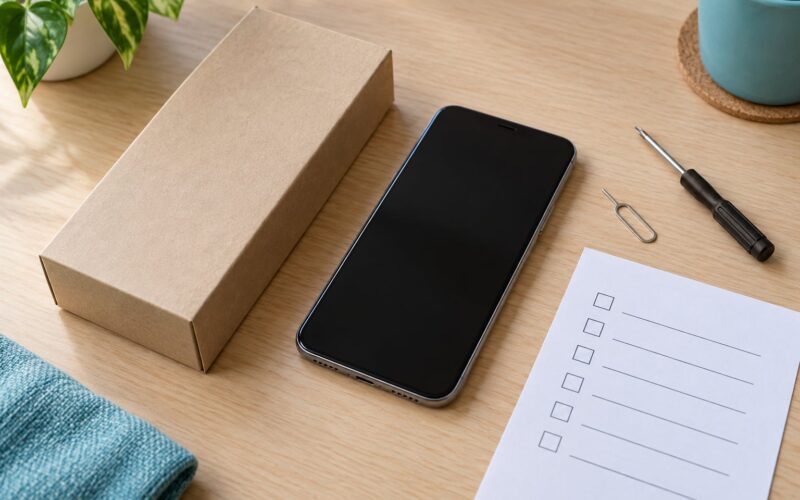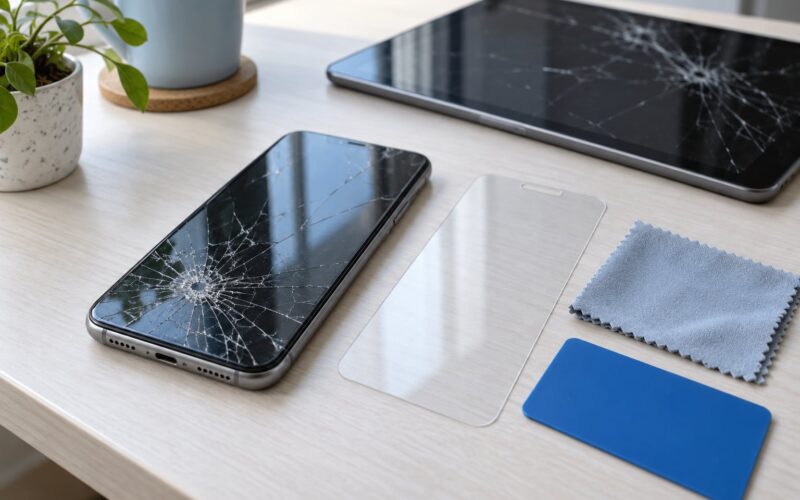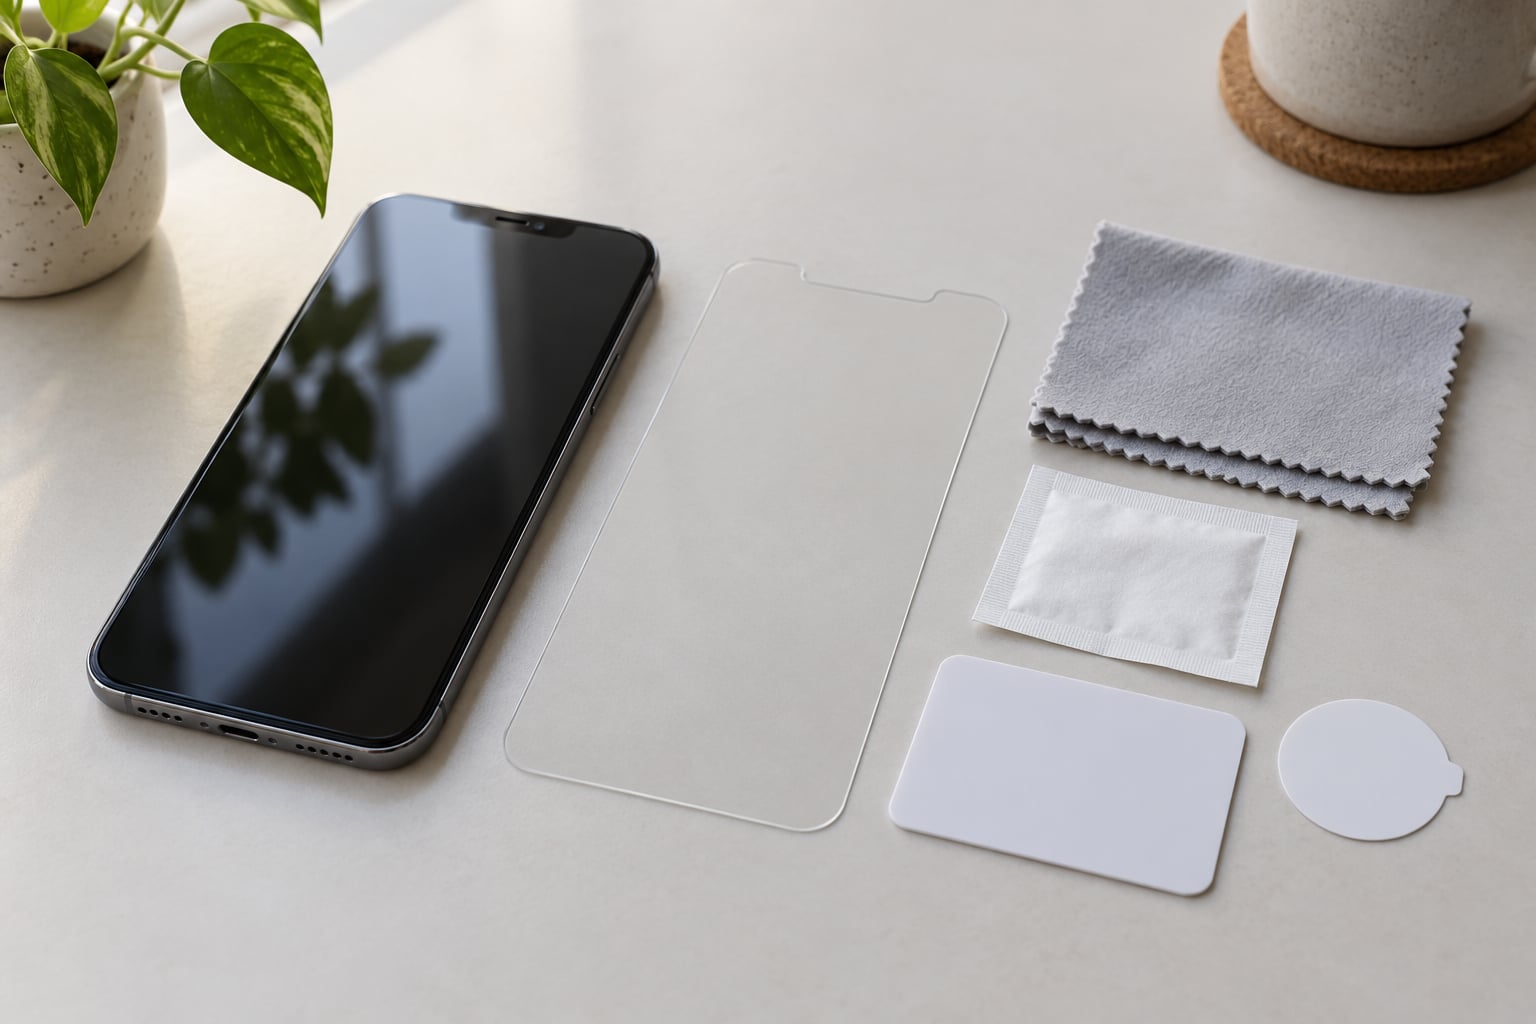
Most bubbles are not your fault. They come from one of three things: dust on the screen, air trapped because you lowered the film at an angle, or fingerprints on the adhesive side. Wash your hands, work over a hard surface with the device powered off, and you can apply a screen protector without bubbles in about ten minutes.
A screen protector is a thin sheet of glass or film with a pressure-sensitive adhesive layer that grabs the display and spreads outward from wherever you first touch it down. That outward spread is what pushes air ahead of it, which is why a single slow anchor point works so much better than pressing hard all over.
This guide covers tempered glass, PET film and hydrogel, on flat and curved phone and tablet screens. If you have already fumbled an install, the fixes near the end are worth reading first.
Table of Contents›
- What You Need
- Step-by-Step: How to Apply a Screen Protector Without Bubbles
- 1. Power Off the Device and Prepare a Clean Workspace
- 2. Clean the Screen and Edges
- 3. Identify the Correct Side of the Protector
- 4. Remove Dust and Lint
- 5. Align the Protector Before Letting It Stick
- 6. Apply One Edge and Sweep Across the Screen
- 7. Check the Edges and Let the Adhesive Settle
- How to Apply a Screen Protector Without Bubbles on Curved Screens
- Common Mistakes
- Frequently Asked Questions
- Why do bubbles stay in a screen protector after installation?
- Can I remove and reinstall a screen protector?
- Should I apply a screen protector with the phone turned on?
- Will small bubbles disappear on their own?
- How should I apply a protector to a curved phone screen?
What You Need
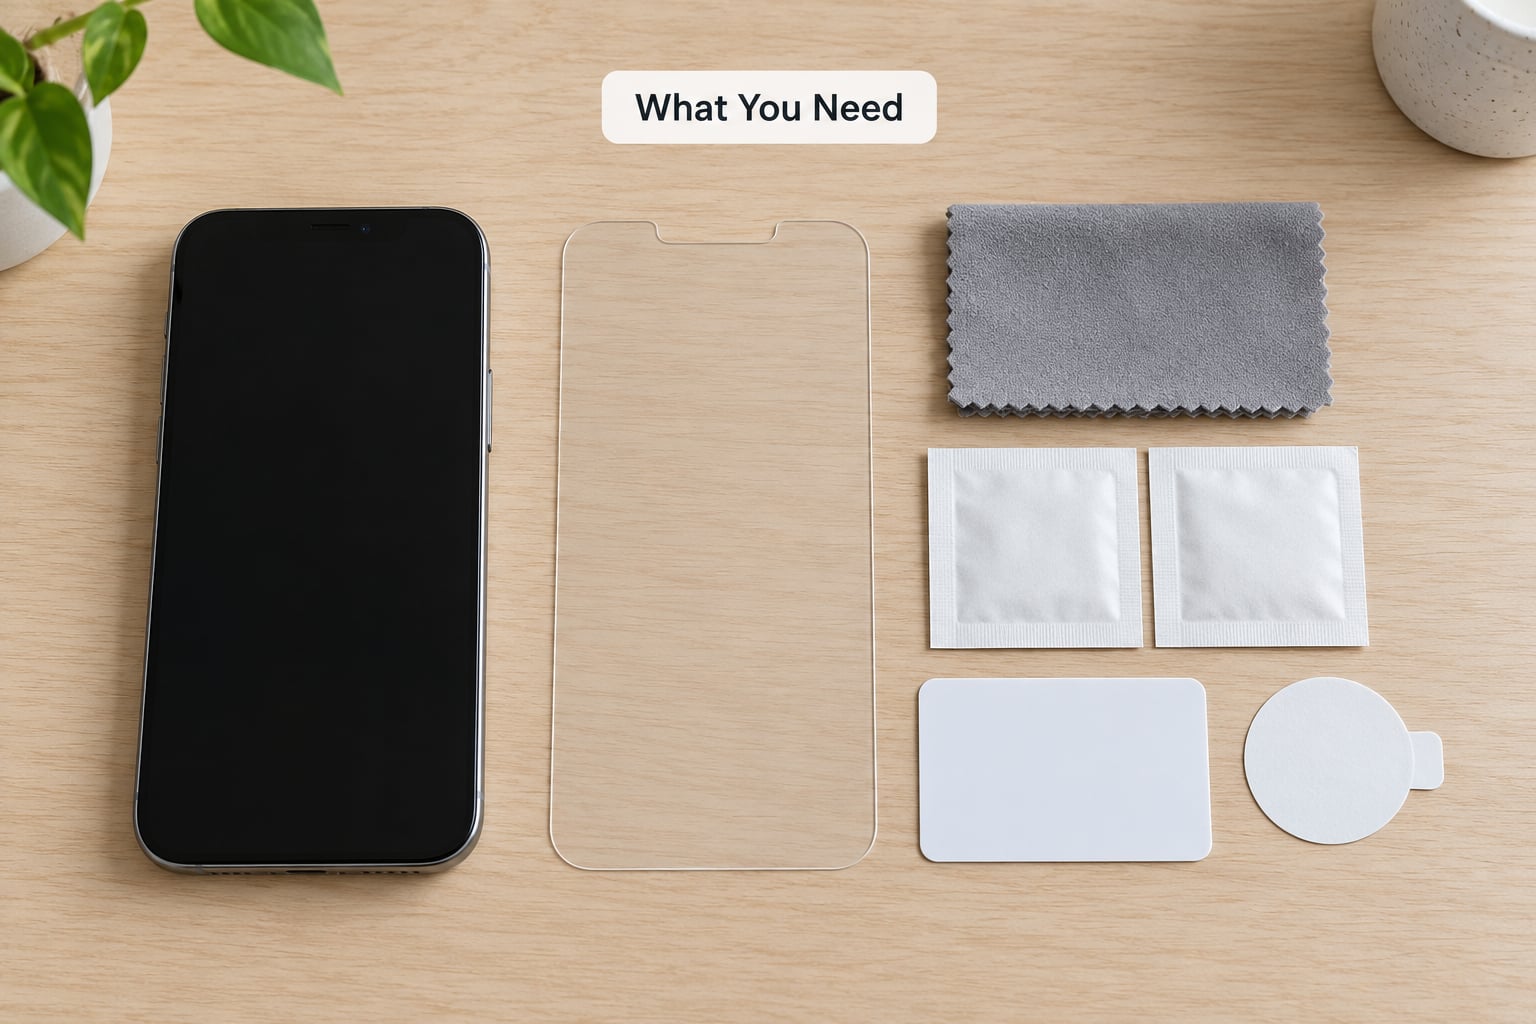
Gather everything before the phone comes out of the drawer. Reaching for a cloth mid-install is the fastest way to drop a fibre on a clean screen.
- The protector itself, plus its dust-removal sticker if it came with one.
- A microfiber cloth that is clean and lint-free. A shirt sleeve works in a pinch; a dryer sheet does not.
- Isopropyl alcohol at 70% or higher, or pre-made alcohol wipes. Anything lower dilutes grime into a smear instead of lifting it.
- A stiff plastic card — a gift card, a membership card, the card from the shop — to sweep air outward.
- A dust-removal sticker or a strip of masking tape for lifting specks off the adhesive.
- A hard, clean work surface and a bright lamp or a window.
Nitrile gloves are optional. They help if you tend to smear the screen with your hands, but washing and drying properly works about as well.
Before you start, check two things. Confirm the protector is cut for your exact model, because a near-match will overhang the camera cutout or sit proud of the bezel. Then work out which side is adhesive. On glass, the adhesive side often carries a slightly frosted finish and a small pull tab; the plain glossy side is the backing film. On soft film, the backing usually has a green tint, and the printed or frosted side is the side that sticks. If you are unsure, hold it up to a window: the adhesive side looks milky rather than fully clear.
Step-by-Step: How to Apply a Screen Protector Without Bubbles
1. Power Off the Device and Prepare a Clean Workspace
Turn the device off. A black screen is the single best dust detector you have — every speck and hair shows up against it, which you simply cannot see on a lit display. You will also avoid the heat and electrical current of a running phone, both of which make the adhesive behave oddly.
Wipe a hard table or counter with a damp cloth, then dry it. Wash your hands with soap, rinse, and dry them on a lint-free towel — this matters more than gloves, because a single fingerprint of oil under a corner will not bond. Take off rings and put your hair up.
If your bathroom gets steamy after a hot shower, that is a good minute to clean up. Humidity settles airborne dust onto surfaces and then holds it there, so you are cleaning something that is no longer moving around.
You will know this stage worked when the powered-off screen looks uniformly black with no bright specks and your hands feel dry and not slightly tacky.
2. Clean the Screen and Edges
Wipe the display with the alcohol wipe, covering the whole panel including the curved edges on the sides. Then dry it with the microfiber cloth using small circular motions. Do not press hard; you are polishing, not scrubbing.
Go over the perimeter last, because that is where oils collect from your pocket and where hands rest. Pay attention to the corners and any gap near a case lip, since dust tends to hide there.
Run a clean finger across the glass. If it drags slightly, there is still residue, so clean it again. The test is simple: the screen should feel dry and faintly tacky rather than slippery.
3. Identify the Correct Side of the Protector
This is where first-timers lose protectors. Take the film out of its sleeve and hold it by the edges with the screen still off. On tempered glass, look for the frosted adhesive face and a pull tab; the smooth, shiny face is the protective backing you will remove later.
If the glass came with a dust-removal sticker, press it onto the adhesive side now. It picks up loose fibres while the film is still off the screen, which is a step most people skip and later regret. That trick comes straight from repair forums, and it works.
You will know you have the right orientation when the shape matches the screen: camera cutout at the top left or top right as the device requires, speaker slot in the right place.
4. Remove Dust and Lint
Turn the screen back on for a moment if you need more light, or hold a lamp close at an angle. Angled light catches hairs and fibres that sit flat against the glass. Look specifically around the perimeter where dust collects.
For anything you find, use the dust-removal sticker: press it down over the speck, lift straight up, and press again in a different spot so you are not moving the dust around. Masking tape works in the same way for a stubborn hair. An anti-static brush is the traditional shop tool and sweeps particles off without leaving residue.
Do not use compressed air from a can near the device unless you hold the screen out of the line, since it can drive dust onto other surfaces that you will then transfer. Do not breathe on the glass — droplets land on the screen and leave marks.
You will know this stage worked when you can move your head from side to side and the screen shows nothing moving.
5. Align the Protector Before Letting It Stick
Lay the protector on the display without touching the adhesive. Check that the camera cutout lines up, that the top edge sits inside the bezel rather than under it, and that the bottom edge does not overhang into the gesture bar or home indicator area.
Some phones need a deliberate orientation flip, particularly models with the front camera on one corner. Compare the shape against the bezel rather than trusting the packaging photo.
There are three alignment methods worth knowing. The dry-fit is what you just did and works on every protector. The tape hinge is for anyone nervous about committing: stick one short edge to the screen with two small pieces of tape, lift the rest back like a book cover, peel the backing, then fold it down into the exact position you tested. The alignment frame or installation tray is a plastic or cardboard frame with guides; you centre the phone in it, drop the protector in, and it can only land one way.
Full-coverage glass on a curved display needs the hinge or a frame more than flat glass does, because the edges want to lift before the centre has gripped.
6. Apply One Edge and Sweep Across the Screen
Pick the anchor point — usually the edge nearest you, or the top if you are working on a table in front of you. Peel back a little of the backing from that edge, expose roughly 10mm of adhesive, and press it down lightly on the screen. This anchor is the only point that should be touching.
Now pull the rest of the backing off at a steady angle while lowering the film with your other hand, keeping the free part slightly lifted so it never folds back on itself. Keep the leading edge parallel to the screen as you go. Angling it downward traps a wedge of air that ends up as a cluster of bubbles at one end.
Let the film lay itself down. Do not press. Adhesive spreads outward from the anchor and pushes air ahead of it by itself. When it stops moving, take the plastic card and sweep from the middle toward the nearest edge in one smooth stroke, then the other side, then the corners. Long strokes at a slight angle beat short scrubs; change the face of the card when it picks up dust.
You will know this worked when you can see one uniform faint gap travelling ahead of the card and the glass looks flat and continuous behind it.
7. Check the Edges and Let the Adhesive Settle
Walk the perimeter with your fingertip. An edge that has lifted or a corner that has curled will feel obvious under the finger. If the adhesive has not set yet, lift that edge gently with a strip of tape, redust the surface underneath, and lay it back down before pressing outward.
Then leave the phone alone. Adhesive needs time to finish bonding, and installing a case immediately can catch a soft edge and peel it back up. Give it a couple of hours before a heavy case goes on and up to a day before you treat it as finished.
The visible sign of success is no white halo or lifted corner under a lamp with the screen off. Small bubbles at the extreme edges of full-coverage glass often tighten up during this period rather than disappearing entirely, which is normal.
How to Apply a Screen Protector Without Bubbles on Curved Screens
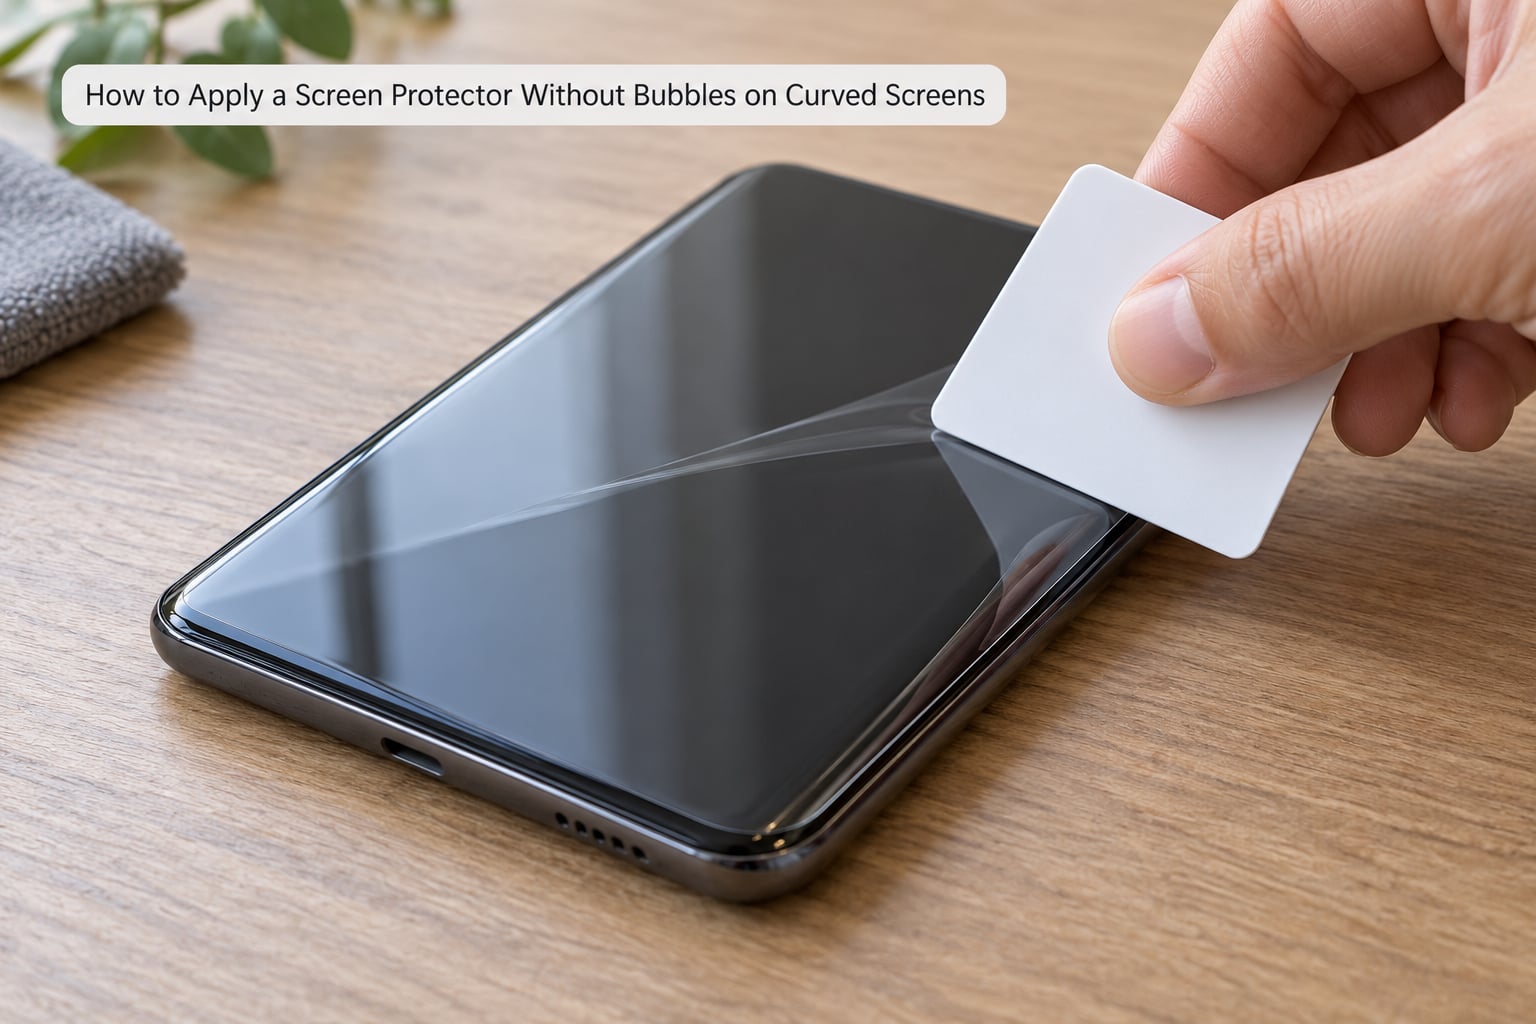
A curved display gives you two extra problems: the film wants to spring back to flat, and the edges reach down where dust hides. Flexible hydrogel or TPU film behaves far better here than rigid glass, because it conforms to the curve instead of bridging over it. If you can choose the material for a curved phone, choose film.
Work in the same order, with two changes. First, anchor at the centre of the flat part of the display rather than at an edge, then sweep outward in a fan toward the top and bottom corners. Laying an edge down first on a curved screen is what creates the trapped air you are trying to avoid.
Second, stretch only if the manufacturer allows it. Some flexible films can be pulled very lightly across the curve while the adhesive grabs; others are cut to shape and will shift if you pull. When in doubt, do not stretch.
Expect tiny bubbles along the outermost curve for the first few hours. They migrate and shrink as the adhesive settles. A bubble in the middle of the screen, by contrast, is not a settling issue — that is trapped dust or a crease, and it will not resolve on its own.
Common Mistakes
Nearly every failed install comes down to one of six mistakes, and each has a straightforward fix.
Applying over dust. The dust was already there, or your cloth carried it onto the screen. Fix: inspect under angled light before you lower anything, and use a dust-removal sticker at the moment of contact.
Touching the adhesive side. Oil from a fingerprint lands exactly where the bond needs to form, and the glass will never sit flat there. Fix: wash and dry your hands, handle glass by two opposite corners only, and never touch the middle of the adhesive face.
Lowering the film at an angle. You get a wedge of trapped air that clusters at the far end. Fix: keep the leading edge roughly parallel to the screen and let it fall as you pull the backing, rather than sliding it into place.
Pressing air pockets toward the edge. Pushing hard on a bubble drags it but spreads the adhesive unevenly, and a dust speck will never move no matter how long you push. Fix: use the card in one smooth sweep; if the bubble contains a dark speck, it is dust and pressing is pointless.
Applying with the device powered on. You cannot see dust, and some adhesives behave poorly against a warm screen. Fix: power it off.
Fitting the case before the adhesive has set. The case lip grips a soft edge and lifts it, which is why corners start peeling back up days later. Fix: wait a couple of hours, and use a case-friendly protector that stops short of the bezel if you need the case on immediately.
Prevention, in one line: clean, dust-check, dry-fit, single anchor point, one sweep, then hands off.
Frequently Asked Questions
Why do bubbles stay in a screen protector after installation?
A bubble that will not move is almost always a dust speck, not air. Air bubbles can be swept toward an edge and pressed out with a card. A speck sitting under the adhesive has nothing to give, so pressing harder only deforms the film and never clears it. Lift the corner with tape, dab the speck off with a dust-removal sticker, lay the film back down in the same spot, and press outward from the centre.
Can I remove and reinstall a screen protector?
Sometimes, but only if the adhesive has not fully set. Peel slowly at a shallow angle, keeping the film flat rather than folding it, and never yank a corner upward because rigid glass flexes and snaps. Once the adhesive has cured for a day or more, a protector will usually not re-lay properly and is better replaced. Flexible hydrogel film tolerates a second attempt more often than glass does.
Should I apply a screen protector with the phone turned on?
Turn it off. A powered-off screen shows dust, hairs and lint as bright specks against black, which makes the final check possible at all. A running phone also adds warmth to the glass, and some adhesives bond unevenly on a warm surface. Power the device back on only after the protector is down and you have walked the perimeter checking for lifted edges.
Will small bubbles disappear on their own?
Small bubbles along the outer edge of full-coverage glass often tighten and shrink over several hours as the adhesive finishes spreading. Bubbles with a dark speck inside them, or one sitting in the middle of the screen, will not disappear, because those contain dust or a crease. Check them after a few hours before deciding the install has failed, and leave the phone flat and uncovered while you wait.
How should I apply a protector to a curved phone screen?
Flexible hydrogel or TPU film handles a curved display better than rigid glass. Anchor the protector at the centre of the flat area of the screen instead of at an edge, then sweep the card outward in a fan toward the top and bottom corners. Stretch the film only if the manufacturer permits it. Expect minor edge bubbles at first and give them a few hours to settle before judging the result.
Start with the device powered off on a hard, clean surface, and do nothing else until the screen is wiped, dried and dust-checked under a bright light. Everything after that is a single anchor point and one sweep to the edge, followed by a couple of hours of hands off before the case goes back on.