Yes, you can keep your number. Switching carriers without losing your number is called porting, and under FCC rules a carrier cannot charge you just for leaving. You give your new carrier three things from your old account — your account number, your Number Transfer PIN, and your billing ZIP code — and your line moves across while your service stays live.
The whole thing usually takes minutes to a few hours, and most of the work happens before you touch your phone. Gather your account details, confirm your device works on the new network, remove any carrier lock, then let the new carrier run the transfer.
Two rules prevent nearly every disaster people describe in forums: never cancel your old line before the port finishes, and never request a transfer PIN days in advance. That second one catches people constantly, because most PINs expire.
If something does go wrong, the failure is nearly always one of about six things, and each has a fix. That part is below, along with what nobody tells you about the hours after the port completes.
Table of Contents›
- What You Need Before You Switch
- Step-by-Step: How to Switch Carriers Without Losing Your Number
- Step 1: Check Your Current Account and Device
- Step 2: Choose the New Carrier and Confirm Compatibility
- Step 3: Ask the Old Carrier to Remove the Device Lock
- Step 4: Transfer Your Number With the New Carrier
- Step 5: Install the New SIM or Activate the New eSIM
- Step 6: Test Service and Cancel the Old Line
- Common Mistakes to Avoid
- What Happens After the Port: A Short Housekeeping List
- How Long Does a Port Take?
- Quick Porting Checklist
- Frequently Asked Questions
- Do you have to change your number when switching carriers?
- Do I have to cancel my old plan before switching carriers?
- Why is my transfer PIN not working?
- Can I port my number while I still owe money on my phone?
- How long does it take for a ported number to be active?
- Does porting a number cancel my old account automatically?
What You Need Before You Switch
Collect these before you contact anyone. Missing one item is the single most common reason a port stalls for days.
- Account number — usually an 11- or 12-digit number, sometimes labeled “Customer Number” or “Landline/Account.”
- Number Transfer PIN — sometimes called a transfer-out PIN, account PIN, or security PIN.
- Billing ZIP code — the ZIP on the account when it was opened.
- Account holder name — exactly as the old carrier has it, including any business suffix.
- Device IMEI — the 15-digit number that identifies your phone or tablet. Dial *#06# on most handsets, or check Settings, then General, then About on an iPhone.
- Device payoff status — whether the phone is paid off, financed, or still on an installment plan.
- A payment method — a card for the new carrier’s first bill or a device deposit.
- Your new carrier’s order details — the new account number or order confirmation they’ll email you.
The fastest way to get a transfer PIN on most networks is to dial *PORT from the line you’re moving. It texts a PIN and your account number to the phone’s SMS inbox within a minute. If that comes back empty, your carrier’s app or account site is the next stop, and support is the last.
While you’re there, check what you still owe. There is no fee to release your number, but these are separate bills: a porting or activation fee at the new carrier, an early termination fee if you’re leaving an installment plan, and any device payoff balance if the phone isn’t paid off. That last one is the reason people get surprised — the port works fine and then the old carrier sends a bill for the remaining device cost.
Then check compatibility. Enter your IMEI into the new carrier’s bring-your-own-device checker. If it is not listed, the phone will not register on their network no matter what you do about the number.
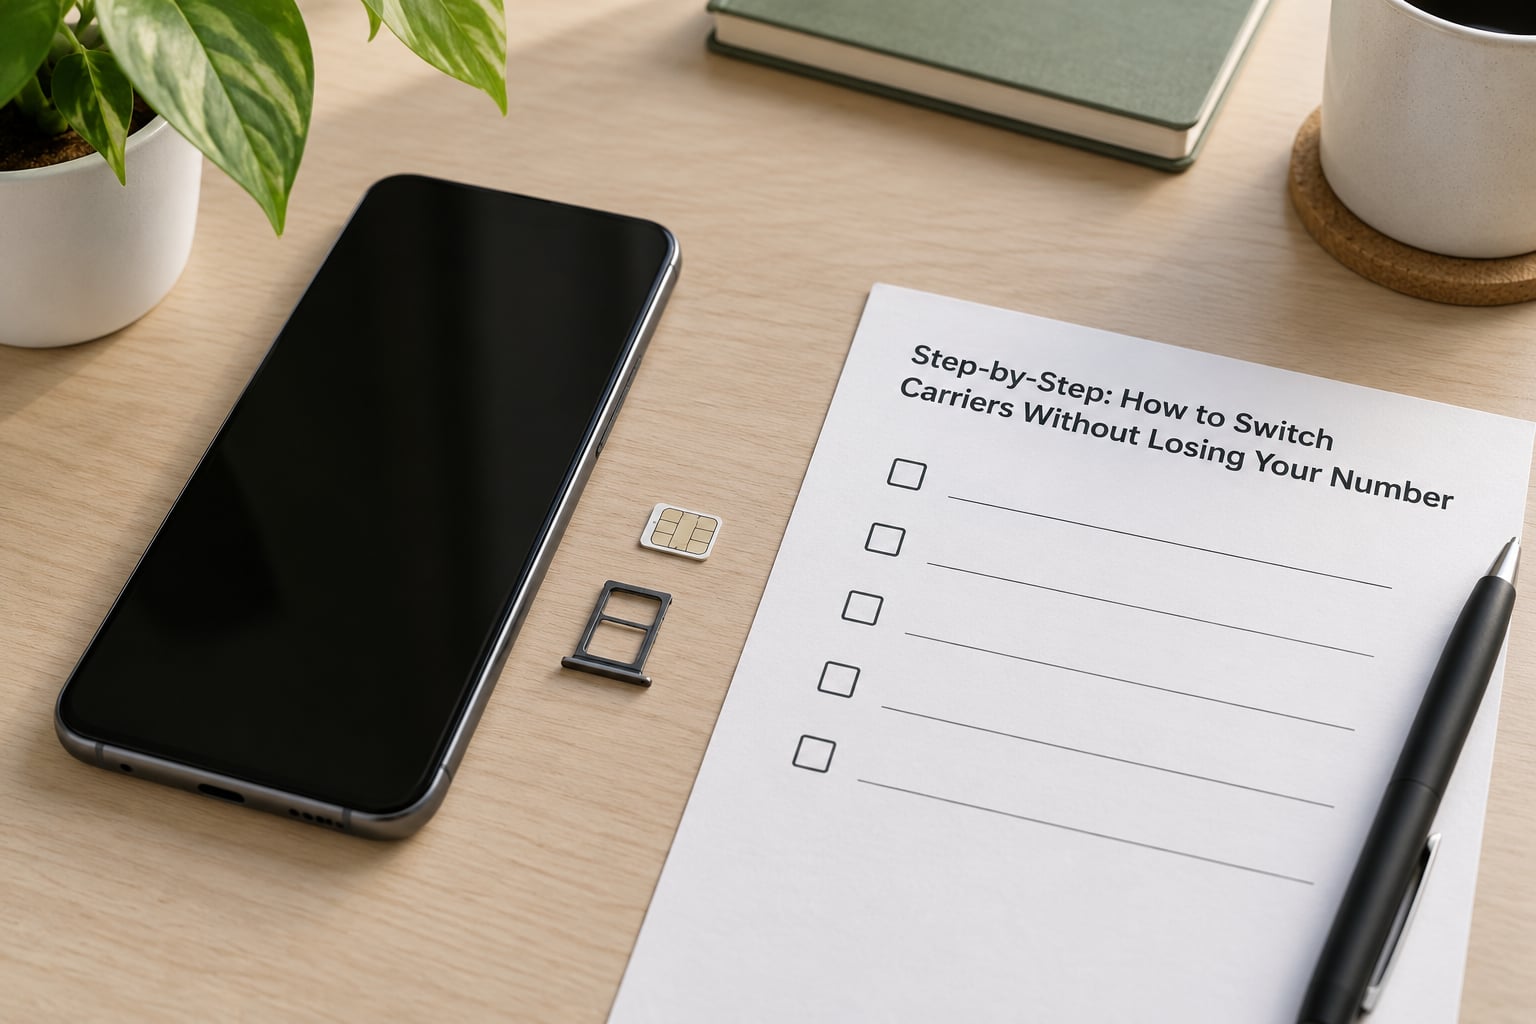
Step-by-Step: How to Switch Carriers Without Losing Your Number
Step 1: Check Your Current Account and Device
Sign into your old carrier’s app or website and write down the account number, the billing ZIP, and the account holder name. Then look for a “transfer out” or “number transfer” option in account settings, which is where the big three and most prepaid brands put the PIN.
Check whether the phone is paid off and whether it is locked. An iPhone shows this at Settings, then General, then About, next to Carrier Lock. On Android, dial *#0674# or open your carrier’s app, where most brands list the IMEI and lock status together.
How you tell it worked: you have all three account details written down, and you know the exact payoff figure if one is outstanding. Write it all on paper. Searching for a transfer PIN three days before your activation date is the number one reason ports fail on the day.
Step 2: Choose the New Carrier and Confirm Compatibility
Compare the things that actually bite: coverage at your home and work, the data allowance and what happens when you exceed it, hotspot limits, taxes and fees, the price after any promotional period ends, and whether the new network supports your exact phone model.
Run your IMEI through the new carrier’s compatibility checker. A phone that sold on one network often lacks bands for another, and 5G support varies even within a single brand. If the checker says no, stop and pick a different carrier or a different device before you gather anything else.
Check the coverage map for the places you actually use — your apartment, your commute, your kids’ school. Maps are marketing; a prepaid plan you can activate for a month is a better test if you’re torn.
Step 3: Ask the Old Carrier to Remove the Device Lock
A carrier-locked phone will not accept another carrier’s SIM. Postpaid carriers generally remove the lock automatically once the device is paid off, and prepaid and MVNO brands usually unlock it automatically after a set number of days or a set number of dollars added.
If it is still locked, call the old carrier and ask for a device unlock request, or submit it through their website. You will need the IMEI, the account holder name, and proof the device is paid off. Financed phones usually cannot be unlocked until the balance is cleared, and clearing that balance is often cheaper than the early termination fee.
How you tell it worked: the carrier confirms the unlock is submitted, and after a short processing window — sometimes a few hours, sometimes a few days — the phone shows no carrier lock. A factory reset does not affect this. Only the old carrier can do it.
Step 4: Transfer Your Number With the New Carrier
Order the new plan, or select the port option during checkout. The new carrier will ask for your current carrier name, account number, transfer PIN, billing ZIP code, and the account holder name exactly as it appears on the old bill.
Tell them your desired transfer date, and pick a date near the end of your current billing cycle so you don’t pay twice for the same month. If the account has multiple lines and you’re moving the whole thing, port the secondary lines first and the primary line last. Porting the primary line first can close shared lines you wanted to keep.
Stay alert for a validation text from the old carrier. Many carriers send an “Are you sure?” message to the number being ported, and the port will sit unfinished until that text gets a reply. Users in r/NoContract and r/tmobile describe this as the step that silently blocks everything else.
Step 5: Install the New SIM or Activate the New eSIM
For a physical SIM, power the phone off, slide the tray out with the eject tool, seat the new card with the cut corner matching the tray shape, push the tray in, and restart. Nothing else is required on most phones, and no network settings need touching.
For an eSIM, the new carrier usually sends a QR code by email or text. On iPhone, that means Settings, then Cellular, then Add eSIM. On Android, the wording varies by maker — Samsung puts it under Connections, then SIM manager, while Google’s own phones use the quick settings tile. Read the carrier’s own instructions, since the path changes between software versions.
You’ll find the eSIM EID the same way you find the IMEI, or by dialing *#06# on devices with an active eSIM profile. If the QR code doesn’t scan, type the activation code in by hand or have the carrier push the profile over the air.
How you tell it worked: your carrier name appears at the top of the status bar, and the phone shows LTE or 5G rather than “No Service.” A carrier-locked phone shows a message about an invalid SIM, which means step 3 didn’t finish.
Step 6: Test Service and Cancel the Old Line
Before you touch the old account, confirm the new one works end to end. Place a call, send a text that arrives, open a webpage on mobile data with Wi-Fi off, check voicemail, and sign in to any app that uses a text code.
Then handle the old account deliberately rather than assuming. Once a line ports away, most carriers close that line automatically, but a multi-line or family account often stays open. Log in and confirm which lines remain, then remove the ported line, the device, and the stored payment method yourself.
Read the final bill. Device payoff balances, remaining installment credits, and prorated charges show up after the port, sometimes weeks later. Ask for the payoff amount in writing before you leave so you know what a real zero balance looks like.
How you tell it worked: you receive a closing statement, the balance reads zero, and you have a confirmation email from the new carrier showing your number active on your new plan.
Common Mistakes to Avoid
These are the errors that turn a two-hour job into a week of support calls.
- Cancelling the old line first. The moment you cancel, the number is released and often recycled. Nothing left to port.
- Requesting the transfer PIN too early. Most expire within a few days. Get it the day before or the day of activation.
- Entering the wrong PIN. The account number and the account PIN are different things, and some accounts have no PIN until you generate one. Dial *PORT to create it.
- Ignoring the device payoff. The number ports fine and the bill arrives anyway. Ask for the payoff figure first.
- Assuming every phone works on every network. Check the IMEI in the new carrier’s compatibility tool before you order anything.
- Missing the validation text. If the old carrier texts the number you’re porting asking you to confirm, reply to it.
- Porting a family plan’s primary line first. Move secondary lines first or the shared account can collapse.
- Forgetting voicemail and 2FA. Voicemail greetings may still hold the old carrier’s message, and any app using SMS codes will need a re-verification round.
What Happens After the Port: A Short Housekeeping List
The transfer is the easy part. These are the things people find out about days later.
- Two-factor authentication. Any service that uses text codes may ask you to re-verify. Have your recovery codes ready.
- Banking and payment apps. Some bank apps fingerprint the device and SIM together and will treat the new SIM as a new device.
- Messaging apps. WhatsApp, Signal, and Messenger all need the new number registered before they work, and re-registering on a new number can affect encryption and message history.
- Voicemail. Your old greeting may still be attached to the number. Reset it on the new carrier and set a new PIN.
- Emergency address. Update the 911 address registered with the new carrier, or emergency responders get sent to the old address.
- Anything that texts you. Delivery notifications, ride apps, school systems, two-step verification, and old PIN messages will all route to the same number, but some services need a manual update.
Budget ten quiet minutes for this list. It’s the difference between a switch that feels finished and one that nags at you for a week.
How Long Does a Port Take?
Most ports finish in minutes to a few hours once the PIN is correct. eSIM activation tends to be fastest, sometimes completing during the activation flow itself, while a physical SIM can take a little longer. Larger prepaid and MVNO carriers sometimes quote one to three business days because their porting teams batch requests.
If a port has been sitting in a pending state for more than a day, something is wrong rather than slow. Common culprits are an expired PIN, a missed validation text, a name mismatch on the account, or a line that isn’t eligible to be ported until a port-out window opens.
One note on older accounts: federal rules require carriers to unlock a device once you’ve met the conditions on your plan, and port-in eligibility rules prevent a carrier from rejecting a port simply because it came from a competitor. If a carrier refuses to release your number without a reason, that refusal is worth escalating to the FCC’s consumer complaint process.
Quick Porting Checklist
Run this list the day of the switch. It takes about two minutes.
- Account number written down and confirmed against a recent bill.
- Number Transfer PIN generated today, not last week.
- Billing ZIP code and account holder name match the old account exactly.
- Phone is carrier-unlocked, or the unlock request is confirmed.
- IMEI passes the new carrier’s compatibility check.
- New plan ordered, port option selected, transfer date set near your billing cycle end.
- Old line is still active and untouched. Nothing canceled.
- SIM installed or eSIM activated, phone restarted, carrier name showing on the status bar.
- Call, text, mobile data, and voicemail all tested before anything else changes.
- Old account checked for leftover lines, devices, and payoff balance.
- Final bill at zero, and the porting line removed from the old account.
Once every box is checked, cancel the old service. That is the only moment cancellation is the right move.
Frequently Asked Questions
Do you have to change your number when switching carriers?
No. Your number belongs to you, not the carrier, and the transfer is called porting. The new carrier pulls it over using your old account number, Number Transfer PIN, and billing ZIP code. Federal rules have also barred carriers from unreasonable port-in rejections, so a competitor cannot refuse your port simply because it came from elsewhere.
Do I have to cancel my old plan before switching carriers?
No, and doing it in that order is the most common way people lose a number. When you cancel first, the line is released and can be recycled before the new carrier submits anything. Keep the old service active, complete the port, confirm your number works on the new plan, then close the old line yourself and check for a device payoff balance.
Why is my transfer PIN not working?
Four things cause this almost every time: the PIN is a day or more old and has expired, you are using your account number where the PIN belongs, the account has no PIN until you generate one, or your name does not match the old account. Dial *PORT from the line to generate a fresh PIN and account number, and if it still fails, call the old carrier’s porting department rather than general support.
Can I port my number while I still owe money on my phone?
Yes. The port itself is not blocked by a device balance, and there is no fee to leave your number. What you may owe is a device payoff balance or the remaining installments, which stay with the old carrier and can arrive weeks after the switch. Ask for the exact payoff figure in writing before you start so you know what a cleared balance looks like.
How long does it take for a ported number to be active?
Most ports complete in minutes to a few hours, and eSIM activation is often the fastest route. Some prepaid and MVNO carriers quote one to three business days because they process transfers in batches. If a port has been pending longer than a day, it is usually stalled on an expired PIN, a missed validation text, or a name mismatch rather than simply running slowly.
Does porting a number cancel my old account automatically?
A single line usually closes itself once the port completes, and the old carrier sends a closing statement. A multi-line or family account often stays open with the other lines still attached, which is why you should log in after the port and remove the transferred line yourself. Either way, check for a final bill, stored payment method, and any device balance before you walk away.
The switch comes down to three documents and one rule. Gather your account number, your Number Transfer PIN from *PORT, and your billing ZIP code on the day you activate. Confirm the phone is unlocked and passes the new carrier’s IMEI check. Order the new plan with porting selected, let the number move while your old line stays live, test everything, and only then close the old account and check the final bill.