Developer Options is a hidden section of Android Settings that holds USB debugging, animation controls, performance overlays and the bootloader unlock switch. To find it, open Settings and search for “developer options” — on Android 12 and later the result is usually right there — or tap Build number seven times in About phone. The whole process takes about a minute and needs no root and no computer.
Every brand hides this menu somewhere slightly different, and that is where most of the confusion comes from. Samsung calls the page “Software information”. Xiaomi buries it two levels down. Stock Android on a Pixel puts it under System. What follows covers all of them, plus what to do when the unlock silently fails.
Table of Contents›
- What You Need
- Step-by-Step: How to Find Hidden Developer Options on Android
- How to Find Hidden Developer Options on Android Using Device Search
- How to Find Developer Options on Android With the Build Number
- What to Do After Developer Options Is Enabled
- Common Mistakes
- Frequently Asked Questions
- What happens if I tap build number 7 times?
- How do I enable USB debugging on my Android device?
- What does enable USB debugging mean?
- Is it better to have developer options on or off?
- Why is my developer option not working?
- How can I hide developer options from apps?
- Conclusion
What You Need
You need three things, and two of them are already on the phone.
- An Android phone or tablet running Android 6 or newer. The Build number unlock has worked the same way for roughly a decade.
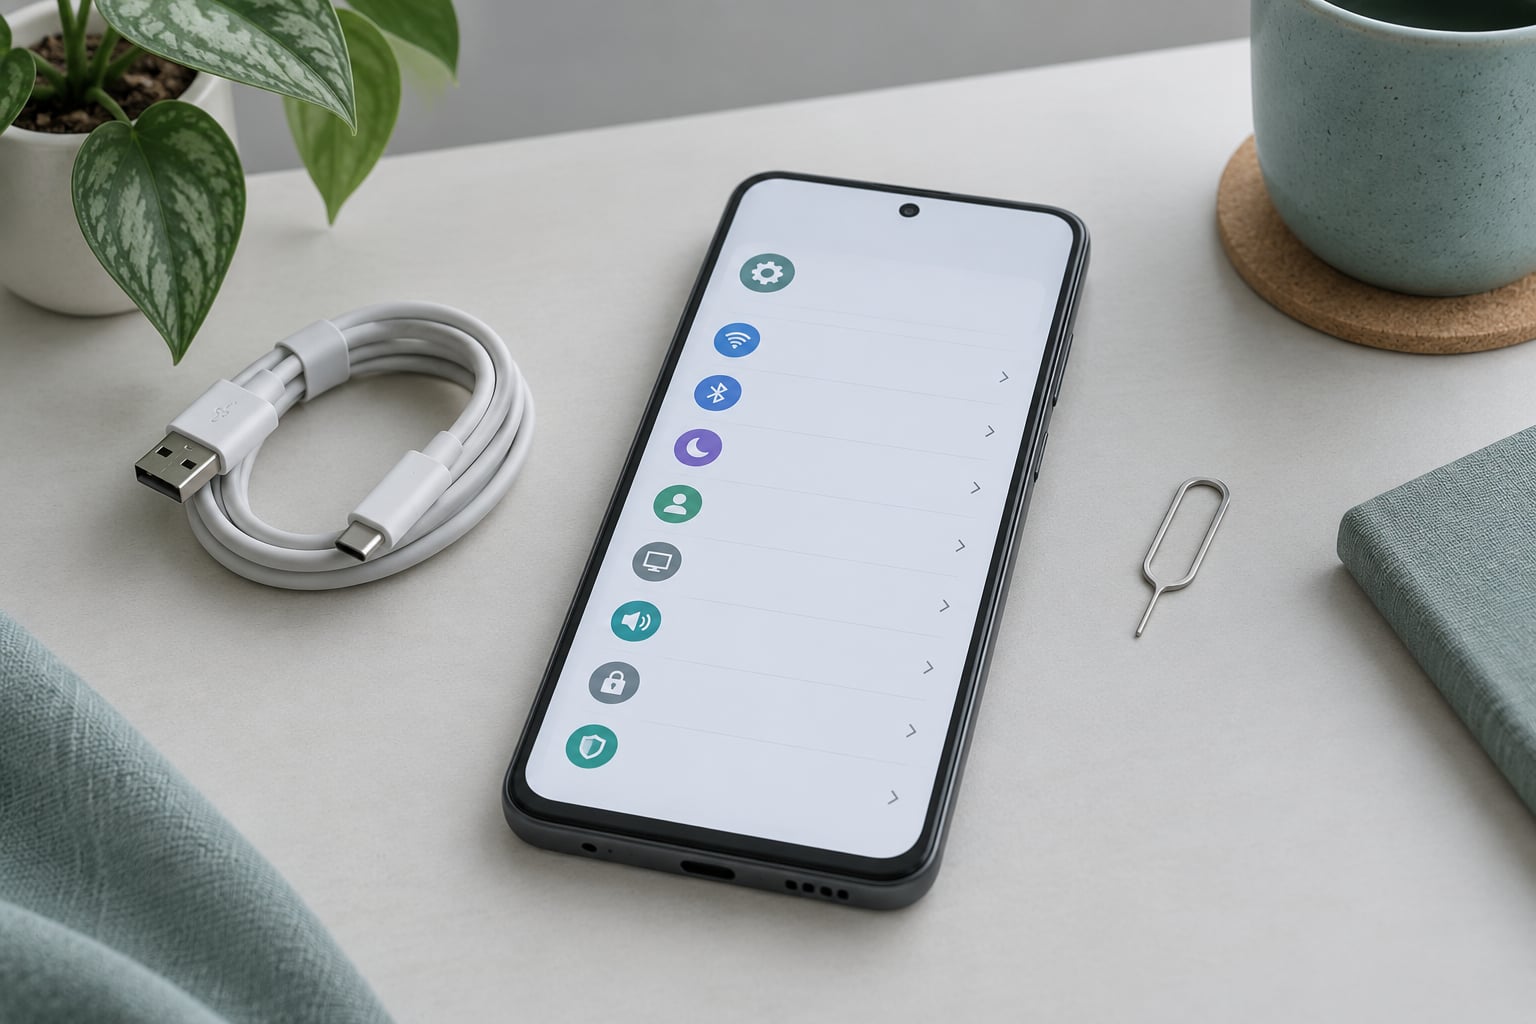
- Access to the Settings app. On most phones that is a swipe down from the top-right corner followed by the gear icon.
- Your screen lock credential, meaning the PIN, password or pattern you normally use to unlock the device. Android asks for it before it reveals the menu.
No root access. No computer. No third-party app. If you have ever pulled a photo off a laptop or used the built-in screen recorder, you already have everything required.
Step-by-Step: How to Find Hidden Developer Options on Android
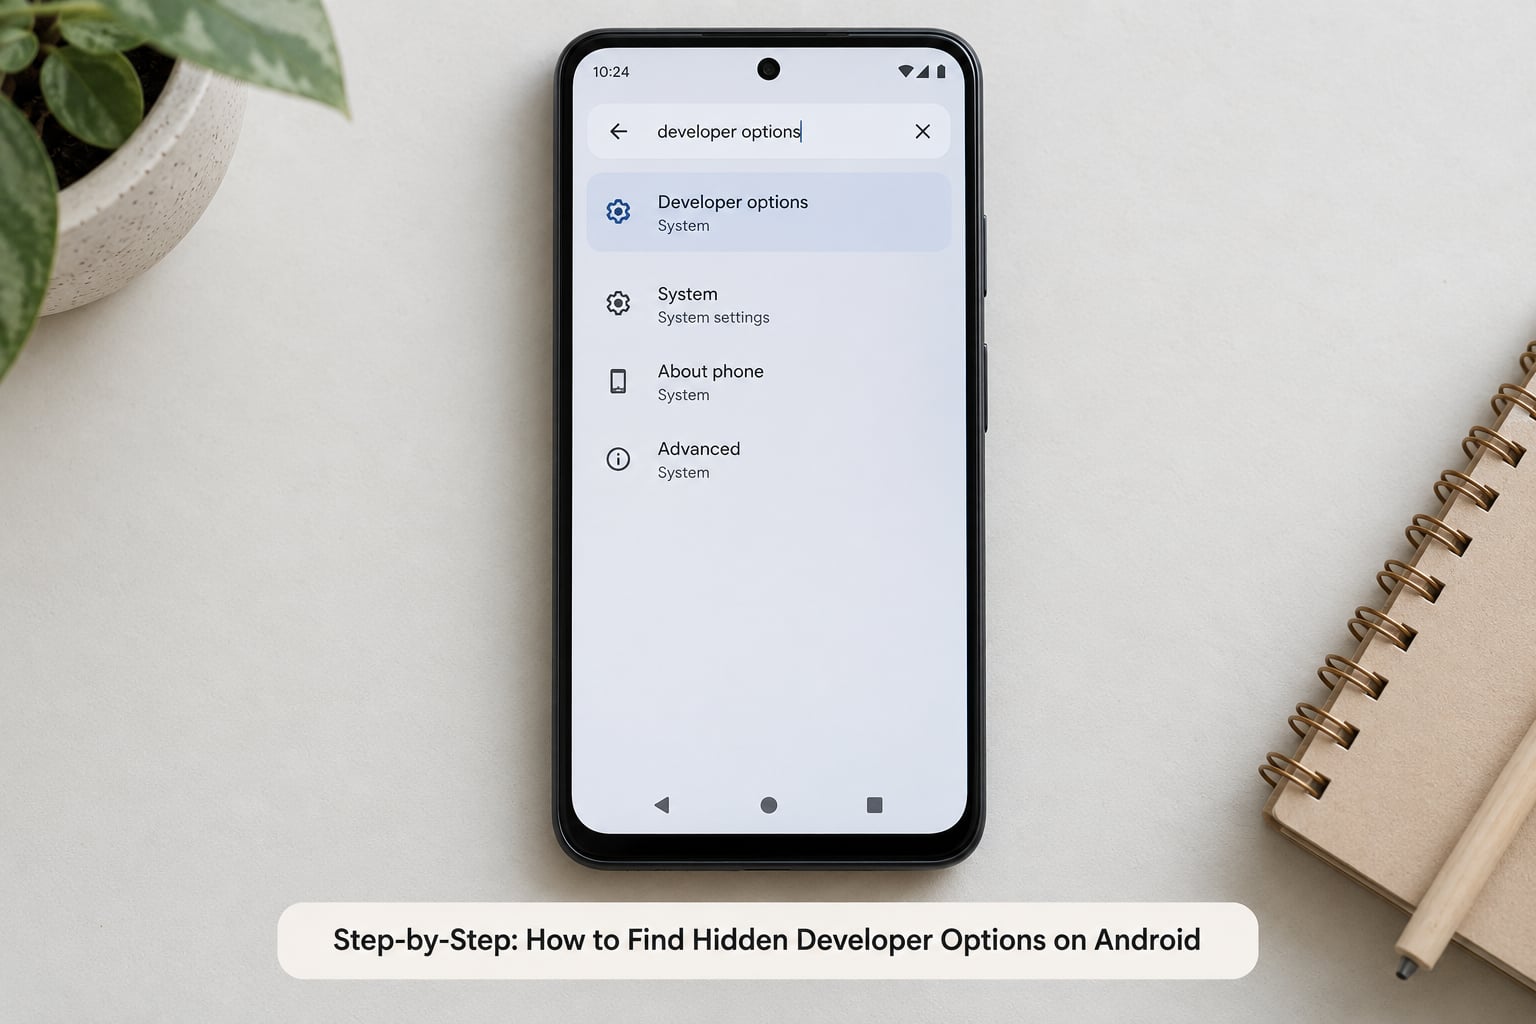
How to Find Hidden Developer Options on Android Using Device Search
This is the fastest route on Android 12 and later, where the Developer Options entry exists as a system setting even while it is still locked.
- Open Settings. A swipe down on the left opens the notification shade instead, which is the most common reason people think they cannot reach Settings at all.
- Tap the search bar at the top of the Settings list.
- Type developer options.
- Tap the result labelled Developer options, usually shown with a small icon and described as a system setting.
- If the page opens, you are in and the master switch at the top is already on. That shortcut exists on some builds only, so if search returns nothing, go straight to the Build number method below.
Search is inconsistent across brands. A handful of skins refuse to return the result until the menu is already unlocked, which is why the fallback matters.
How to Find Developer Options on Android With the Build Number
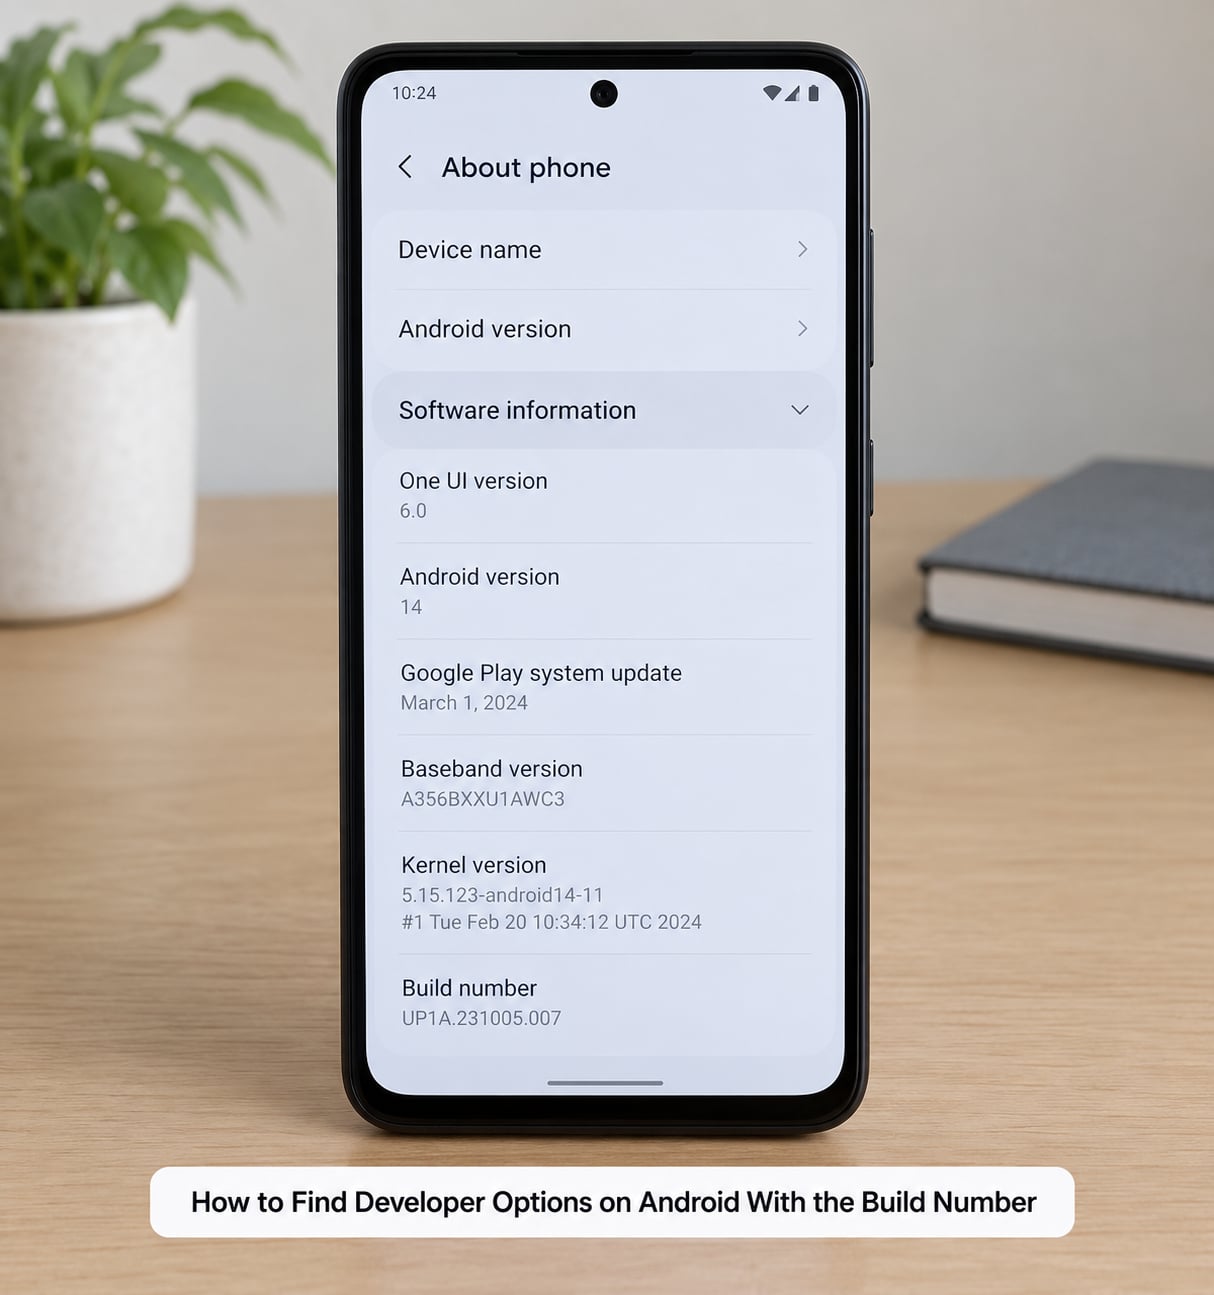
Tap Build number seven times. The count is literal, and Android counts it out loud as you go.
- Open Settings and scroll down to About phone. Some brands label this page About device.
- Scroll to the bottom and tap Software information or Software version to expand the full list, then find the Build number row. On Samsung the page is called Software information from the start, so skip the expand step.
- Tap Build number seven times. Android pauses briefly around the fourth tap to check that a human is doing it.
- Enter your PIN, password or pattern when prompted. This is the device credential, not your Google account password.
- A message reading “You are now a developer!” appears with a Done button. Tap Done. If you never see this message, the taps did not register.
- Press back to the main Settings list and tap Developer options. On most phones it now sits near the bottom of the list, just under About phone.
Where the menu lands depends on the skin:
- Google Pixel and stock Android: Settings, then scroll to System, then Developer options.
- Samsung Galaxy, One UI: Settings, Software information, Developer options. Samsung also hides Build number inside Software information, which is where most “I cannot find it” Samsung posts go wrong.
- Xiaomi, Redmi, Poco, HyperOS and MIUI: Settings, About phone, tap the HyperOS or MIUI version seven times, then Additional settings, then Developer options.
- OnePlus, Oppo, Realme: Settings, Additional settings, Developer options. Build number sits directly on the About device page.
- Vivo, Tecno, Infinix, Itel: Settings, More settings or Additional settings, then Developer options. Build number lives under About device or My phone.
- Motorola: Settings, System, Developer options.
What to Do After Developer Options Is Enabled
Confirm the page works by switching one harmless toggle on, then find the menu again from Settings to check it persisted. These are the settings worth knowing, with values that cause the least trouble:
- Animation scales — Window, Transition and Animator duration scale. Setting all three to 0x makes the interface feel noticeably faster, and 0.5x is a gentler middle ground. This is the most popular reason people unlock the menu at all.
- Stay awake while charging — keeps the screen on while plugged in, which saves restarting a screen recording every few minutes.
- Show taps and pointer location — useful when recording a tutorial so viewers can see where you press.
- Running services — shows every process currently holding memory, the fastest way to spot a misbehaving app.
- USB debugging — allows a computer with ADB to control the phone and pull files. Leave it off unless you are actively using it.
- Wireless debugging — the Android 11 and later alternative to a cable, same capability, no USB port required. People with flaky charging ports report it as more reliable than the cable.
Two entries need a warning. OEM unlocking stays greyed out on many carrier-locked and region-locked devices, and unlocking the bootloader wipes the phone on most models. Force 4x MSAA and force GPU rendering exist for app and game testing, not everyday use.
One thing the menu cannot do is hide itself. Once Developer options is enabled, apps can detect that state, and no app disguises it. This matters because some banking and DRM apps refuse to open or log in while Developer options or USB debugging is on. The fix is the master switch, not a masking tool. Switch Developer options off at the top of the page and tap “Revoke USB debugging authorizations” before opening the app again.
Common Mistakes
The Build number row is missing. On many devices you must scroll to the very bottom of the About page and expand Software information first. On Samsung the page is already called Software information, so people scroll forever looking for it elsewhere.
You tapped seven times and nothing happened. Slow or doubled taps are the usual reason. Use one finger, tap deliberately, and keep going through the pause around the fourth tap. Interrupting the count resets it to zero, which is why a first attempt that felt sluggish often failed.
The PIN prompt never appears. A work-managed or school-issued device blocks developer access by policy, and a screen lock held by a parental-control profile can block it too. There is no bypass; it has to be removed by whoever administers the device.
OEM Unlocking is greyed out. Carrier-locked and brand-locked phones refuse it at the software level. Nothing inside the menu changes that, and no sequence of taps will force it.
The menu is called something else. ColorOS and OxygenOS use the parent folder name Additional settings, MIUI and HyperOS do the same. Searching inside Settings finds the entry whichever label it carries.
You switched Developer options off and now it is gone. Turning off the master toggle at the top of the page removes the menu entirely rather than collapsing it. Tap Build number seven times again to bring it back.
USB debugging gets misunderstood. It is not a file transfer setting and it does not let you install apps from the Play Store. It authorises ADB shell access from a connected computer. The real risk is leaving it enabled and plugging into an unknown port or charger, where data can be pulled off the device.
Settings force-closes when Developer options opens. Reported on support forums for some OEM skins. A restart usually clears it, and if it comes back the device is running a modified or outdated system image.
Frequently Asked Questions
What happens if I tap build number 7 times?
Android asks for your PIN, password or pattern, then shows a message reading You are now a developer!. That unlocks the Developer options entry in your Settings list. It changes no setting by itself and starts no background service, it only makes the menu visible. The risk comes from what you switch on afterwards, mainly USB debugging and OEM unlocking.
How do I enable USB debugging on my Android device?
Enable Developer options first, open the page and switch on USB debugging at the top. Connect the phone to a computer with a data-capable USB cable, and a dialog appears on the phone showing an RSA fingerprint with an Allow button. Tick Always allow from this computer, then tap Allow. The prompt appears once per computer and later connections are automatic. Wireless debugging does the same job over Wi-Fi on Android 11 and later.
What does enable USB debugging mean?
It means the phone accepts commands from a connected computer over ADB. Once you approve the RSA fingerprint, that computer can read and copy files, install or remove apps, and run shell commands. Nothing happens until a computer is connected and you approve the prompt, which is why enabling it briefly and switching it off again is low risk.
Is it better to have developer options on or off?
Off, unless you are actively using it. Developer options is a menu, not a service running in the background, so having it enabled on its own slows nothing down. What matters is the individual toggles inside it. Turn the master switch off and USB debugging off when you finish, and revoke USB debugging authorizations, especially if you use banking or streaming apps.
Why is my developer option not working?
The most common causes are taps on Build number that were too slow or doubled, a work-managed device blocking the feature by policy, and looking in the wrong menu for a Samsung or Xiaomi phone. Check that you tapped Build number seven times without a break, confirm the You are now a developer message appeared, and search Settings for developer options to see whether the entry landed under Additional settings or System.
How can I hide developer options from apps?
You cannot hide the state itself. Once the menu is enabled, apps can check whether it is on, and no masking app changes that. What you can do is switch the master Developer options toggle off and tap Revoke USB debugging authorizations, which is the fix most banking and DRM apps need before they will open.
Conclusion
Start by opening Settings and searching for developer options. On Android 12 and later that is often the whole job. If search comes up empty, go to About phone, expand Software information if you need to, and tap Build number seven times until the “You are now a developer!” message appears.
Once you are inside, change only what you understand. USB debugging and OEM unlocking are the two worth switching back off when you finish, and leaving the master toggle off keeps your banking apps and streaming services working as they should.