Learning how to set up a phone for an older adult takes about 30 minutes if you do it in the right order: first make calls and video messages work, then turn the text and icons up, then strip out the apps and settings that create confusion. You do not need every accessibility feature turned on, and you definitely do not need to buy anything extra.
The single most useful thing you can do is sit next to them while you set it up, then hand it over and watch which task makes them hesitate. That hesitation tells you exactly what to fix.
Menu names below are current as of 2026 on iPhone (iOS) and Android, including Google Pixel and Samsung Galaxy. Phones update and menus move, so if a path here does not match what you see, search the Settings app for the feature name instead of guessing.
Table of Contents›
- What You Need
- Step-by-Step: How to Set Up a Phone for an Older Adult
- Before you set up a phone for an older adult
- Set the home screen and essential apps
- Adjust text, sound, and accessibility settings
- Add trusted contacts and communication shortcuts
- Enable location, emergency features, and privacy controls
- Test the phone with a short practice session
- Common Mistakes
- Frequently Asked Questions
- What is the easiest phone to set up for an older adult?
- Should I buy an Android phone or an iPhone for an older adult?
- What apps should be installed on a new phone for an older adult?
- Is it safe to give a family member access to an older adult’s phone?
- How often should an older adult’s phone be updated?
- What should I do if an older adult cannot remember the phone passcode?
- Conclusion
What You Need
Gather these before you touch the phone. Setting up while hunting for a charger code is how an hour gets lost.
- The new phone, unboxed, with its charger. A charging block and cable they will plug in themselves, not a wall adapter tucked behind the sofa.
- The account password. Apple ID or Google account email and password, written down somewhere safe rather than on a sticky note on the screen.
- The SIM card or eSIM confirmation. If the phone uses a physical SIM, it is usually in the box. If it is eSIM, the carrier activates it from its own app or by QR code during setup.
- Wi-Fi name and password. Ask the network holder. Cellular-only setup works but downloads over video calls are painful.
- Emergency details. Full legal name, date of birth, medications, allergies, doctor and emergency contact. This becomes the Medical ID.
- Their old phone, still working. You need it to pull photos and contacts across, and to confirm the Apple ID or Google password if nobody remembers it.
- An hour, and a family member who is patient. Optional but it makes the difference between a phone they use and a phone they hide in a drawer.
Before you start, ask what they actually want the phone to do. Most older adults name four things: call family, video call family, get directions, and know what to do in an emergency. Everything else can wait.
One honest caveat. Some people in their nineties cannot learn a new device no matter how the settings are arranged. If your relative is very advanced in age, keep the landline active if there is one, because landline calls give emergency dispatchers the address automatically. A simplified phone is not always the answer.
Step-by-Step: How to Set Up a Phone for an Older Adult
Before you set up a phone for an older adult
Start with the old phone, not the new one. Back it up so nothing is lost if the new phone turns out to be a mistake.
On an iPhone, back up with Settings > [your name] > iCloud > iCloud Backup > Back Up Now, keeping the phone plugged in and awake until it finishes. On Android, Settings > Accounts > Google > Backup does the same job. Both backups are encrypted and run over Wi-Fi, so start it before you begin the new setup.
Carry photos and contacts across by hand rather than restoring an old backup, in most cases. On iPhone, transfer with Quick Start: put both phones near each other and the new one offers to set itself up from the old one. Android makers do the same thing under names like Copy apps & data or Bring over your content, so look for that prompt during the initial setup screens.
Restoring a full backup reproduces every old setting, including the ones that were confusing. That is the reason most guided setups start fresh and move contacts and photos over individually. If your relative had the phone configured well already and you know they liked it, restore instead.
Next, get the phone online and on the plan. Insert the SIM, or activate the eSIM with the carrier. Sign in with the Apple ID or Google account. On Android, you will be asked whether to restore apps and settings; decline it. On iPhone, skip the Restore from Backup step for the same reason.
Set the home screen and essential apps
The default home screen is the biggest source of confusion. Cut it down.
First, delete what they will never use. On iPhone, press and hold an app, tap Remove App > Delete App. On Android, press and hold, then Uninstall. Work through the folder pages on both platforms and be ruthless: a weather app they will never check, a shopping app, three different browsers.
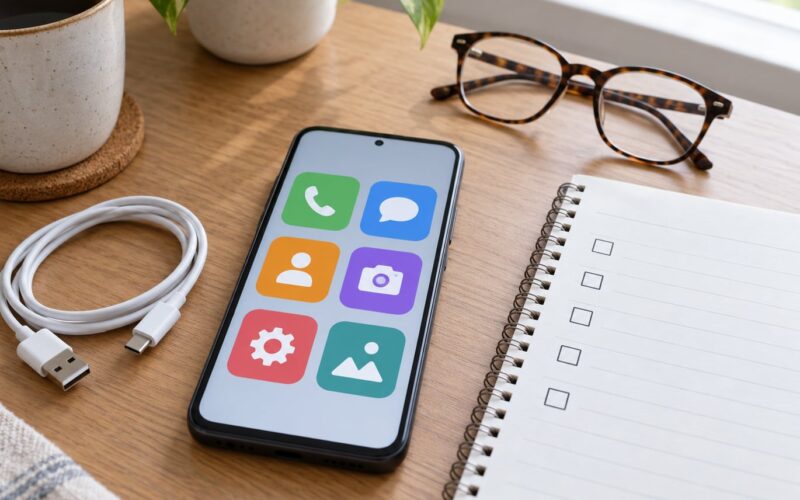
Then put the four essentials in the dock, the row along the bottom that stays visible on every screen. Phone, Messages, Camera, and Maps is a good set. On iPhone, press and hold an app and choose Add to Dock. On Android, open the app menu and use Add to Home screen, which places it on a page rather than the dock, so pull up the app drawer and use Pin where the device offers it.
Delete every home screen page beyond the first two. That is Settings > Home Screen > Pages on iPhone and the page picker during Settings > Home on most Androids. Two screens is plenty: one for the dock, one for family photos and the rest.
Now install the apps they will need before they ever ask for them. A family group chat, a video calling app everyone in the family already uses, a maps app, a ride-hailing app, and whatever their bank uses. Log into the banking and email apps yourself. This is the set-it-and-forget-it approach caregivers describe, and it works because the phone never has to be used for setup again.
One last thing on this screen: leave Date & time set automatically switched on. On iPhone it is Settings > General > Date & Time. On Android it is usually Settings > System > Date & time. Wrong timestamps make message threads look scrambled and can break two-factor codes.
Adjust text, sound, and accessibility settings
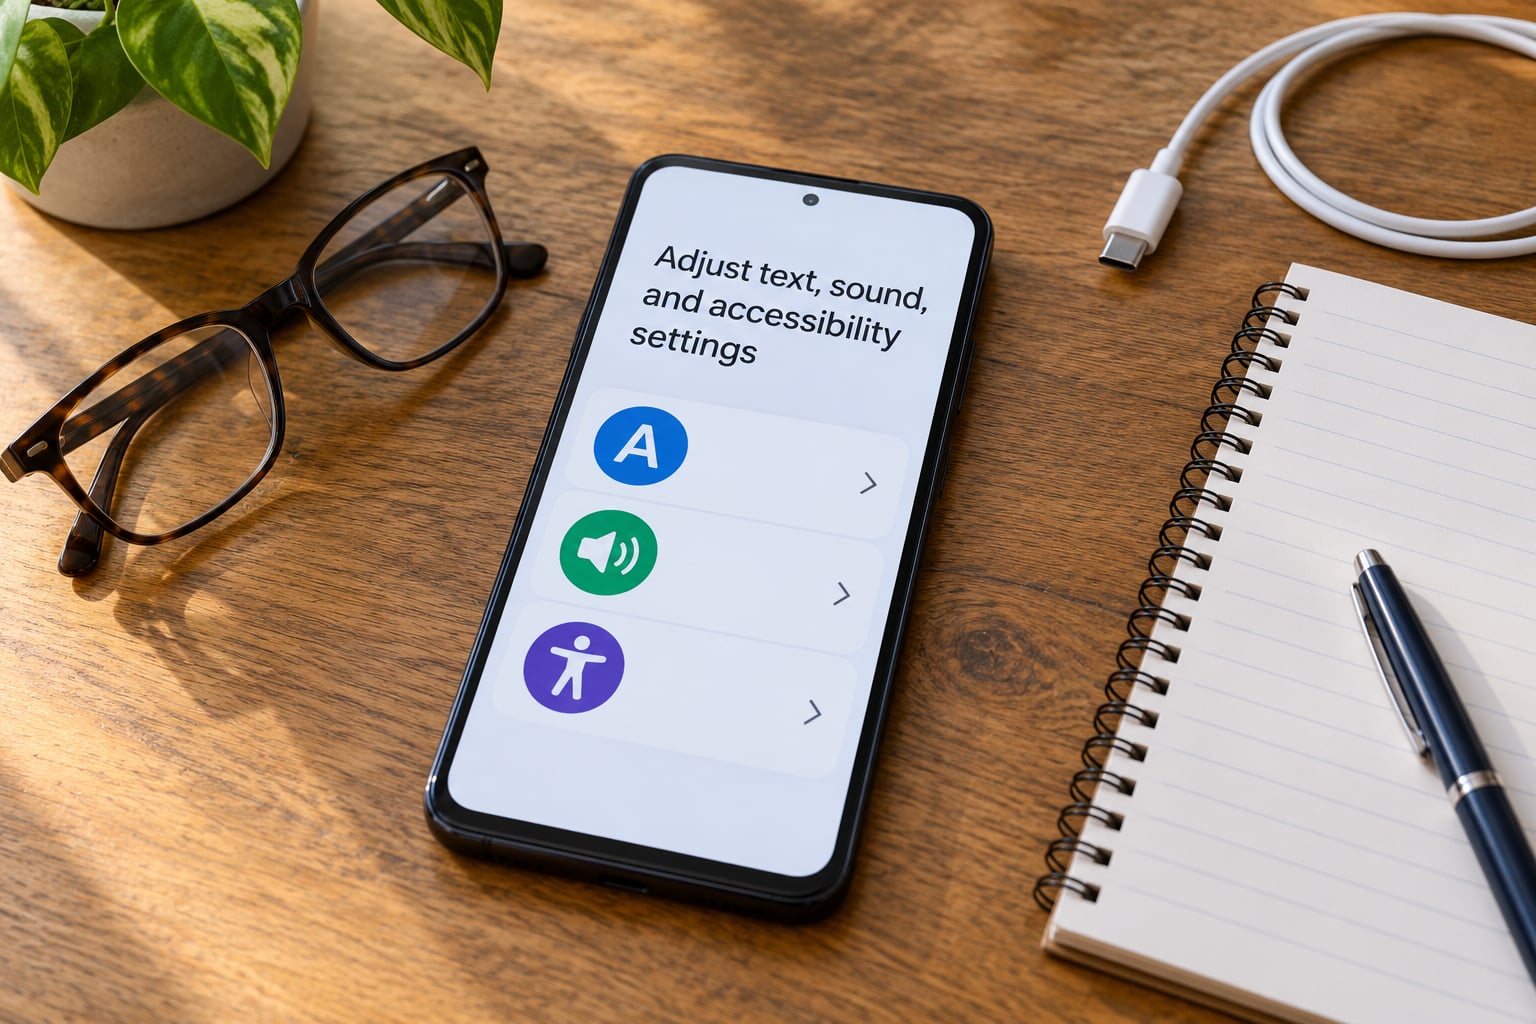
This is the section that changes their whole relationship with the phone. Turn text up first, then everything else makes sense.
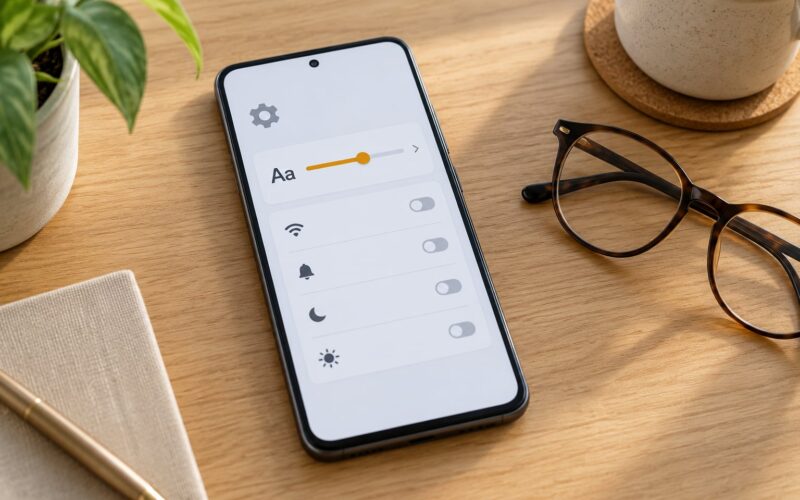
Text size on iPhone: Settings > Accessibility > Display & Text Size > Larger Text. You can also set a specific size at Settings > Display & Brightness > Text Size. Bold Text sits in the same Display & Text Size menu. If labels still get cut off, go to Display Zoom in that same menu and turn it on, which enlarges everything including icons. Settings > Accessibility > Display & Text Size > Button Shapes adds a shaded background behind buttons, which helps people with low vision find a tap target.
Text size on Android: Settings > Display > Display size and text on Pixel, and on most others it is under Display or Accessibility. Set the font size near the top, then the display size below it. Bold text is at Settings > Accessibility > Visual preferences or, on Samsung, Settings > Accessibility > Accessibility shortcut > High contrast fonts.
| What you are changing | iPhone path | Android path |
|---|---|---|
| Text size | Settings > Accessibility > Display & Text Size > Larger Text | Settings > Display > Display size and text |
| Bold text | Settings > Accessibility > Display & Text Size > Bold Text | Settings > Accessibility > Visual preferences > Bold text |
| Bigger icons and less detail | Settings > Accessibility > Display & Text Size > Display Zoom | Google Pixel: Settings > Accessibility > Talk Back > Simple View |
| Read text aloud | Settings > Accessibility > Spoken Content > Speak Selection | Settings > Accessibility > Select to Speak |
| Caption phone calls | Settings > Accessibility > Live Captions | Settings > Accessibility > Live Caption |
| Magnifier zoom | Settings > Accessibility > Zoom | Settings > Accessibility > Magnification |
| Flash for alerts | Settings > Accessibility > Audio & Visual > LED Flash for Alerts | Settings > Sounds and vibration > Flash notification |
| Hearing aids | Settings > Accessibility > Hearing Devices | Settings > Sound and vibration > Hearing aids or Audio output |
| Voice assistant | Settings > Siri > Siri Responses, then say Hey Siri | Settings > Google > Voice > Voice Access, or Talk Back > Voice Control |
| Simpler interface | Settings > Accessibility > Assistive Access | Samsung: Settings > Accessibility > Easy Mode |
The simplified modes go further than text size. Assistive Access on iPhone, introduced in iOS 17, strips the interface down to a handful of large buttons for calling, messages, photos and camera, and it runs on its own separate passcode so the person cannot wander back into the full system. Simple View on Pixel gives large text, bigger icons and limited home screens without a separate password. Easy Mode on Samsung Galaxy does a similar reduction and can be toggled off from the home screen or by pressing the accessibility button three times.
Pick one of those only if the display settings alone were not enough. They are easy to undo, but while they are on, the phone is genuinely limited, and some people find the stripped-down version infantilising.
Sound settings matter as much as text. Set Settings > Accessibility > Audio & Visual > Ringer and Alerts on iPhone to a distinct, loud tone and raise the volume, then turn on LED Flash for Alerts so calls flash the screen when it is face-down or across the room. Turn off Silence with Buttons in the same menu, because a heavy-handed volume press silences the phone without anyone noticing, and missed calls cause real distress.
On Android, Settings > Sounds and vibration handles ringtone, vibration and Do Not Disturb. Set DND to Off. Enable Settings > Accessibility > Hearing enhancements > Sound Amplifier on devices that have it, which boosts voices during calls.
Turn on captions either way. Live Captions on iPhone and Live Caption on Android transcribe calls and video sound, which matters more for hearing loss than almost any other setting on this list.
Add trusted contacts and communication shortcuts
Family should be reachable in one tap from anywhere on the phone, not buried in a contacts list.
On iPhone, open the Phone app, tap Contacts, then Favorites at the top to star the five people who matter. That row sits under the recents list on every call screen. On Android, open the Phone app, tap Contacts > 3-dot menu > Starred and mark the same people.
Decide whether voice dialing will actually work before you promise it. On iPhone, say Hey Siri, then Call [name]. Turn on the spoken response at Settings > Siri & Search > Siri Responses > Always show so it confirms who it thinks you meant, which prevents the classic wrong-number call. On Android, enable Settings > Accessibility > Select to Speak or set up Voice Access, which lets you tap a number once and then say tap, next and scroll instead of swiping.
Set a default calling and messaging app so every tap does the same thing. On iPhone that is Settings > Apps > Default Apps on recent versions, or Phone > Keypad > long press on 2 for the speed dial shortcut. On Android, Settings > Apps > Default apps.
Finally, decide how they will reach you. Many families keep a paper card by the phone with the landline number, the mobile number and the address written out, because a person in a panic will not find a contact named Emergency. Leave the card by the charger.
Enable location, emergency features, and privacy controls
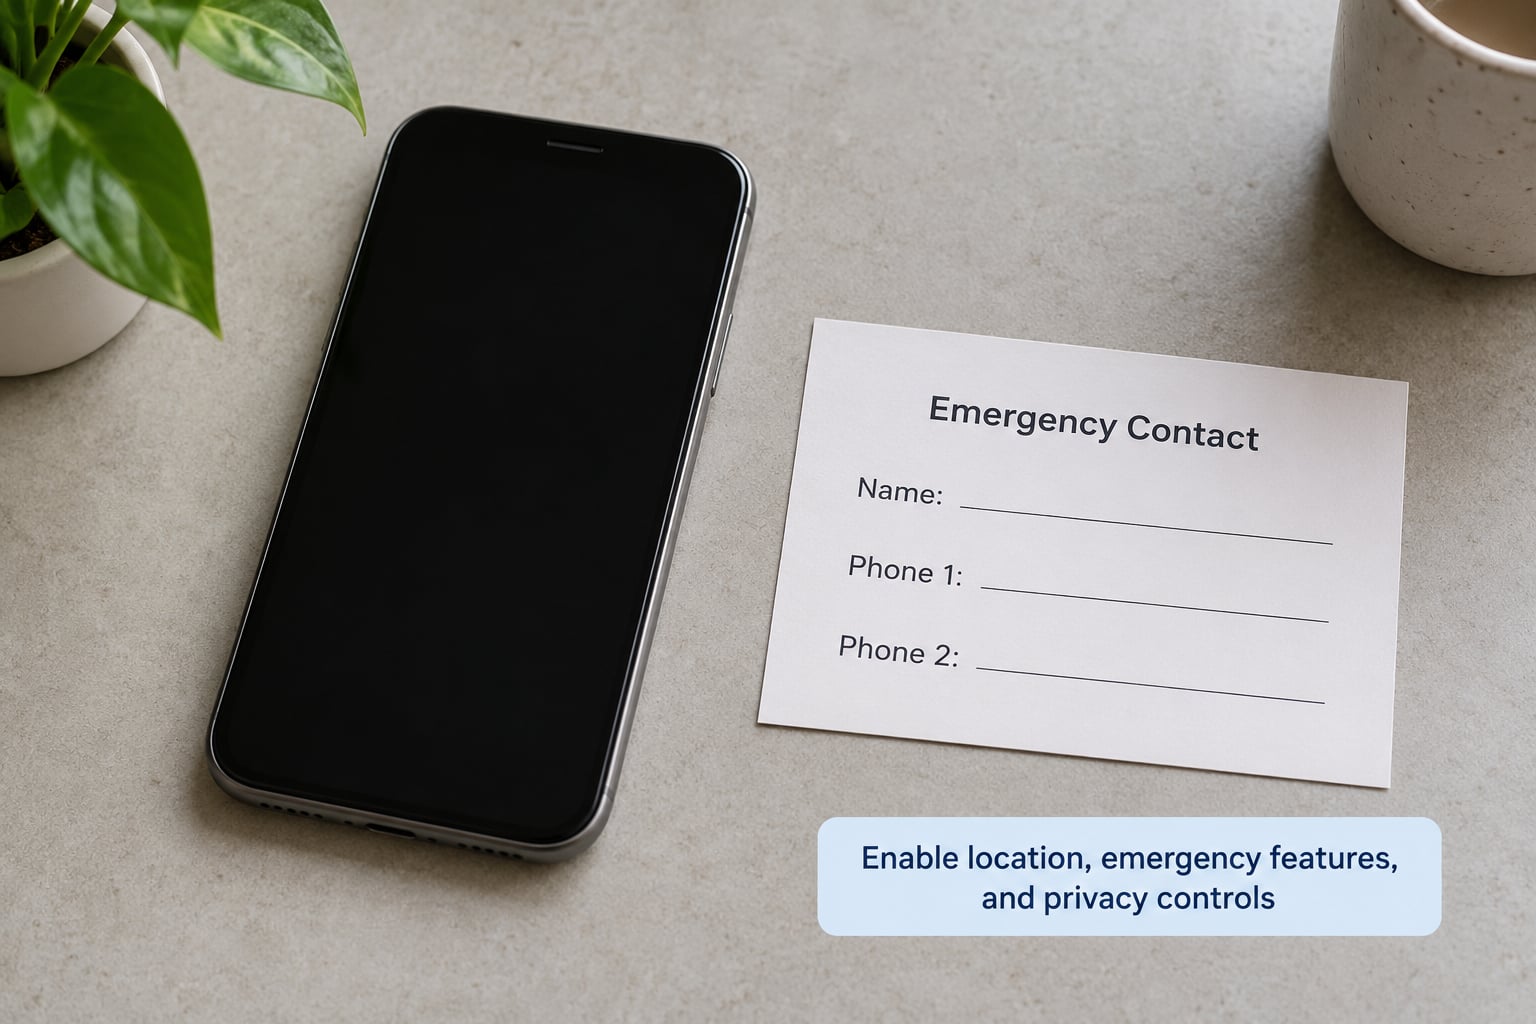
This section does two jobs: it helps them call for help, and it makes them a harder target for scammers.
Emergency SOS on iPhone: Settings > Emergency SOS. Choose the number of presses needed to trigger it, add medical details, and turn on Emergency SOS via Side Button. Then set up Medical ID at Health > Medical ID > Edit with medications, allergies, conditions and an emergency contact. Lock screen medical information can be set to show when locked at Health > Medical ID > Show When Locked.
On Android: Settings > Safety & emergency > Emergency SOS (Samsung) or Settings > Safety & emergency on Pixel. Add emergency contacts and medical information in the same area. Note that 911 calling still works from the lock screen on both platforms without unlocking, but medical details only appear if that feature is switched on.
Location sharing lets a family find each other without asking questions. On iPhone, Settings > Privacy & Security > Location Services > Share My Location, then add each family member as a contact and choose either while using the app or always. On Android, Settings > Location > Location sharing. If dementia or wandering is a concern, enable Google Location History or Find My on the relative’s own account as well, so the location can be found even if they cannot answer the phone. Turn off location history when you do not need it; it is a permanent record of movements.
App permissions are where most avoidable risk sits. On iPhone, Settings > Privacy & Security > Location Services and then Camera, Microphone, Contacts each give a per-app list. Set apps that do not need a permission to Never, and make location Ask Next Time or While Using the App rather than Always. On Android, Settings > Apps > Special app access > Location permission, then do the same sweep. A flashlight app does not need precise location. Neither does a calculator.
Reduce advertising data with Settings > Privacy & Security > Tracking on iPhone, where you can turn off Allow Apps to Request to Track You. On Android, delete the advertising ID at Settings > Privacy > Ads, or reset it, which breaks the profile many scam ads follow.
Scam protection is the step families most often skip. Caregivers on Reddit describe a grandmother ending up with five PDF reader apps, three of them fake, throwing popups claiming the phone was dying and asking for card details. Three habits prevent most of it.
- Turn on automatic security updates. On iPhone, Settings > General > Software Update > Automatic Updates. On Android, Settings > Security > Security updates and automatic app updates at Google Play > Settings > Auto-update apps.
- Set up a scam-blocking caller ID and message filtering. Both platforms have one built in under phone settings, and carriers offer similar filters that flag the high-volume scam numbers.
- Say the rule out loud once: nobody from a bank, the tax office, Microsoft or the police ever asks for a card number, a PIN, or a code texted to the phone. Write it on the paper card too.
Also keep automatic app installation off. On Android, Settings > Apps > Special app access > Install unknown apps should show nothing granted, or every app. On iPhone, Settings > Screen Time > App Store lets you set it to Installing Apps: Ask so nothing installs without a password.
Finally, set up backup so a lost phone is an inconvenience, not a catastrophe. iCloud Backup on iPhone and Google Backup on Android run daily over Wi-Fi. Confirm the backup completed once by checking the last backup date before you hand the phone over.
Test the phone with a short practice session
Sit down with them and run through seven tasks. Say each one out loud, let them do it, and only help when they have been stuck for a while.
- Unlock it. If the passcode is being missed repeatedly, move to Face ID or a fingerprint and set up a written backup passcode somewhere safe.
- Call you. Not a test call to a stranger, a real 30-second conversation with a favourite person.
- Find and open the camera, then send the photo in the family group chat. This is the task most people want and the one that reveals whether the dock layout works.
- Video call someone. Put it in favourites before the practice session, not after.
- Open Maps and search for home. Check the pin looks right out loud. Wrong home pins send people to the wrong street with total confidence.
- Show where Emergency SOS and Medical ID live. You do not need to trigger it. Just open the screen and find it together.
- Plug it in and charge it overnight. A phone at 3 percent in the morning is a dead phone by lunchtime.
Note every hesitation. If they cannot find the messages app, add it to the dock. If swiping does not happen, turn on Settings > Accessibility > Touch > AssistiveTouch on iPhone or Settings > Accessibility > Interaction controls on Android, which adds a floating home button. Then repeat the same tasks a week later, because the first session always goes better than the second and worse than the fifth.
Common Mistakes
Skipping the backup. The most common and the worst. Back up the old phone before anything else, and confirm the new phone shows a completed backup date before you hand it over.
Granting every permission when asked. The pop-up says Allow While Using App for a reason. Go through Privacy & Security on iPhone or Apps > Special app access on Android and set anything unneeded to Never. Location history in particular is a record of every move.
Stopping at the default text size. Accessibility text size is not the same as the Display & Text Size slider. Do both, then add Display Zoom or the display size slider if labels still clip. Check it by reading a text message at arm’s length, which is roughly where many older adults actually read.
Leaving gesture-only navigation on. Swipe-up-to-go-home is invisible to most new users. On Android, Settings > System > Gestures > System navigation lets you switch to the three-button bar. On iPhone, AssistiveTouch does the same job.
Never updating the phone. Automatic updates matter more here than on any other device, because scam protection ships in security patches. Turn them on during setup and then stop thinking about it.
Letting notification noise build up. Every app left installed keeps buzzing. Go through Settings > Notifications on iPhone or the per-app notification settings on Android and silence everything except messages, calls, calendar and the family chat.
Treating setup as a one-time event. The first two weeks decide whether the phone gets used. Expect a call or two per week for a month, and treat each one as a setting that was wrong rather than a person who cannot learn.
Two honest limits are worth stating plainly. Some people will not master a new device regardless of settings, and there are caregivers who report that a purpose-built senior phone still failed for a parent in their nineties. And a phone will not replace a landline in every household, because a landline call sends the address to dispatch automatically.
Frequently Asked Questions
What is the easiest phone to set up for an older adult?
The easiest phone to set up is one you configure yourself before handing it over, not one that is simpler out of the box. Buy a current standard phone, then use Display Zoom on iPhone or Simple View on Pixel to enlarge icons and text. Avoid phones whose selling point is simplicity alone; they are usually easier to buy but harder to get help with later.
Should I buy an Android phone or an iPhone for an older adult?
Choose based on what the family already uses. If the rest of the family is on Android, video calling and photo sharing come free and support is easier. Both platforms now have a simplified mode: Assistive Access on iPhone and Easy Mode on Samsung. The real difference is battery longevity and resale value, where iPhones tend to hold up better.
What apps should be installed on a new phone for an older adult?
Install everything before you hand the phone over: phone and messaging, the camera, maps, the video calling app the family already uses, their bank app, email, a ride-hailing app, and a group chat with relatives. Log each one in yourself and add cards where the app allows it, so they never need to visit an app store.
Is it safe to give a family member access to an older adult’s phone?
It is common and often the arrangement that keeps the phone usable. Share the Apple ID or Google account credentials through the platform family sharing or account sharing features, but keep a record of what you have access to and tell them plainly. For dementia or financial exploitation concerns, consult an elder law attorney rather than relying on informal password sharing.
How often should an older adult’s phone be updated?
Turn on automatic updates and the phone will handle it. On iPhone, that is Settings, General, Software Update, Automatic Updates. On Android, enable security updates under Settings, Security, and automatic app updates in the Play Store. Still check once every few months that backups are running, since a failed backup is the only update setting that needs attention by hand.
What should I do if an older adult cannot remember the phone passcode?
Resetting the passcode erases the device, so confirm cloud backup exists first. On iPhone, a computer with Finder or iTunes restores from backup; on Android, a computer with the manufacturer’s tool does the same. If the phone is locked and you cannot reach a computer, a second trusted device can erase it remotely. Never guess repeatedly; too many wrong attempts lock the device further.
Conclusion
Start with communication, not accessibility menus. Make calling, video calling and messaging work first, because that is what they will actually use, and every other setting makes more sense once the phone is already doing its job.
Then raise the text, strip the home screen back, turn on captions and emergency features, and set up backup and scam protection in the same sitting. Test the seven tasks together and fix whatever caused a hesitation, then check back in a week.
Get the order right and how to set up a phone for an older adult stops being a technical chore and becomes a half hour that pays off for years.