Portrait mode estimates how far your subject sits from the background, then blurs everything behind it so your subject stands out. Turning it on is usually one tap in the camera app, but the results are decided by three things: light, distance between subject and background, and a background that stays simple. Get those right and the effect looks natural. Get them wrong and the photo looks like a sticker.
Here is the honest version. Portrait mode is computed, not optical. Your phone is guessing at depth from pixels, which is why it sometimes slices hair off or blurs a pair of glasses that should stay sharp. Set your expectations to that and the technique below will get you most of the way.
One quick note before we start, because it trips people up constantly. Portrait mode here means the depth-of-field effect in your camera. It has nothing to do with holding the phone upright when you record video, which people also call portrait mode.
Table of Contents›
- What You Need
- Step-by-Step: How to Use Portrait Mode Well
- Step 1: Open Portrait Mode on Your Phone
- Step 2: Choose a Subject With Clear Separation
- Step 3: Use a Simple Background
- Step 4: Set the Lighting Before Focusing
- Step 5: Choose the Right Depth Effect
- Step 6: Focus, Hold Still, and Take Several Shots
- Step 7: Check the Edges Before Keeping the Photo
- Common Mistakes
- Frequently Asked Questions
- Does portrait mode make every phone photo look better?
- What is the best background for a portrait-mode photo?
- Can I use portrait mode in low light?
- Why do portrait-mode edges look blurred or cut out?
- When should I turn portrait mode off?
- Conclusion
What You Need
You need a phone with a portrait or depth mode. On iPhones it sits in the Camera mode strip; on many Android phones it lives under More modes, Bokeh mode, or the camera app’s depth setting. Samsung, Google, Motorola, OnePlus and other makers each label things slightly differently, so check the Help section inside your camera app if you cannot spot it.
You also need one clear subject. A single person, a pet, a plant in a pot, a mug on a table. Portrait mode struggles when there are two subjects at similar distances, because it cannot tell which one you meant.
Finally, you need a gap behind the subject. A few feet of space gives the phone something to blur. A subject pressed flat against a wall gives it nothing to work with, and the result looks soft everywhere rather than sharp on the person.
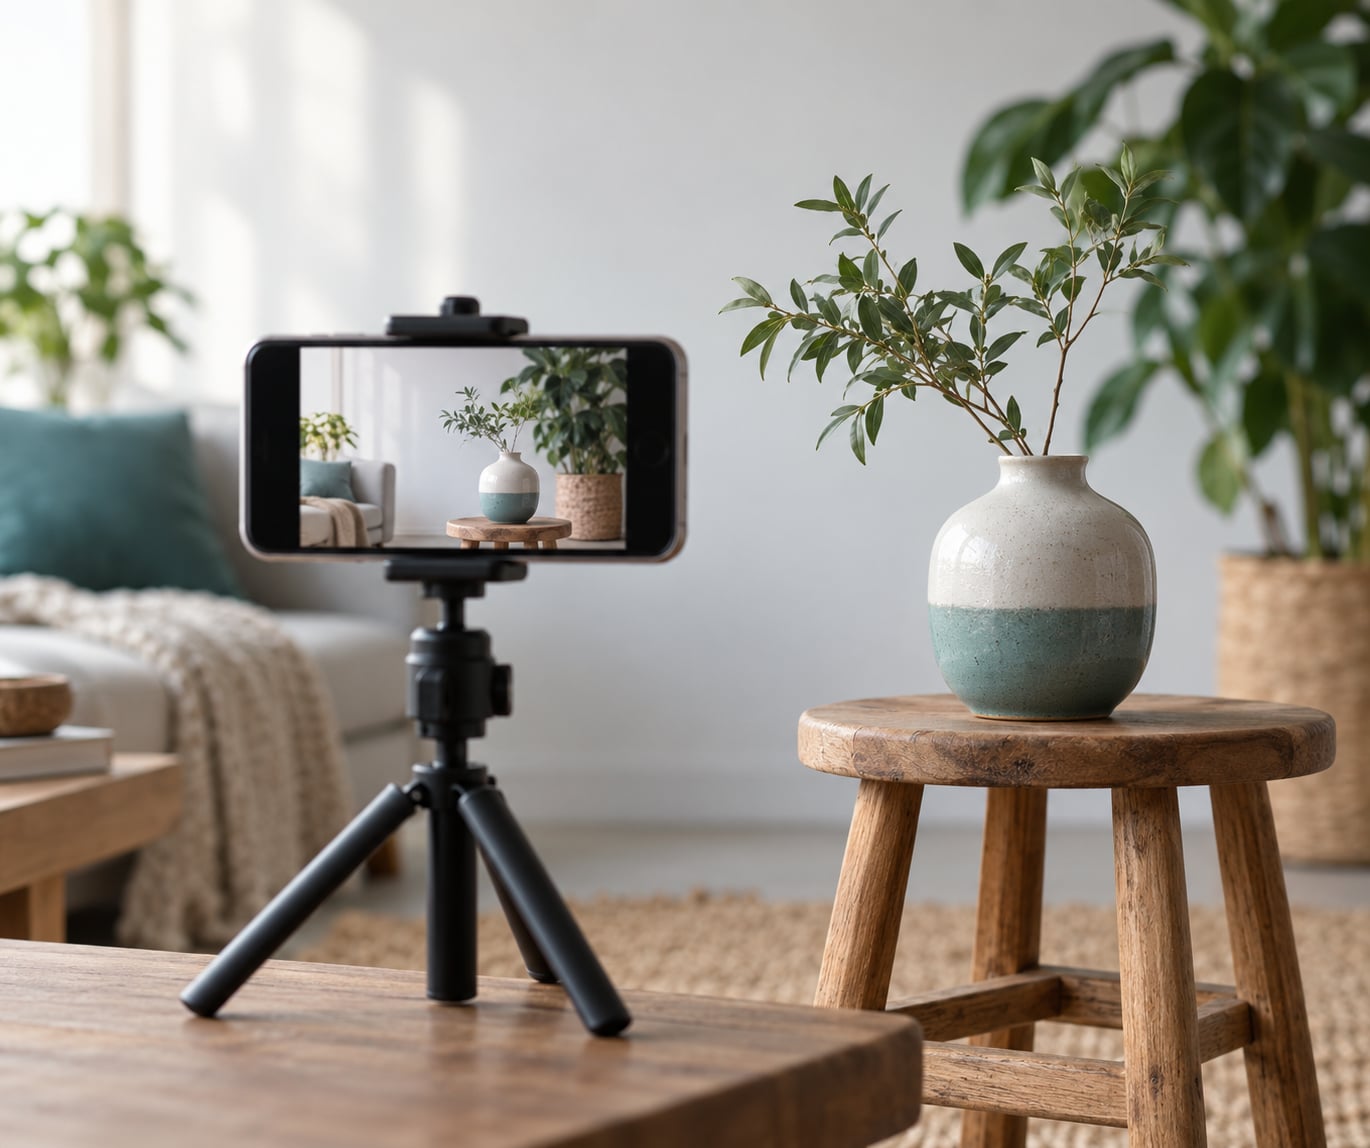
One optional extra: something to steady the phone. Close-ups and low-light shots shake, and a small tripod or a stack of books fixes that without any cost.
Step-by-Step: How to Use Portrait Mode Well
Step 1: Open Portrait Mode on Your Phone
On a recent iPhone, open Camera and swipe the mode strip at the bottom of the screen until Portrait is highlighted, then tap the shutter. On Android, open Camera, tap More modes or More, and choose Portrait or Bokeh.
If the portrait option is greyed out, the phone often cannot see a suitable subject. Move back a little and try again. Camera apps get shuffled around by updates, so the label your phone shows may differ from the ones above.
Step 2: Choose a Subject With Clear Separation
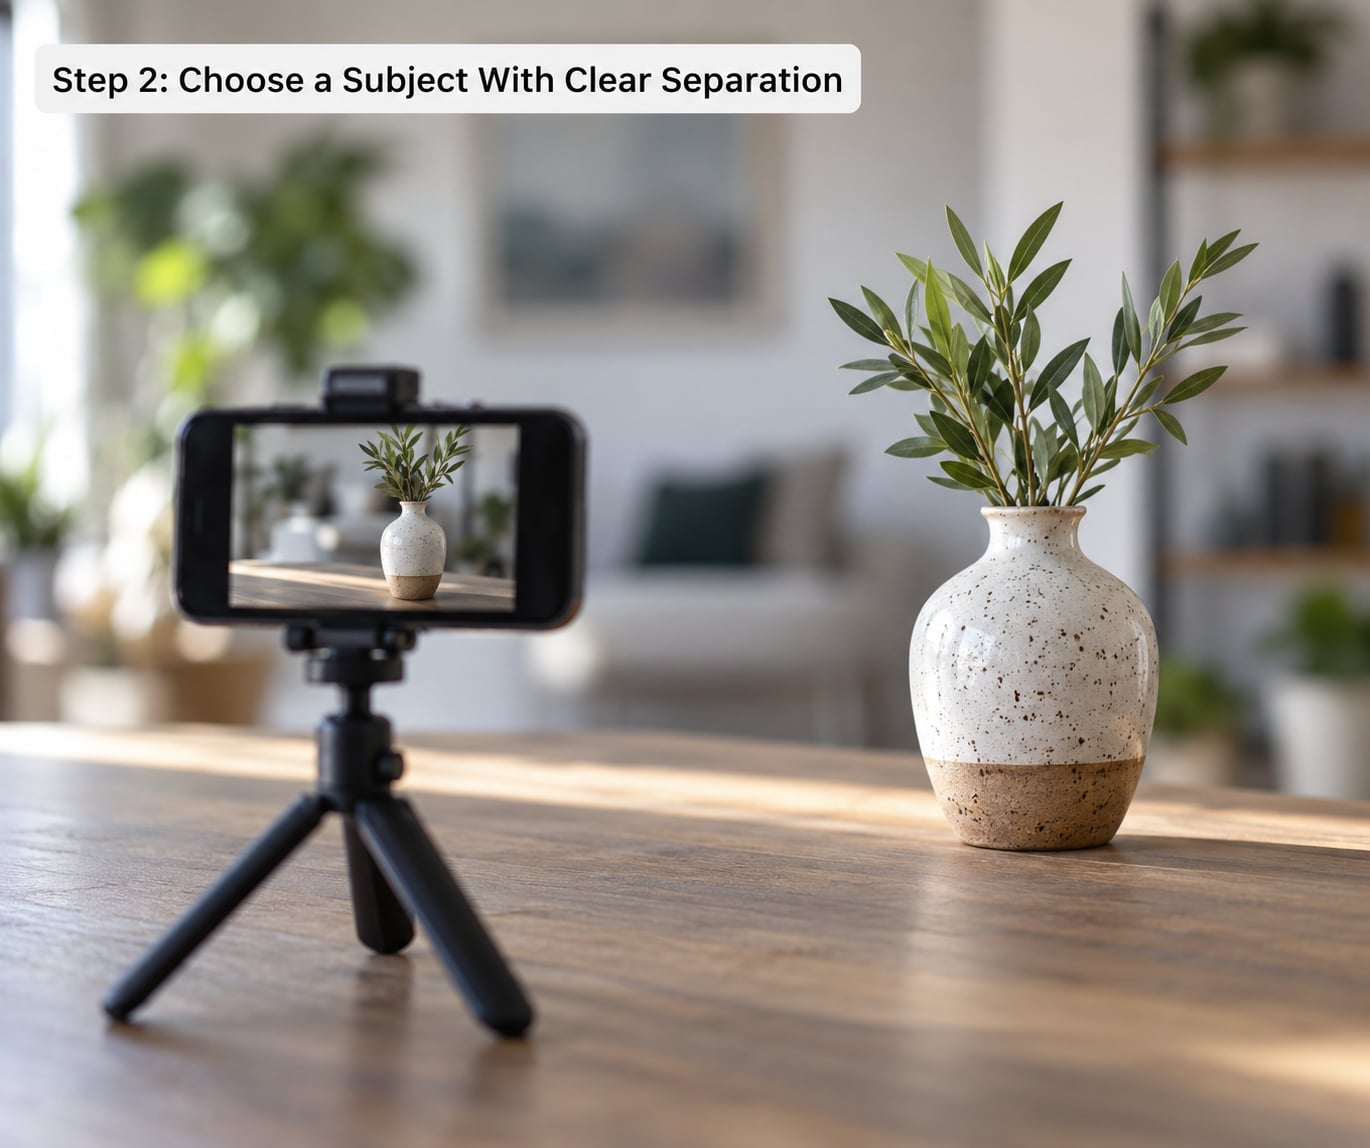
Choose a subject whose edges the camera can recognise. Hair, whiskers and glasses frames are the hardest cases, so a smooth-edged object usually gives you a cleaner first result. A potted plant near a plain wall works far better than the same plant in front of a busy bookshelf.
As a person, stand several feet in front of whatever is behind you. Trees, a hedge or an open doorway all give the depth system something to separate you from.
Keep it to one subject. Two people standing side by side at the same distance often turn into one blurred shape, because the phone has no way of knowing which face you meant to keep sharp.
Step 3: Use a Simple Background
Walk your subject away from the wall. Half a step is not enough, and it is the most common reason a portrait shot looks flat or haloed around the head.
Then look at what is behind them. Railings, brick, patterned wallpaper and crowds all fight the edge detection. If you cannot move the background, move the subject until the busiest part of it sits beside your subject rather than directly behind them.
Leave some negative space in the direction your subject faces. A person looking into empty background reads as relaxed; a person looking straight into a fire hydrant does not.
Step 4: Set the Lighting Before Focusing
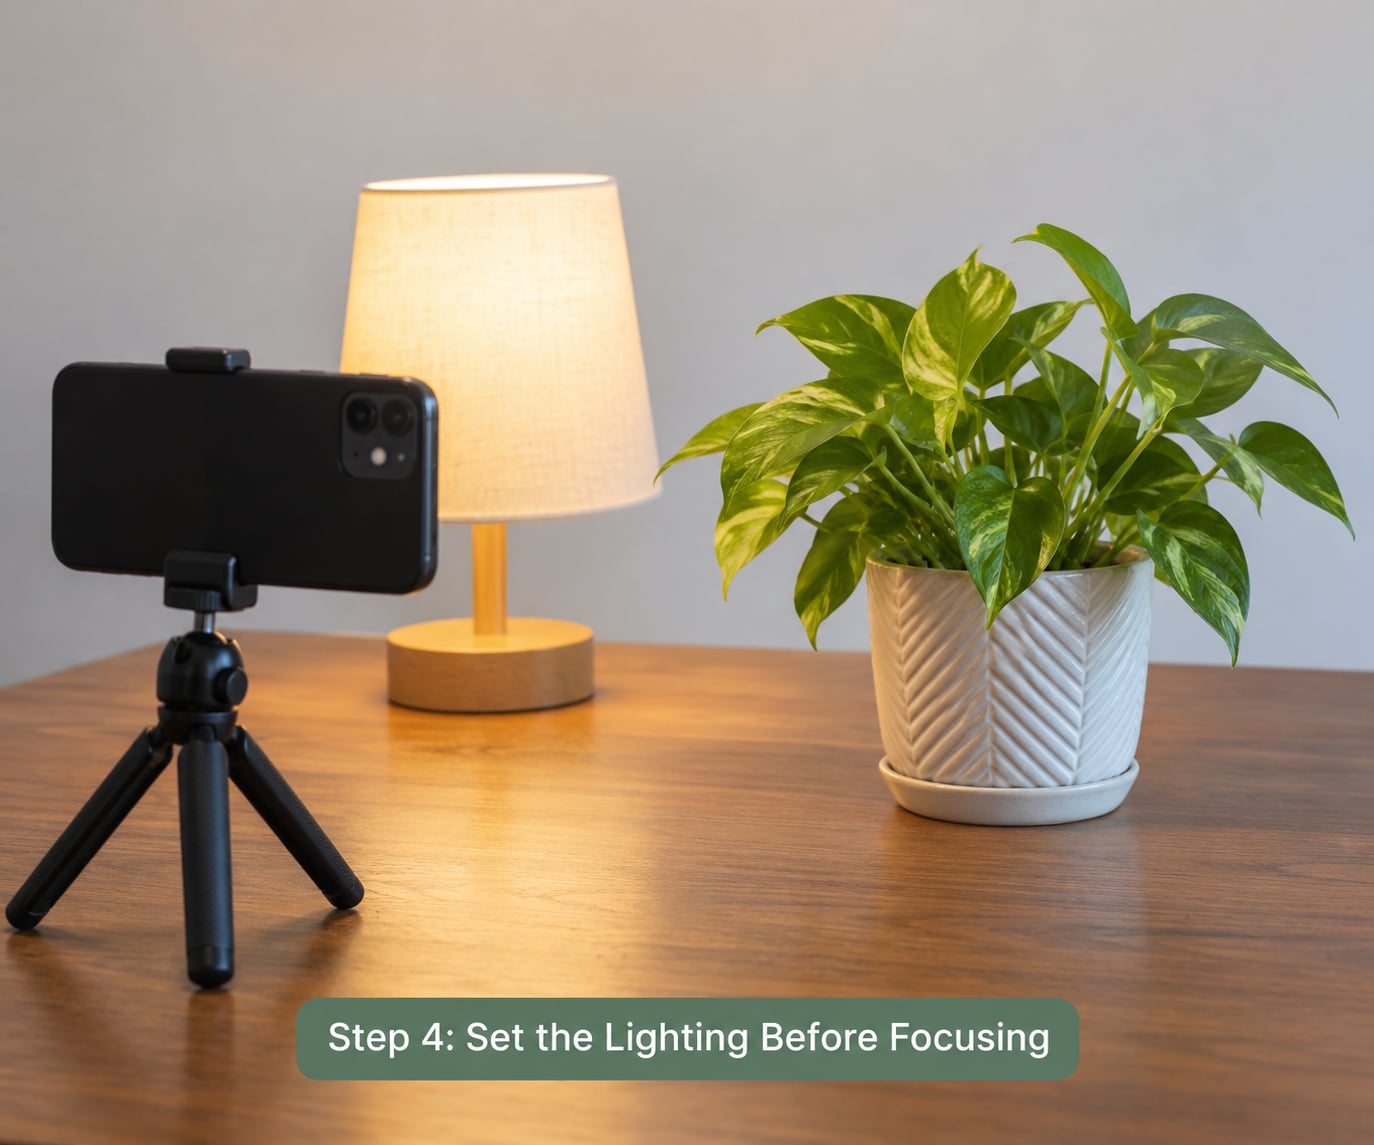
Set the light first, then focus. Once you move the phone or the subject to find focus, the light changes too.
Even indoor light from a large window works well. Harsh lamps directly overhead create hard shadows under the eyes and nose, and portrait mode cannot fix them. Bright windows or lamps behind your subject throw the camera’s exposure off, so the face goes dark and the edge detection gets confused at the same time.
Outside, open shade beats direct midday sun, and the hour either side of sunset gives you the softest light of the day. If the face is still too dark, slide the exposure control up slightly or move the subject toward the light.
Step 5: Choose the Right Depth Effect
Start on the default blur level. That setting is the one your phone’s engineers tuned, and it is the safest place to judge the shot.
Some phones then let you change it. iPhones expose a slider in the editor that runs from f/1.4 to f/16, where the low numbers are heavily blurred and the high numbers are nearly flat. Android models vary more, with controls for depth, bokeh strength, or a high-to-low blur slider in the same editor.
Less blur is usually better. Crank it to the maximum and you get halos around hair, a background with no detail left in it, and a photo that reads as fake at a glance. If you want a softer look, take one more step backward rather than adding more blur.
Step 6: Focus, Hold Still, and Take Several Shots
Tap your subject on screen to focus, then check the focus box and the exposure before you shoot. Tap on the face rather than in empty space, because the exposure is calculated from whatever you tapped.
Hold still. The depth map is built from several frames, so movement between them softens the whole photo, not just the edges.
Take a small burst of shots rather than one. Move a step left, then a step back, then a step to the side, and shoot at each position. The winner is usually the frame where the gap behind the subject happened to line up with the cleanest part of the background.
That is also the core of how to use portrait mode well on a phone. The mode is the easy part. Position is everything.
Step 7: Check the Edges Before Keeping the Photo
Zoom in to full magnification and look at the edges before you decide. Check hair and flyaways, ears, whiskers, glasses frames, fingers, thin stems and anything transparent.
If you find a soft halo, take the photo again from slightly further away or slightly higher. If a thin object has been blurred that should be sharp, turn portrait mode off for that shot, or move the object so it sits clearly in front of the subject rather than behind them.
Keep the ones that hold up. Delete the rest without regret. A sharp ordinary photo beats a blurred one with cut-out hair every time.
Common Mistakes
- A busy background. Railings, crowds and patterned walls confuse the edge detection. Change the angle before you change the settings.
- The subject standing against the wall. Move them a few feet forward so there is real distance to blur.
- Poor light. Harsh overhead lamps and dim rooms both give you worse results. Fix the light first.
- Moving after focusing. Tap, check, then hold the phone and the subject still until the shot is taken.
- Expecting the wrong part to be sharp. The phone sharpens what it thinks is the subject, which is sometimes the thing behind them.
- Maximum blur. Heavy blur hides edge mistakes and creates new ones.
- Cropping into the subject. Leave a little space above the head and beside the face. It reads as a considered shot rather than a rescue.
- Expecting perfect hair, fur and glasses. Fine detail is the hardest thing for a computed depth map. Know which subjects to avoid and shoot them in normal mode.
One more failure worth naming: the mode not triggering at all. That usually means there is no subject the camera recognises, the scene is too flat, or something changed after a system update. Nothing you did broke it, and the fix is usually to move, change the angle, or restart the camera app.
Frequently Asked Questions
Does portrait mode make every phone photo look better?
No. Portrait mode helps when the subject sits clearly in front of a simple background, and it hurts in every other case. Used on a busy background, a subject flat against a wall or two people at the same distance, it adds soft halos and can blur the wrong thing entirely. The reliable test is whether you can see clean space around your subject before you shoot. If you cannot, take a normal photo instead.
What is the best background for a portrait-mode photo?
A plain wall, an open doorway, foliage several feet behind the subject, or a hedge at a distance. What matters is contrast and distance, not fame. A busy background with the subject standing right against it gives the phone nothing to separate, so the whole frame softens. If you cannot change the background, shift your position until the cluttered part of it sits beside your subject rather than behind their head.
Can I use portrait mode in low light?
You can, but expect softer results. Low light forces the camera to slow its shutter, and the phone blends several frames to build the depth map. Any movement during that blend softens the whole photo, not just the edges. A dim room plus a moving subject is the worst combination. A small tripod or a propped-up phone helps more than any setting change, and indoor window light beats a ceiling lamp.
Why do portrait-mode edges look blurred or cut out?
Because portrait mode is computed rather than optical. The phone builds a depth map from pixels, decides which pixels belong to your subject, and blurs the rest. It does not measure true planes of focus like a wide-aperture lens, so hair, whiskers, glasses frames and transparent surfaces get misread. Those are the same subjects that make a computed edge look worst, and they are worth shooting in normal mode.
When should I turn portrait mode off?
Turn it off whenever the subject and background sit at a similar distance, when you are indoors in mixed or dim light, when there are two subjects at the same depth, or when the subject has fine detail around the edges such as curly hair, fur or glasses. A normal Photo mode shot will look sharper and more natural in those situations. Portrait mode earns its place when there is real space behind your subject and clean light on their face.
Conclusion
Start with one question before you open the camera: is my subject clearly separated from a simple background? If the answer is no, take a normal photo, because that will be the better picture.
If the answer is yes, set the light, tap to focus, hold steady, take several shots from slightly different positions, then zoom in and check the edges before you keep any of them. That routine is how to use portrait mode well on a phone, and it works the same on a Samsung or a Google Pixel as it does on an iPhone.