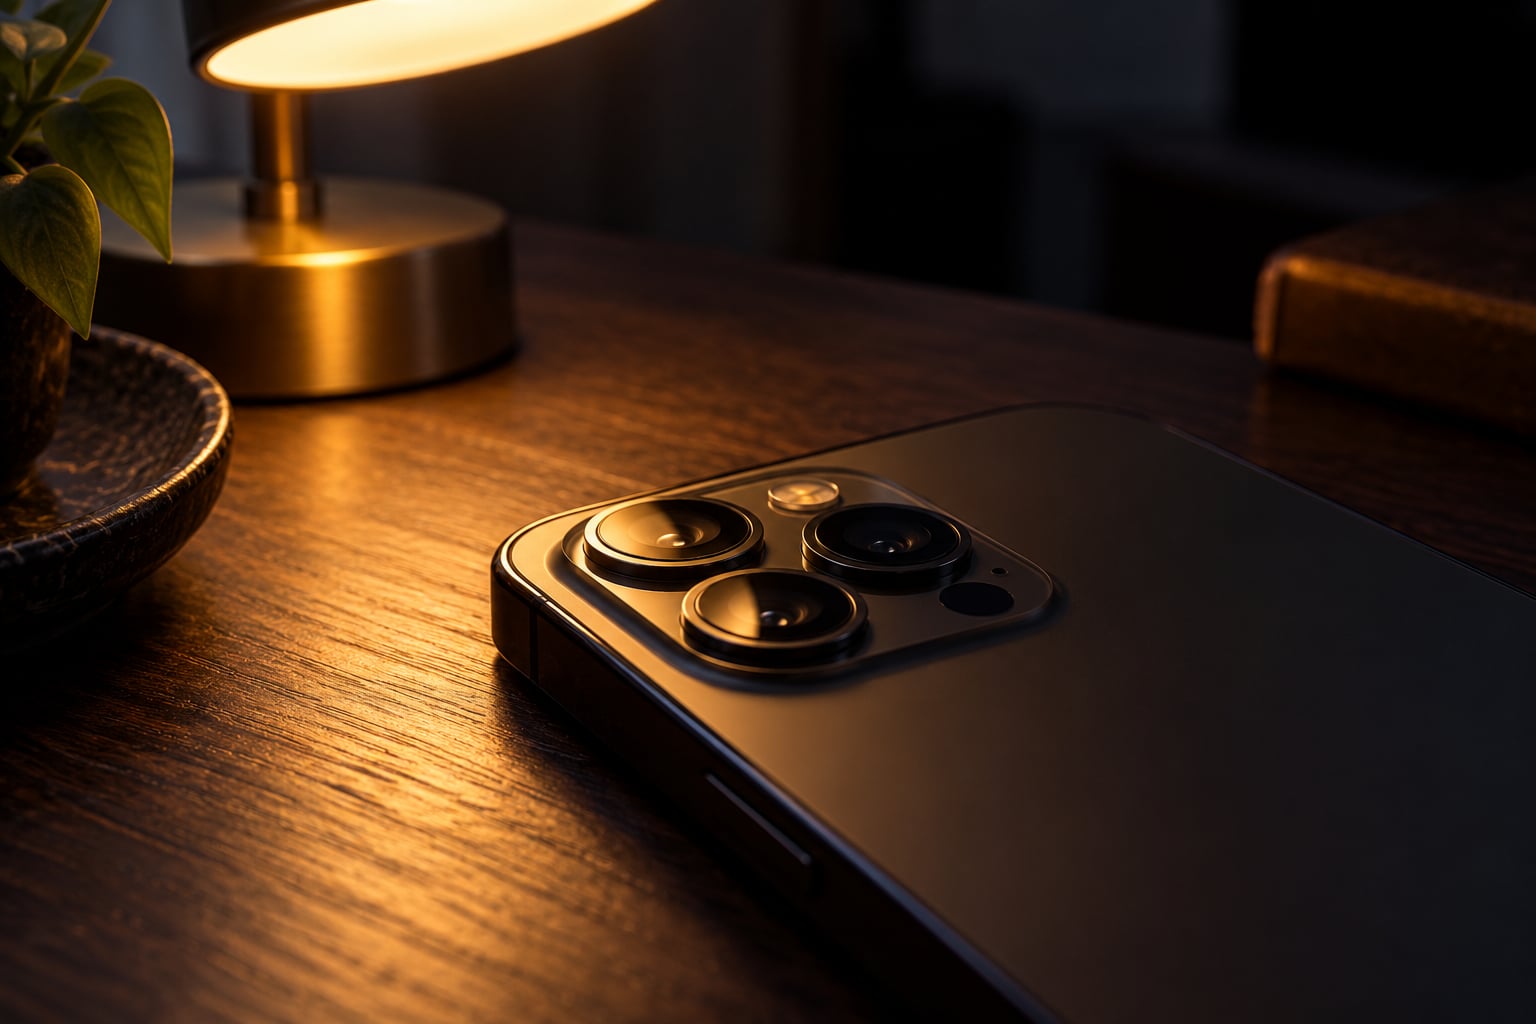
Phone photos look grainy at night because the sensor receives too little light, so the camera cranks up its sensitivity to amplify a weak signal, and that amplification lifts random sensor noise into visible speckles. Grain is not a broken camera. It is what happens when a small sensor is asked to work in the dark.
The good news is that most of it is preventable. Add a light source, hold the phone still, and skip the digital zoom, and the same shot that looked like sandpaper comes out usable.
Table of Contents›
- Why Do My Phone Photos Look Grainy at Night?
- What Makes Low-Light Smartphone Photos Noisy?
- Why do my phone photos look grainy at night but fine by day?
- Is It the Phone Camera, Lighting, or Settings?
- How to Reduce Grain in Night Photos
- Night Camera Settings for Android and iPhone
- iPhone: Camera and Night mode
- Android: Night mode and Pro controls
- When Night Mode Helps, and When It Cannot
- How to Edit Grainy Phone Photos Without Losing Detail
- When Better Light or a Better Camera Is the Real Fix
- Frequently Asked Questions
- Is grain in a nighttime phone photo the same as motion blur?
- Should I use flash when my phone photos look grainy at night?
- Why does my photo look cleaner in Night mode if the scene moves?
- Does choosing a higher photo resolution reduce grain at night?
- Can noise reduction make a grainy phone photo look sharp?
- Conclusion
Why Do My Phone Photos Look Grainy at Night?
Every photo, even a daylight one, contains a small amount of random variation built into the sensor. Photons (tiny packets of light) land on each pixel slightly differently every time the shutter opens, so the raw reading is never perfectly even. That inherent randomness is the sensor noise your camera normally hides.
In daylight, millions of photons hit each pixel and the true signal is enormous compared with that randomness, so the noise stays buried. After dark, only a handful of photons arrive per pixel. The signal drops, the noise floor stays where it is, and to get a bright enough image the camera has to amplify the signal. Amplification does not separate signal from noise, so it lifts both.
The ratio of useful signal to background noise is called the signal-to-noise ratio. Daylight gives you a high one. A dark living room gives you a low one, and no setting can fake physics. That is the whole mechanism, and it is why the same phone that takes a crisp photo of a sunset looks noisy at 10pm in a dim room.
Two things make phones hit this wall sooner than a dedicated camera. Phone sensors are physically tiny, so each pixel collects less light, and most phone lenses have a fixed aperture that cannot open wider. A camera body with a large sensor and a wide lens simply gathers more light before any processing happens.
The important thing to know before you start fixing anything: grain, blur, and color blotches are three different problems with three different fixes, and the phone crowd mixes them up constantly. Start by working out which one you actually have.
| What you see | What is really happening | Main fix |
|---|---|---|
| Fine speckles, like sandpaper, worst in shadows | Sensor noise amplified by high sensitivity | Add light, stabilize, lower ISO if you can |
| Soft edges, smeared faces, doubled contours | Motion during the exposure, yours or your subject’s | Hold still, faster exposure, more light |
| Colored blotches, red and green speckles | Chroma noise, a variation of the same sensor noise | Same as grain, plus color noise reduction in editing |
| Halos and crunchy edges around lights | Aggressive sharpening applied by the phone | Lower sharpening, do not zoom in afterwards |
| Glow and hazy circles around light sources | Lens flare or a smudged lens, not noise | Clean the lens, shade it from bright lights |
Grain is worst on smooth, dark, even areas: night sky, a shadowed wall, skin in low light. Texture hides it, so a brick wall can look fine while the sky above it looks speckled.
What Makes Low-Light Smartphone Photos Noisy?
Why do my phone photos look grainy at night but fine by day?
Because the light budget changes completely. A phone in daylight might expose for 1/500th of a second and barely touch its sensitivity ceiling. The same phone indoors after dark might expose for a full second at the highest sensitivity the sensor allows, which is roughly a few hundred times more amplification.
Four factors decide how much grain you end up with, and you can influence three of them:
- Available light. The starting point. More light means less amplification.
- Stability. Longer exposures are needed in the dark, so any hand movement during them shows up as blur. This is why phones lean on stabilization and multi-frame stacking.
- Sensor size and lens aperture. Fixed by the hardware. A phone gets what it gets.
- Processing. The phone denoises automatically, which trades noise for lost detail and plastic-looking texture.
| Lighting | Typical exposure the phone needs | Motion blur risk | Visible grain |
|---|---|---|---|
| Bright daylight outdoors | Very short | Low | Negligible |
| Overcast day, well-lit room | Short | Low | Barely visible |
| Dim indoor room, lamp on | Medium | Moderate | Mild speckle in shadows |
| Night street, restaurant, concert | Long, often several seconds | High without stabilization | Obvious, blotchy in dark areas |
One more factor trips people up. Digital image stabilization works by detecting hand shake and adjusting the image afterward. On a phone, that usually means capturing multiple frames and merging them, a technique called computational photography. Each individual frame is noisier than one daylight frame, and stacking averages some of that noise away, but anything that moves between frames gets smeared or ghosted.
Is It the Phone Camera, Lighting, or Settings?
Before you change anything, run this short diagnostic. It takes a minute and saves you from fixing the wrong problem.
- Check the lens. Wipe the camera glass with a soft cloth. A greasy lens scatters light, softening the whole frame in a way that reads as grain, and flare halos look like noise. This is the single most common cause people never test.
- Zoom to 100%. Open the photo and view it at full size, not as a thumbnail. Grain that disappears at thumbnail size is mostly a viewing-distance illusion.
- Judge the edges. Zoom on a straight line like a door frame. If the line is crisp and the shadows are speckled, that is noise. If the line itself is soft or doubled, that is blur or focus.
- Compare against a lit shot. Take the same scene with a lamp or overhead light on. If grain disappears almost completely, the camera is fine and light was the constraint.
- Watch the subject. A still mug at night and a toddler at night are two different problems. Still subjects tolerate long exposures; moving ones do not.
- Test a resolution change. Higher-resolution modes sometimes capture less light per frame on some phones, because the sensor is grouped into larger bins. Try the default mode before blaming the app.
- Check flash behaviour. If flash fires in a dark room, it is lighting the nearest few feet and leaving the background black, which is exactly when the phone pushes sensitivity on the background. Turn it off and use another light source.
If you see grain only in the dark parts of an otherwise sharp image, you are fighting noise. If the whole image is soft, including the lit parts, you are fighting movement or focus, and cleaning the lens or adding light will not fix it on its own.
How to Reduce Grain in Night Photos
Work down this list in order. The first three take under a minute and solve the majority of bad night shots.
- Clean the lens. Pocket lint and fingerprints scatter incoming light before it reaches the sensor. Wipe it before you blame the camera.
- Add indirect light. A desk lamp, a bedside lamp, or a streetlight behind you does more for a night photo than any setting. Aim the light at your subject rather than at the lens to avoid glare.
- Hold the phone still. Rest your elbows on a surface, or prop the phone on a bag or a stack of books. Night exposures run from a fraction of a second to several seconds, and a fraction of a second of hand shake is visible.
- Turn off the flash for anything beyond arm’s length. Direct flash gives you a bright subject on a black background, which is the worst possible input for noise reduction.
- Use the built-in low-light mode. On iPhones it switches on automatically in dark scenes. On many Androids it is called Night mode, Night Sight, or Nightography. It gathers several frames and merges them for a cleaner result.
- Keep the default resolution. Ultra-high-resolution modes on some phones trade light per frame for detail. Test both and compare at 100% zoom.
- Stop zooming. Digital zoom crops the sensor output and enlarges it, so you see the noise with no extra detail. Move closer instead.
- Shoot a short burst and pick the best. A few frames of the same static scene often include one noticeably cleaner result.
How do you know a setting worked? Check the shadow areas rather than the bright ones. Lift the brightness on your phone screen, then pinch into a dark region: if the shadows hold detail instead of turning into colored mush, the change helped.
Night Camera Settings for Android and iPhone
Exact labels change between models and app versions, so use the names your camera app actually shows. If a control is not on screen, your phone does not offer it.
iPhone: Camera and Night mode
On recent iOS versions, the Camera app switches on Night mode by itself when a scene is dark, and a yellow moon icon appears in the top corner. It collects several seconds of frames and merges them.
- Open Settings > Camera > Formats to choose Apple ProRAW or HEIF. ProRAW keeps more unprocessed data, which gives you more latitude in editing, but it does not remove noise that was captured.
- In Settings > Camera > Night Mode, you can turn the automatic trigger off and raise the Night mode slider to full length for static scenes.
- Tap the moon icon or the exposure control to shorten a long exposure when your subject moves.
- Use a timer or the volume-button shutter so you are not the thing moving during a three-second exposure.
- In Settings > Camera, turn off Macro control and set your preferred shooting format deliberately rather than leaving it on automatic.
If you want to reduce noise before capture on an iPhone, the lever is light and stability, not exposure values, because the stock Camera app does not expose ISO. Pro-style manual control lives in third-party apps such as Halide or Blackmagic Camera, which do let you set ISO and shutter speed by hand.
Android: Night mode and Pro controls
Android camera apps are more open, and the labels depend on the manufacturer. Samsung, Google Pixel, OnePlus, and Xiaomi all ship something different.
- Look for a Night mode or a Night Sight toggle. Some phones run it automatically, others need you to pick it from the mode strip.
- On Pixel-family phones, Night Sight can hold the shutter open for several seconds and is genuinely strong on static scenes.
- Open Pro or Manual mode to set ISO, shutter speed, and focus yourself. Lower ISO with a longer shutter plus a tripod beats high ISO on a shaky phone every time.
- Switch to RAW where your app supports it. RAW keeps unprocessed sensor data, which means the noise is still there but is more evenly recorded and easier to reduce cleanly.
- Set focus manually by tapping the screen, then lower exposure slightly with the sun icon if bright lights are blowing out. Forum advice lands consistently on this combination.
- Check for a resolution or megapixel setting and test the default mode against the highest one at full zoom.
| What to change | On iPhone | On Android |
|---|---|---|
| Long exposure mode | Night mode, automatic or via the yellow moon icon | Night, Night Sight, or Nightography mode |
| Manual sensitivity | Not in the stock Camera app; use a manual camera app | Pro or Manual mode exposes an ISO slider |
| Raw capture | Apple ProRAW, set in Camera Formats | RAW toggle in Pro or the camera settings |
| Focus lock | Tap and hold on screen, then swipe up for the exposure slider | Tap to focus, tap and hold to lock, slide for exposure |
| Delay the shutter | Timer control in Camera, or the volume button | Timer or burst option in the camera app |
When Night Mode Helps, and When It Cannot
Night mode is built for scenes that stay put. A skyline, a lit building, a bowl of fruit on a table: these are ideal. The phone holds steady, stacks frames, and averages away much of the random noise.
It struggles in three predictable ways:
Moving subjects. A pet walking across a room is captured across several frames, and the merge combines each pixel from a different position. The result looks melted, or the animal appears twice. People posting shots of their pets and children at night hit this constantly.
Bright sources inside a dark frame. A streetlight or a candle gives the phone a huge brightness range to handle. The bright part clips to white, and the dark parts get pushed hard to stay visible, which is where grain concentrates.
Scenes with no reference detail. Multi-frame processing can only find detail where the frames agree. A flat night sky or an unlit wall gives it nothing to work with, so it either leaves grain or guesses, and guessed detail often looks invented.
Forum threads about why iPhone night shots feel noisier than older phones usually come down to this: the phone is being asked to do more, and more processing means more aggressive denoising, which reads as either plastic texture or fake detail. That is a design tradeoff, not a fault.
How to Edit Grainy Phone Photos Without Losing Detail
Editing can reduce grain. It cannot bring back detail that was never recorded, and this is the honest limit worth stating plainly. Sliders trade one problem for another.
- Start with the free editor on your phone. iOS Photos has adjustment controls under the edit icon, including shadow and highlight recovery and a filter set. Google Photos and Samsung Gallery both ship a free adjustment panel. Use these first, since they cost nothing.
- Lower luminance noise, gently. In editors that offer it, luminance noise is the brightness speckle. Drag it to about 20 to 40 and stop. Pushing it to 80 removes nearly all grain and also removes skin texture, hair, and fabric detail, which is why edited night shots look like wax.
- Treat colour noise separately. Red and green blotches come from a different source and often need a separate colour noise control. Reduce it more aggressively than luminance, because colour speckle is much more objectionable than brightness speckle.
- Add a little sharpening afterwards. Denoising softens edges, and a modest amount of sharpening restores the impression of detail. Large radii and high amounts create crunchy halos, so go gently.
- Adjust exposure and shadows selectively. Raising brightness in the editor amplifies the noise you just reduced, so lift shadows in small increments and check after each one.
- Crop away empty darkness. Large areas of empty black or sky are where grain lives and where viewers look least. Cropping is free quality.
- Save once, as a copy. Each re-save recompresses the file and adds JPEG artifacts on top of the existing noise.
Check your result two ways: full screen on the phone, and at 100% zoom. The full-screen view tells you whether it looks right to a person; the zoomed view tells you what you actually threw away.
If you shoot video at night, treat it separately. Video records many frames at once at lower per-frame quality, so noise is heavier and smoother-looking, and it does not respond to photo noise reduction at all. The answer for video is the same as for photos: more light and steadier framing.
When Better Light or a Better Camera Is the Real Fix
Some grain is a hardware ceiling. Phone camera modules are small, apertures are fixed, and older or lower-cost models reach their limit at a fraction of the brightness where a flagship keeps going. No app can invent photons.
Before changing anything, check whether you are simply in the wrong light. A dinner table lit by one candle is genuinely below the threshold of most phone sensors, and no setting in the app changes that.
Realistic options, in order of effort:
- Move the shoot somewhere with a light source, even a dim one several feet away.
- Prop the phone on something stable and use a longer exposure, which trades noise for sharpness.
- Use the highest resolution mode that does not sacrifice low-light quality on your specific model, testing both at 100% zoom.
- Consider a small LED light panel if you shoot often at night. It is the cheapest real fix there is.
- If your phone is several years old, upgrading is the only thing that changes the physics. Otherwise, accept the grain and shoot where there is light.
One last expectation worth resetting: a new phone can look noisier than the one it replaced, and that does not automatically mean a fault. Newer models often rely more heavily on computational processing to hit their marketing claims, and heavier processing can produce either visible noise or waxy over-smoothing depending on the scene. If grain also shows up in daylight, or indoors with lights on, that is different, and it is worth testing the camera or checking for a software update.
Frequently Asked Questions
Is grain in a nighttime phone photo the same as motion blur?
No. Grain is random speckle in the flat areas of an image, caused by amplifying a weak signal. Motion blur is a smearing of edges caused by movement during the exposure. They often happen together at night, since long exposures produce both. Zoom in on a straight line: if the line is sharp and only the shadows are speckled, it is grain. If the line itself is soft or doubled, it is blur.
Should I use flash when my phone photos look grainy at night?
Usually not. Flash lights only the closest few feet and leaves the background black, which is exactly the high-contrast situation where the phone raises its sensitivity and grain concentrates in the shadows. For anything past arm’s length, a room light, a lamp, or another phone acting as a light source works far better. Flash still makes sense for small objects close to the lens.
Why does my photo look cleaner in Night mode if the scene moves?
It usually looks worse, and that is the point. Night mode captures several frames over a few seconds and merges them, which averages out random sensor noise. If anything moves during that window, the frames disagree, so edges smear and moving subjects appear melted or doubled. Night mode is built for static scenes like buildings and streetscapes, not for pets, children, or anything in motion.
Does choosing a higher photo resolution reduce grain at night?
It can do the opposite. On many phones, a high-resolution mode groups neighbouring sensor pixels together, which produces more detail per frame but less light captured per frame, so the camera amplifies more and grain increases. Test both the default and the highest resolution on the same dark scene and compare them at 100% zoom rather than assuming one is always better.
Can noise reduction make a grainy phone photo look sharp?
No. Noise reduction smooths away grain by removing fine variation, and fine variation includes real texture like skin pores and hair. The result reads as sharp in the sense of being smooth and clean, but it is softer than the original detail. Use a moderate amount, judge it at 100% zoom, and prefer lifting shadow detail and cropping over pushing the noise slider.
Conclusion
Why do my phone photos look grainy at night? Because not enough light reaches a small sensor, so the camera amplifies a weak signal and the sensor’s own randomness comes along with it. Clean the lens, add any light source you can, hold the phone still, turn off flash and digital zoom, use the built-in low-light mode on static scenes, and check a zoomed preview before you keep shooting.
If the grain is still there after that, the honest answer is that your camera is at its limit for that light level. Grain can be reduced in editing but never fully removed, so the fix belongs at capture time. If your shots are soft rather than speckled, you have a separate blur or focus problem, and cleaning the lens and adding light is where you start.