To stop blurry photos on a phone, work through four causes in order: a dirty lens, movement during capture, autofocus landing on the wrong spot, and an aggressive processing mode like Night mode or HDR. Most cases clear up in under two minutes with free fixes, on both iPhone and Android.
The order matters, because the fixes are free and take seconds. Clean the lens first, even if you are certain it is clean, then look at how you are holding the phone and how much light the subject has. Only after those three are ruled out is it worth touching settings or suspecting the hardware.
Below are eight steps, each with the cause it fixes and how to tell that it worked. I have run the same three-shot test after every change: a static object in good light, a handheld shot of a moving subject, and one indoor shot at night. If all three look sharp, you are done.
Table of Contents›
- What You Need
- How to Stop Blurry Photos on a Phone: Step by Step
- Step 1: Clean the Camera Lens and Protective Case
- Step 2: Hold the Phone Steadier
- Step 3: Give the Camera More Light
- Step 4: Set Focus Before Taking the Picture
- Step 5: Use the Right Camera Mode and Resolution
- Step 6: Avoid Digital Zoom and Excessive Magnification
- Step 7: Check for Camera Damage or Software Problems
- Step 8: Improve Focus and Sharpness in Editing
- Common Mistakes
- Frequently Asked Questions
- Why are my photos blurry all of a sudden?
- How can I make a blurry picture clear again?
- How do I turn off the blur effect on my Samsung camera?
- Why will not my iPhone camera focus up close?
- Why does my phone take bad pictures at night?
- Is a blurry phone camera a software or hardware problem?
- Conclusion
What You Need
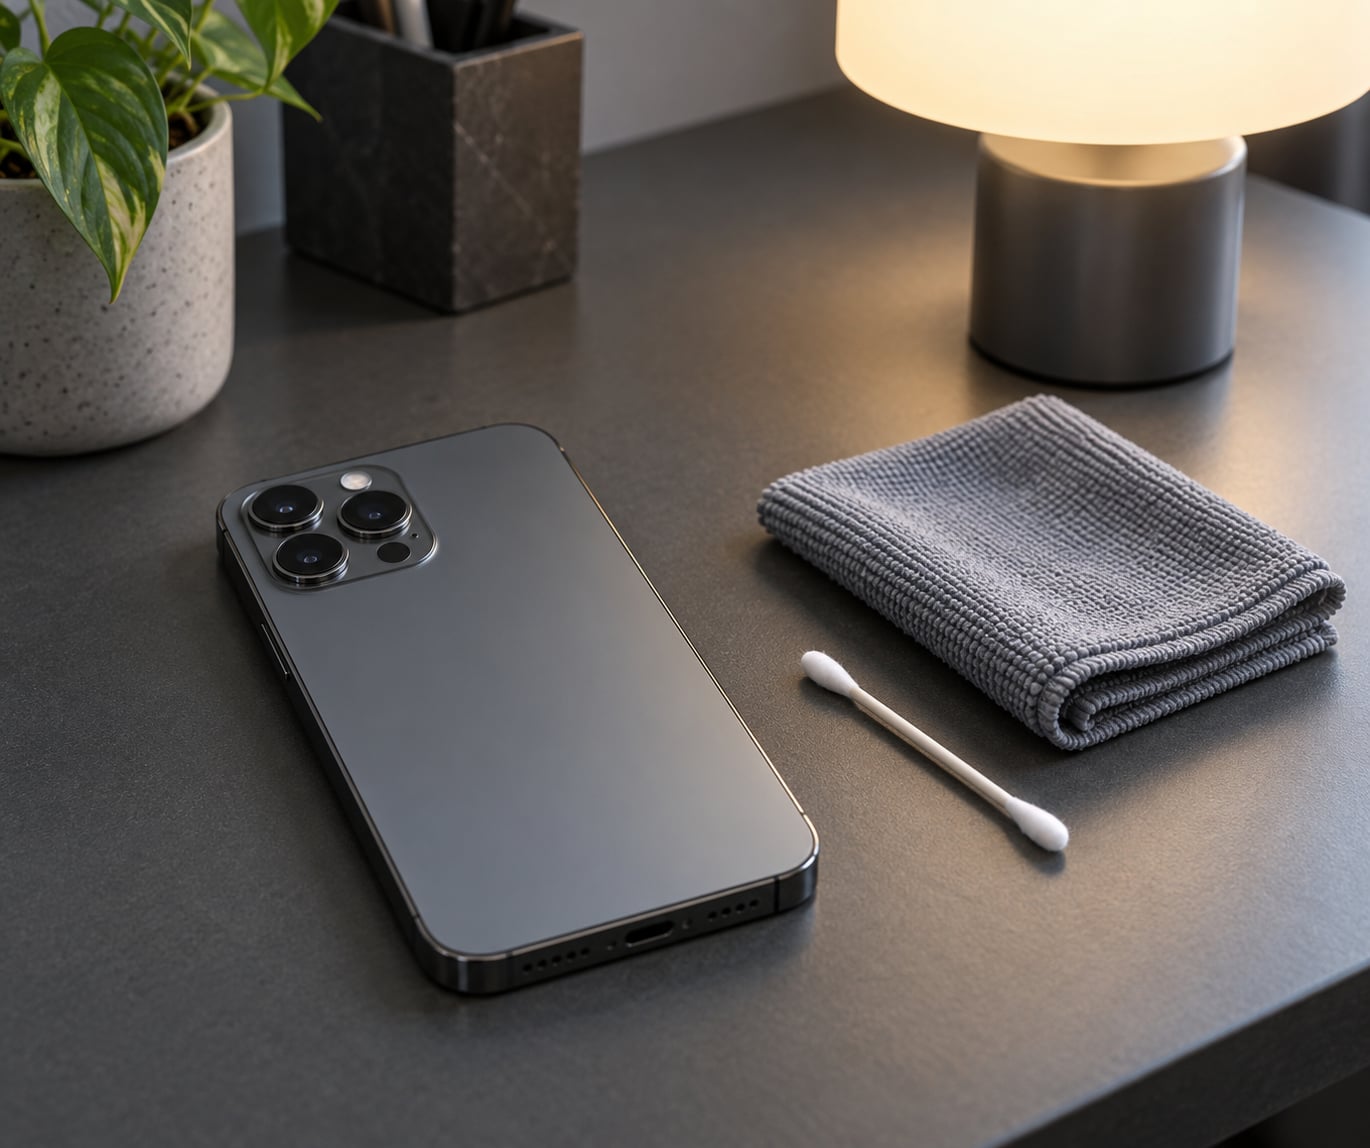
You do not need much. Everything below is either already in a drawer or free.
- A dry microfiber cloth. A clean makeup-lens cloth is fine. Never use a paper towel, a shirt sleeve, or anything that sheds.
- Good light. A window during the day or a lamp at night. This changes more photos than any setting.
- A steady surface. A table, a wall, or a cheap phone stand or tripod if you shoot often.
- Two minutes. That is genuinely how long steps 1 to 4 take for most people.
Optional but useful: a cotton swab with isopropyl alcohol for grime around the lens ring, and a manual camera app if you want direct control over shutter speed. Built-in manual modes are covered in step 5.
How to Stop Blurry Photos on a Phone: Step by Step
Use this table to jump straight to the likely cause. It matches the symptom you are seeing against the fix that resolves it most often.
| Symptom | Likely cause | Fix |
|---|---|---|
| Every photo is soft, day or night | Smudges or micro-scratches on the lens | Clean the lens, remove the case and protector |
| Blurry only when the subject moves | Slow shutter speed in low light | Add light, or use a faster shutter or burst |
| Subject sharp, background soft | Portrait or depth mode is on | Switch to the standard Photo mode |
| Only one lens is blurry | That lens is damaged, fogged or obstructed | Isolate each lens, then service the phone |
| Doubled or ghostly outlines at night | Night mode stacking multiple frames | Add light or hold the phone still longer |
| Preview sharp, saved photo soft | Focus landed after the shutter fired | Tap to focus and lock before shooting |
| Corners and edges look smeared | Ultrawide lens softness, not a defect | Use the main lens instead |
Step 1: Clean the Camera Lens and Protective Case
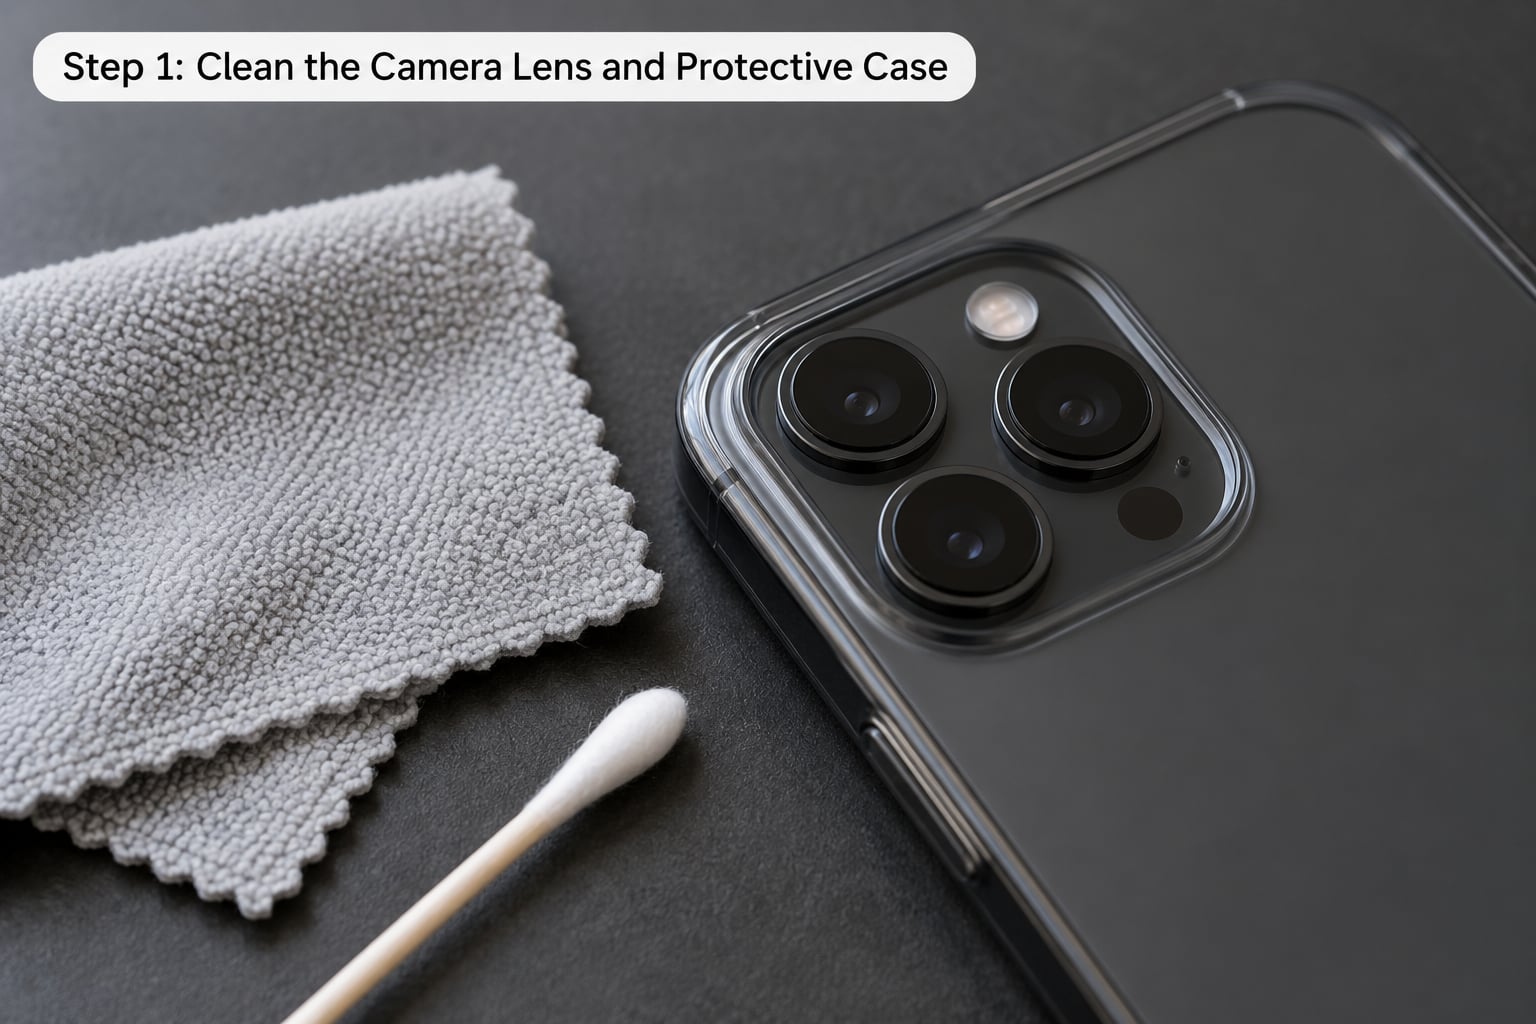
This is the single most common cause and the one most people skip. A fingerprint on a camera lens scatters light exactly the way smudges do on glasses, and the photo looks hazy rather than obviously dirty. You will not see it yourself, which is why the fix works so reliably.
Turn the phone face down, wipe the lens with a dry microfiber cloth using light circular pressure, and use a barely damp cotton swab around the raised lens ring to lift grime. Then check the phone case. Cases with raised lips can sit right against the glass, and glass camera protectors are a frequent source of glare and haze. Reddit users repeatedly isolate their blur problems by taking the case off and shooting test shots, and several confirmed the case or protector was the cause.
How to tell it worked: take one photo of a text-heavy screen or a brick wall in good light and zoom in to 100 percent. Edges should be crisp with visible texture, not a soft halo.
Step 2: Hold the Phone Steadier
Camera shake and subject motion blur look different. Camera shake blurs the whole frame evenly, including the background. Subject motion blur leaves the background sharp and smears only the moving thing.
Most shake comes from the shutter press itself, not from your arms. Hold the phone with both hands, keep your elbows tucked against your ribs, and press your forearms into your torso for support. Release the shutter with the volume buttons rather than jabbing the screen button with a thumb, which twists the phone slightly as you press. On Samsung phones, Camera Assistant also has a Quick Tap Shutter option that shoots at the moment of the tap instead of on release, removing that twist entirely.
For still subjects, rest the phone on something solid and set a timer. A phone stand or a stack of books plus the ten-second timer beats hand-holding every time indoors.
How to tell it worked: compare a hand-held shot against one taken with the timer on a table. If the timer version is noticeably crisper, grip was your problem.
Step 3: Give the Camera More Light
This is where most phone photography quietly falls apart. In low light, the camera slows the shutter to gather more photons, and a slower shutter means any movement smears. A rough guide: around 1/120 second or faster to freeze a walking child or a dog, and handheld still subjects stay acceptable down to roughly 1/60 second.
You cannot change that on most stock camera apps, but you can change the light. Face a window, turn on a lamp on the subject side rather than behind you, or move outdoors after dark instead of shooting into a dark scene. If you must shoot in dim conditions, add more light to the scene rather than hoping the phone compensates.
How to tell it worked: check the shot time in your photo’s info. If it says 1 second or longer, you are asking the camera to hold perfectly still. Get more light.
Step 4: Set Focus Before Taking the Picture
Autofocus is fast, not instant. On a plain default shot the camera focuses and meters for a fraction of a second after you press, and if the subject moves in that window the frame lands slightly soft.
Tap the subject on screen to place the focus box, then wait until it settles before shooting. On iPhone, tap and hold to lock focus and exposure, which raises a yellow sun icon next to the box; that keeps exposure fixed if the sky behind your subject would otherwise darken the shot. iPhone users report that waiting for the yellow focus box to lock dramatically improves portrait sharpness. On Android, tap to focus the same way, and on many Galaxy models long-press the viewfinder or tap the lock icon to hold AE/AF.
If the camera keeps hunting back and forth in dim light, that is focus searching, not blur. Samsung users fix it in Camera Assistant by turning on Quick Tap Shutter and turning off Prioritize focus over speed, which otherwise leaves the shutter waiting while the lens hunts.
How to tell it worked: zoom into the last shot at 100 percent. If the subject’s eyes or edges are crisp but the frame looks flat, you had a focus miss rather than shake.
Step 5: Use the Right Camera Mode and Resolution
Several modes add softness on purpose. Portrait mode blurs the background to fake shallow depth of field, and its edge detection often smears hair, glasses, ears, and fur. If you did not ask for background blur, do not shoot in it. Night mode stacks several frames, so a person who twitches between exposures comes out with doubled outlines. HDR works similarly and can ghost a moving subject.
For fast action, use burst mode: on iPhone, swipe the shutter down or press and hold the volume buttons. On Android, press and hold the shutter button, or enable the setting under Camera settings called Multi-shot or Burst shots. People shooting children and pets report that only burst or fast shutter settings produce usable frames.
If your phone has Pro or Manual mode, check the shutter speed setting after each shot. Shooting in bright light at a slow speed is a common cause of smeared frames that people blame on the camera.
How to tell it worked: shoot the same scene in Photo mode and in Portrait mode. If the Photo version is sharp all over, the mode was the cause.
Step 6: Avoid Digital Zoom and Excessive Magnification
Optical zoom uses the lens and keeps real detail. Digital zoom crops the image and stretches it, so no amount of sharpening brings back pixels that were never recorded.
Instead of pinching to magnify, get closer. If the subject will not move and you need more reach, switch to the telephoto lens rather than zooming past 2x. The ultrawide lens is also softer at the frame edges, a distortion correction effect that owners often mistake for a fault; if your corners look smeared, shoot with the main lens and compare.
How to tell it worked: take the same shot at 1x and at maximum zoom, then compare fine texture at full size. If the zoomed version has no texture at all, it was digital.
Step 7: Check for Camera Damage or Software Problems
Run the per-lens test first. Switch between 0.5x, 1x, and each telephoto step and take the same static shot on each. If only one lens is soft, the problem is local: grime trapped under the ring, moisture, or a failing module. If every lens is soft in the same way, it points to software or settings.
That last situation has a ladder. Force-close the camera app and reopen it. Restart the phone. Install any pending system update, since update rollouts have been blamed for autofocus regressions on new devices. On Android, clear the camera app cache under Settings, Apps, Camera, Storage. On iPhone, reset settings with Settings, General, Transfer or Reset iPhone, Reset, Reset All Settings, which leaves your data alone. A factory reset is the last rung and requires a backup first.
Two hardware clues that software cannot fix. Listen for a faint rattle or click when you shake the phone near your ear; that usually means a loose internal component. Or watch for a foggy lens that appears after moving from cold to warm air and never clears. If tests on a clean, case-free phone are still soft on every lens, stop troubleshooting and use your warranty or an authorised service centre. Impact and liquid damage are usually excluded from warranty, so check before you assume coverage.
Step 8: Improve Focus and Sharpness in Editing
Editing rescues mild softness and nothing more. A photo that is slightly out of focus or a little soft from hand shake can be improved with the sharpening or clarity slider. Go gently: heavy sharpening creates bright halos along edges that look worse than the original blur.
Work in this order. Apply sharpening or texture, then small noise reduction for grain, then a selective brightness bump on the subject to draw the eye. Use a masking or brush tool so the sharpening hits the subject rather than the sky. On both iPhone and Android, Google Photos and the native editor both carry a sharpen or clarity control, and third-party apps add more control, but the slider names and limits change between versions.
Know the limit: sharpening does not invent detail. Motion blur where the subject moved during exposure cannot be recovered, because the sensor never recorded that information. Cropping a badly blurred frame to a small region sometimes makes it look acceptable at normal viewing size, which is the only real workaround for a photo you cannot retake.
How to tell it worked: zoom to 200 percent while you sharpen. If the edges start to glow, back off. Real detail looks slightly crisper; halos look like a white outline.
Common Mistakes
Most people trying how to stop blurry photos on a phone repeat the same handful of errors. Each one has a quick correction.
- Wiping the lens with clothing. Shirts and towels scratch the coating and leave more oils than they lift. Use a dry microfiber cloth only.
- Moving during the tap. The press itself shifts the phone. Use the volume buttons, a timer, or Quick Tap Shutter.
- Shooting in a dim room and expecting the phone to cope. Slow shutter plus movement equals smear. Add a light source.
- Leaving the case and glass protector on while troubleshooting. Both can cover the lens edge and catch reflections.
- Pinching to zoom. Past about 2x on most phones you are cropping, not magnifying. Walk closer or use the telephoto lens.
- Leaving Night mode and Portrait mode on by default. Both add processing that blurs edges and ghosts moving subjects. Turn them off for general shooting.
- Over-sharpening in editing. It cannot fix real blur and it creates halos. Light touch only.
One more worth naming: buying a new phone before ruling out the free fixes. A grimy lens and a smudged case produce almost identical symptoms to a failing camera module, and the first two cost nothing.
Frequently Asked Questions
Why are my photos blurry all of a sudden?
The three most common sudden causes are a lens that has picked up grime, a case or glass protector sitting against the camera, and a software update that changed autofocus behaviour. Clean the lens, take the case off, and shoot a test frame of a static object. If that does not help, reset the camera settings and check whether an update is pending. A problem that appears suddenly and affects every lens at once is usually software or a smudge; one that affects a single lens points to that module.
How can I make a blurry picture clear again?
Mild softness from hand shake or a slight focus miss can be improved in any editor. Open the photo, apply the sharpening or clarity control, add light noise reduction, then mask the sharpening to the subject. Expect limits: sharpening cannot invent detail the sensor never recorded, so strong motion blur is not recoverable. Cropping to a smaller region and raising brightness sometimes makes a soft frame look acceptable at normal viewing size.
How do I turn off the blur effect on my Samsung camera?
Blur appears when Portrait mode is active, which fakes background depth of field. Open the Camera app and make sure the Photo option is selected rather than Portrait, and check that the depth-of-field control is not enabled. If a blur persists in standard mode, open Camera Assistant under Settings and review the options there. Note that the ultrawide lens is softer at the frame edges by design, which is not an effect you can switch off.
Why will not my iPhone camera focus up close?
Every phone lens has a minimum focus distance, and phones sit close to the subject when taking pictures of text, food, or small objects. Move back a little and check whether the lens is even the main one. On Pro models, Macro Control lets you lock focus at very close range; on standard models, the practical answer is to back off until the frame sharpens. If it never sharpens at any distance, test the second lens to see whether the autofocus motor is failing.
Why does my phone take bad pictures at night?
In dim light the camera slows its shutter to gather enough light, and anything that moves during that longer exposure smears. People look like they have doubled outlines because Night mode stacks several frames and a moving subject shifts between them. The fix is more light rather than more settings: shoot near a lamp, face a lit window, or step outside after dark. Holding the phone still on a surface with a timer helps further.
Is a blurry phone camera a software or hardware problem?
Isolate it with a three-shot test: a static object in good light, a moving subject, and an indoor night shot. If all three are soft and the same across every lens after cleaning and a restart, it is more likely software. If exactly one lens is soft, or you hear a faint rattle when you shake the phone near your ear, that points to hardware. Physical impact and liquid exposure are usually excluded from warranty, so check your coverage before paying for a repair.
Conclusion
Start with the lens and take the case off, then look at how you are holding the phone and how much light the subject has. After that come focus, camera modes, digital zoom, and finally software and editing. If every lens stays soft through all eight steps on a clean, case-free phone, it is hardware, and warranty or service is the next move.