How to use night mode on a phone camera is simpler than most guides make it sound: open the camera app, point it at a dark scene, and the phone decides on its own when a longer exposure is needed. A yellow moon icon in the viewfinder confirms night mode is armed. Everything after that is about holding the phone steady and knowing where your specific brand hides the manual controls.
That automatic behaviour trips people up more than anything else on this topic. Lots of readers take a dark photo, get a noisy result, and conclude night mode is broken. It usually isn’t. The shot was too bright for the phone to trigger, the flash was set to Auto and fired instead, or the hand moved during a ten second capture. This guide walks through the actual process on iPhone, Samsung Galaxy, and Google Pixel, then covers the handful of fixes that turn a blurry mess into a usable night shot.
A quick note on terminology, because it trips people up constantly. Camera night mode and Night Shift are two different features on the same phone. Night mode is the camera shooting a longer exposure to gather light. Night Shift is a display setting that warms the screen colours so they are easier on your eyes at night. One takes better photos, the other makes your screen less harsh. Adjusting Night Shift will not improve your night photography at all.
Table of Contents›
- What You Need
- Step-by-Step: How to Use Night Mode on a Phone Camera
- 1. Open the Camera in a Dark Setting
- 2. Find and Enable Night Mode
- 3. Keep the Phone Still While the Exposure Finishes
- 4. Adjust Exposure, Flash, and Focus
- 5. Review and Save the Sharpest Image
- Night mode by shooting mode
- Common Mistakes
- Frequently Asked Questions
- What does the moon icon mean on my phone camera?
- Why won’t my iPhone go into night mode?
- Does turning on the flash or Live Photos cancel night mode?
- Do I need a tripod to use night mode?
- How do I turn night mode off completely?
- Is night mode the same as Night Shift?
- Conclusion
What You Need
You need very little. A phone with a rear camera that supports night mode, a scene that is genuinely darker than daylight or a well-lit room, and a way to keep the phone from moving.
The rear camera matters more than most people expect. On plenty of iPhone models, night mode works with the wide 1x lens but does not engage on the front camera, so a night selfie needs a different approach. On many Samsung Galaxy and Pixel phones, night mode is also restricted to the main rear lens. Check which lens you are on before you start changing settings.
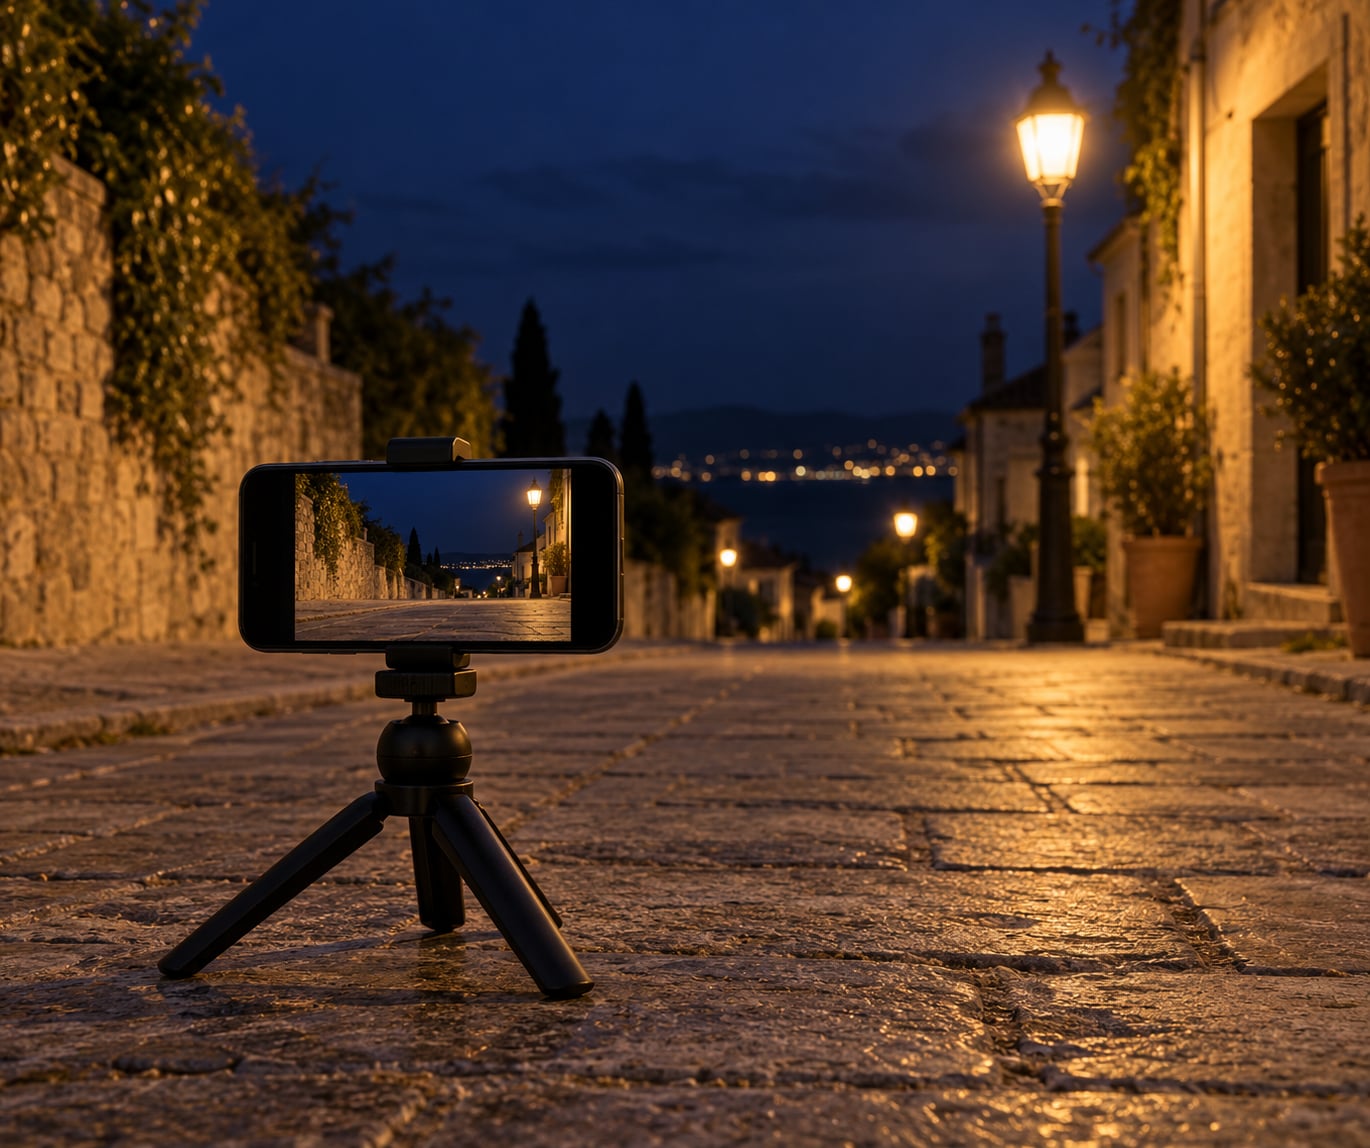
A tripod is helpful but not necessary. Night mode is specifically designed to make handheld shooting in low light viable, which is why it uses computational stacking rather than a single long exposure. If you can rest your elbows on a railing, press your phone flat against a wall, or prop it on a table, you will get noticeably sharper results without buying anything.
Finally, a clean lens. Camera phones mark their lenses with grease from your pocket all day, and a smeared lens turns a good night photo into a hazy blur. A quick wipe with a soft cloth before you shoot is the cheapest improvement available.
Step-by-Step: How to Use Night Mode on a Phone Camera
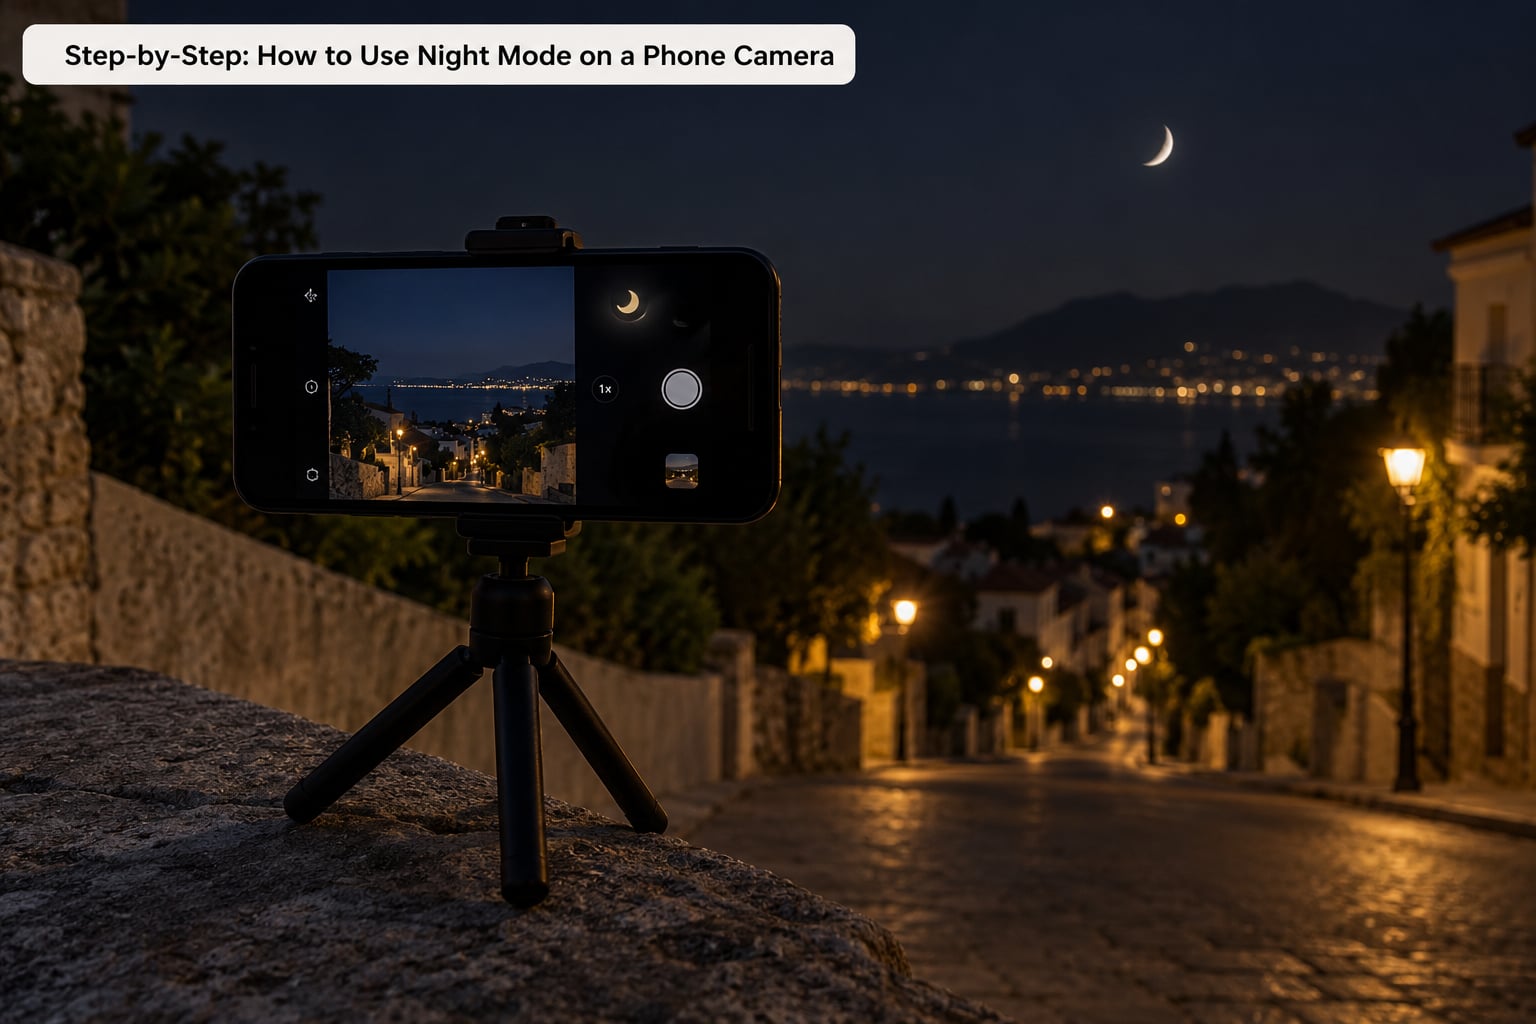
1. Open the Camera in a Dark Setting
Open the stock camera app, not a messaging app or a web page. On most phones the camera opens in Photo mode on the rear wide lens, but verify it: check for the small camera-switch icon near the viewfinder and confirm you are not on a 0.5x ultrawide or a 3x telephoto setting unless you want night mode to stay out of the picture.
Frame your subject, then tap the screen on the thing you want sharp. That sets focus and, on iPhones, focus and exposure together. The exposure slider appears beside the focus crosshair, and you can drag it up or down before you shoot. Holding this detail is the single biggest difference between a flat night photo and one that has some atmosphere.
Stay in the viewfinder for a second or two. The phone needs a moment to measure the scene, and on most models the moon icon only appears after it decides the light is low enough to warrant a longer capture.
2. Find and Enable Night Mode
On most phones there is no switch to flip. Night mode arms itself when the camera judges the scene dark, and the icon tells you it has happened. Where it differs is in the manual controls and the naming.
iPhone: Open Camera in Photo mode and the yellow crescent moon appears at the top of the viewfinder once the scene is dark enough. For manual control, tap the small arrow above the viewfinder, then choose an exposure option. That selector also holds Live Photo, flash, aspect ratio, filters, and Night mode Portrait. Setting an exposure option sticks for the next photo, so you do not have to repeat it every time. On the newest iPhones with Camera Control, pressing the control is the shutter.
Samsung Galaxy: Open Camera and tap the star icon at the far right of the viewfinder to activate Night mode manually instead of waiting for the auto trigger. A yellow moon indicator confirms it. On many models you then tap the proposed brightness value and drag it higher or lower with your thumb; the number is a preview of the gain the phone will apply. Galaxy models with Expert mode or Pro video give you a Night option in the shooting mode list too.
Google Pixel: Night Sight is the Pixel name for night mode, and it triggers automatically in dark scenes. To use it deliberately, open Camera and tap Night Sight in the mode selector along the bottom. Hold the phone still and a progress bar shows the capture running. For longer sky exposures, switch to Astrophotography mode, which stacks frames for a minute or more and needs a tripod or stable surface to be worth using.
On most other Android phones, night mode sits in the shooting mode strip beside Night, Portrait, and Photo, or appears as a star or moon icon in the viewfinder controls. The exact labels vary by brand, so look for the moon or star rather than hunting for the word.
3. Keep the Phone Still While the Exposure Finishes
Once you press the shutter, the phone takes several exposures over a span of time and merges them into one photo. On an iPhone that span can run from a couple of seconds in mild low light up to about 30 seconds with the Max option selected. On a Pixel in Astrophotography mode it is longer still. During that window, any hand movement smears the stacked frames together.
Do not tap the shutter again while the capture is running, and do not tap the screen to re-focus. Both interrupt or restart the process. On iPhones a small yellow stop button appears at the bottom of the screen during a long capture; tapping it ends the exposure early and saves what has been collected so far, which is useful when a light or person walks into frame.
For stability, brace your elbows against your ribs or against a solid surface rather than holding your arms out in front of you. Better still, set the phone on a flat surface or a small tripod and start the timer if your phone offers one. A ten second capture with a wobbling hand produces blur that no amount of editing will rescue.
4. Adjust Exposure, Flash, and Focus
Exposure is your main creative dial. On iPhone, the slider ranges from Auto to Max and controls how much light the phone gathers. Auto adapts to the scene, which is the right choice most of the time. Max pulls the longest capture the phone considers safe and gives you the brightest, cleanest shadows, but only works if the phone is stationary.
Samsung’s brightness slider behaves the same way, offering a suggested value you can raise or lower. On Pixel, the timed capture length is not user-adjustable in the stock app, which is a frequent point of frustration, and Astrophotography mode is the answer for longer exposures.
Flash is the setting that quietly cancels everything. If the flash is on or set to Auto, the phone will fire it in a dark scene and night mode will not engage at all. Set it to Off when you are shooting night scenes. Flash is only useful in night mode if you are close enough to light the subject yourself, and even then, turning it off gives a more natural result once the exposure runs long enough.
Live Photos work the same way. With Live Photo enabled, some iPhone models skip night mode so they have the frames to build the animation from. If you want the longer exposure, turn Live Photo off with the button above the viewfinder.
If you want to lock focus and exposure on iPhone, press and hold the screen on your subject until AE/AF Lock appears at the top of the viewfinder. You can adjust the exposure slider while the lock is active, and the camera will hold those settings when you shoot.
5. Review and Save the Sharpest Image
The photo saves to your camera roll as soon as processing finishes. Take a second look at it full size rather than judging it in the small viewfinder thumbnail, where it will look brighter and blurrier than it really is.
Check three things: are the fine details sharp or smeared, is the sky or shadow area full of colour noise, and do moving subjects have motion blur behind them. Smearing and noise are both fixed by a steadier hold on the next attempt. Motion blur is not, because it means the subject moved during a long capture.
If the result looks too bright, that is a normal reaction to computational night photography and it is fixable in editing. Open the photo in your gallery app, tap Edit, and pull the exposure slider down. On iPhone the adjustment lives under the brightness icon in the control strip; on Google Photos it is the tone and exposure sliders in the edit toolbar. Pulling exposure down two or three notches usually restores the mood of the scene while keeping the shadow detail night mode worked to recover.
If it looks too dark or flat, shoot again with the exposure option raised rather than trying to recover it in editing, because brightening a dark capture also amplifies the noise already there.
Night mode by shooting mode
Photo mode is where night mode does its best work. Portrait mode on supported iPhone models can use night mode, which lets the background blur sit in front of a longer exposure rather than behind it. Front camera night mode exists on recent iPhones in Portrait mode, and Pixel handles night selfies through Night Sight as well, though neither is the strongest result on the phone.
Video is a separate story. Night mode applies to still photos. For low light video, slow the frame rate in the camera settings, stabilise the phone, and give the scene whatever light you can, because long exposures are not available to the video pipeline on most phones.
Time-lapse on iPhone also uses night mode, per Apple’s documentation, and it is one of the better uses for it since the camera is stationary by definition.
Common Mistakes
Photos are blurry. Almost always movement during the capture. Brace the phone on something solid and use a longer exposure rather than more brightness.
The moon icon never appears. The scene is brighter than the threshold. Try a darker spot, turn off bright screens or overhead lights in frame, or force night mode manually using your brand’s icon.
Night mode was available and then vanished. Flash on Auto fired, Live Photos got switched on, or you moved to Portrait, selfie, or a RAW mode that night mode does not support. Check those three first.
Everything is too bright and washed out. The phone is lifting shadows far harder than your eye expects. Lower the exposure in edit, or use a lower capture setting instead of Max.
People and cars look like ghosts. Night mode assumes a stationary camera and a stationary subject. It will not freeze a passing pedestrian, so capture short daylight frames instead or use the flash for close subjects.
Shadows are full of colour speckle. That is sensor noise from a long exposure at high gain. The fix is more light, not more exposure time. A nearby lamp solves it faster than any setting.
The camera app has no night mode at all. Some carrier-locked and budget Android models ship without it, and heavily used or low storage can stop it engaging. On iPhone, night mode requires a supported model; check the model list in your camera settings rather than assuming every iPhone has it.
Frequently Asked Questions
What does the moon icon mean on my phone camera?
The crescent or star icon in the viewfinder is the phone telling you night mode is armed and ready. It appears once the camera measures the scene as dark enough to justify a longer exposure. Until you see it, a standard single-frame capture is all you will get. In some Android camera apps the icon doubles as a toggle you can tap to force night mode on, which is useful when the auto-trigger is too cautious.
Why won’t my iPhone go into night mode?
Check the three usual causes. If the flash is set to Auto or On, the phone fires it and skips night mode entirely. If Live Photo is enabled, the camera reserves frames for the animation. And if you are in Portrait, selfie, RAW, or ProRAW, night mode may not be available at all. Darker scenes and the main rear lens trigger it most reliably.
Does turning on the flash or Live Photos cancel night mode?
Yes, on both counts, and this catches people out constantly. Flash in Auto mode fires in a dark scene, and a fired flash means a normal short exposure. Live Photo consumes frames for animation. On supported iPhones either one can stop night mode from engaging, so switch the flash to Off and turn Live Photo off before shooting a night scene.
Do I need a tripod to use night mode?
No. Phone night mode is built for handheld shooting, and the multi-frame stacking it relies on is what lets a several second exposure come out sharp in your hand. A tripod improves things further, especially with long Max exposures on iPhone or Astrophotography mode on Pixel, but resting your elbows on a railing or leaning the phone against something solid will fix most beginner blur.
How do I turn night mode off completely?
You cannot permanently disable the automatic trigger, because the phone sets it based on how dark the scene is. What you can control is the capture option: on iPhone, tap the arrow above the viewfinder and select the middle option instead of Max. On Samsung, do the same with the brightness suggestion. On Pixel, tap Night Sight and switch back to Photo mode to leave the mode deliberately.
Is night mode the same as Night Shift?
No, and they get mixed up constantly. Night mode is a camera feature that takes a longer exposure to gather more light. Night Shift, True Tone scheduling, and the blue light filter on Pixel are display settings that warm the screen colour at night for eye comfort. Night Shift has no effect whatsoever on your photos.
Conclusion
Start with the automatic path, not the settings menus. Find somewhere genuinely dark, open the camera, confirm the moon icon has appeared, and take one photo while holding the phone as still as you can manage. Check the result full size. Only then start adjusting the exposure slider, the flash, or the focus lock, because those controls matter far less than a steady hold in a scene dark enough to trigger night mode.