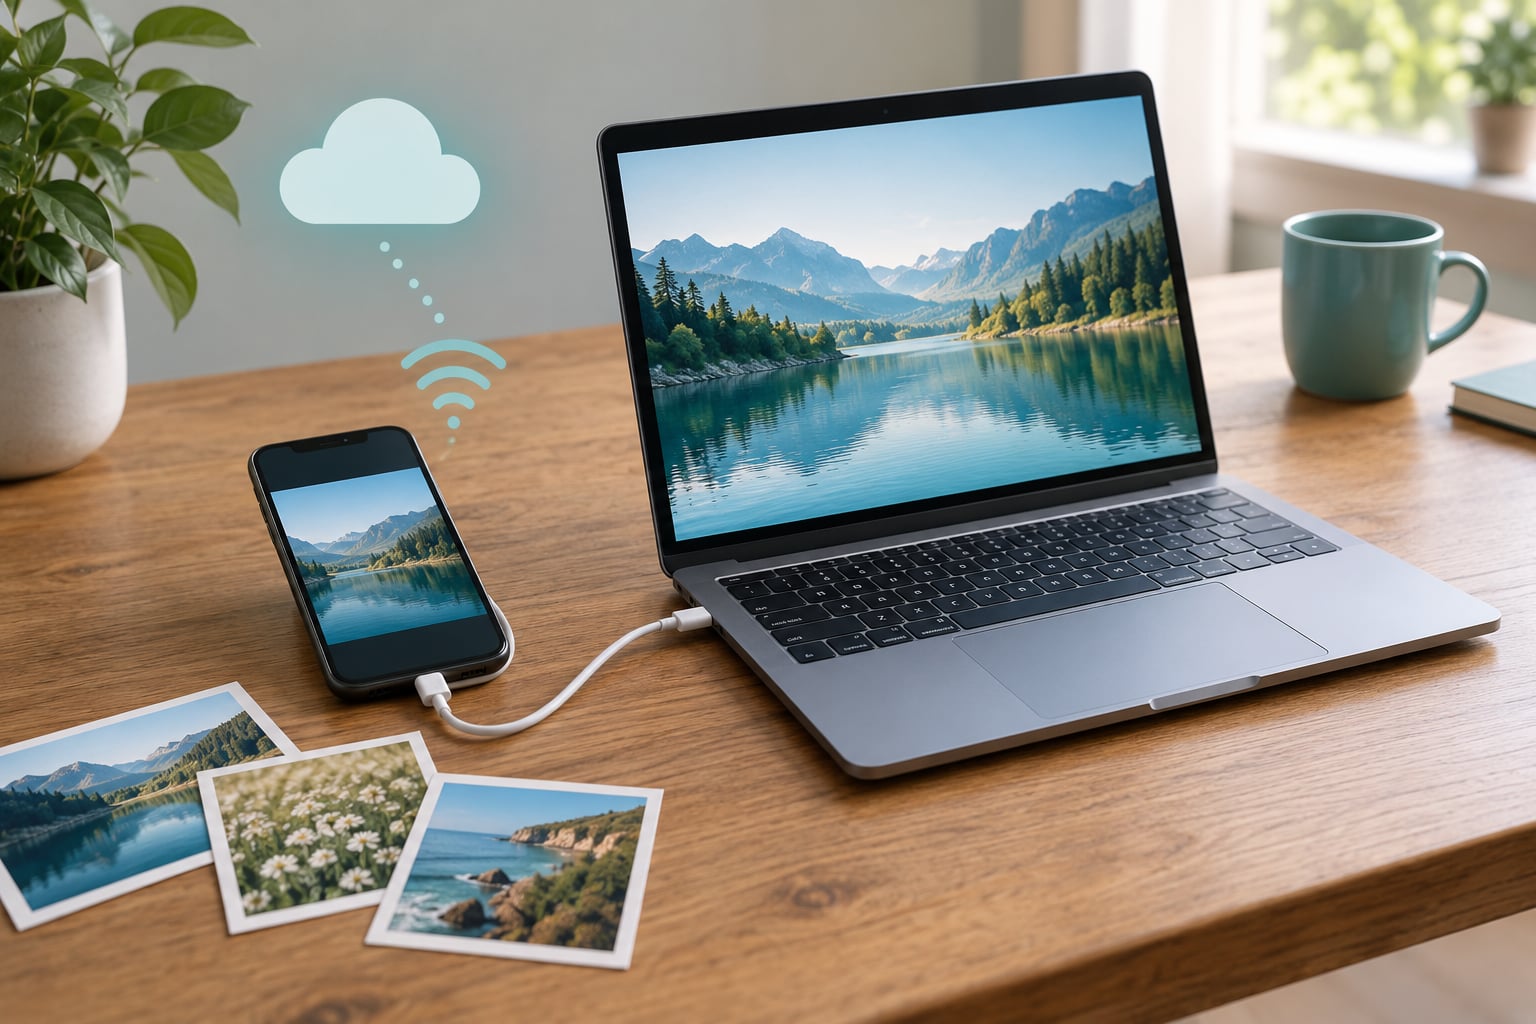
To transfer photos from a phone to a PC you have three real routes: plug in a USB cable and copy the files, send them over Wi-Fi with a built-in sharing tool, or let a cloud service like Google Photos or iCloud sync them for you. USB is fastest and works offline, wireless suits a handful of photos, and cloud is the one you set up once and never think about again.
A cable transfer of 20 GB takes roughly 10 minutes on a decent USB 3 port. The same library over Wi-Fi can take an hour, and uploading 20 GB to the cloud depends entirely on your broadband.
Whichever route you pick, the last step is the same and it matters most: open a few of the copied photos on your PC before you delete anything from the phone. I’ve seen people free up 60 GB twice because they trusted a progress bar that lied about being finished.
This guide covers Android and iPhone side by side, Windows and Mac, and the errors that stop a transfer halfway. Updated for 2026.
Table of Contents›
- What You Need
- Step-by-Step
- Transfer Photos from an Android Phone with USB
- Transfer Photos from an iPhone with USB
- Transfer Photos Without a USB Cable
- Common Mistakes
- Tips for Keeping Photos Organized
- Frequently Asked Questions
- What is the easiest way to transfer photos from a phone to a PC?
- Why isn’t my phone showing up on my PC when I plug it into the USB port?
- How do I transfer photos from Android to PC without a USB cable?
- Why is it hard to transfer photos from an iPhone to a PC?
- How long does it take to transfer 10,000 photos or 100 GB?
- Is it safe to delete photos from my phone after transferring them?
What You Need
The list is shorter than most guides make it sound.
- For a USB transfer: a cable that carries data, not just power. That is the single most common reason nothing happens.
- Your phone unlocked and, on iPhone, your passcode entered when the trust prompt appears. A locked iPhone will not expose its photos to the computer.
- Free space on the PC — roughly the same as the library you are copying. Check it before you start, not at 90 percent full.
- On Windows: the Apple Devices app, which replaced iTunes for photo transfer on recent iOS versions. On Mac, Finder or the Image Capture app, both built in.
- For wireless and cloud methods: internet access on both devices and signed-in accounts — a Google account for Google Photos, an Apple ID for iCloud.
That last item is where people get stuck. Phone Link and AirDrop both need both devices on the same network, and a guest Wi-Fi network with client isolation will quietly block them even though the Wi-Fi icon shows you connected.
| Method | Cable needed | Rough speed | Best for |
|---|---|---|---|
| USB cable | Yes, data-capable | 20 to 60 MB/s | Large libraries, offline work, full-quality copies |
| Nearby Share or AirDrop | No | 5 to 30 MB/s | A few dozen photos, second phone or Mac |
| Phone Link or Windows wireless | No | 2 to 10 MB/s | Android to Windows without touching a cable |
| LocalSend or Snapdrop on Wi-Fi | No | 10 to 40 MB/s | Big transfers with no cloud upload in the way |
| Google Photos, iCloud, OneDrive, Dropbox | No | Upload speed, so often the slowest | Automatic backup you never have to run again |
Step-by-Step
Work through the method that matches your situation. Each one ends with the same habit: check the copies before clearing the phone.
Transfer Photos from an Android Phone with USB
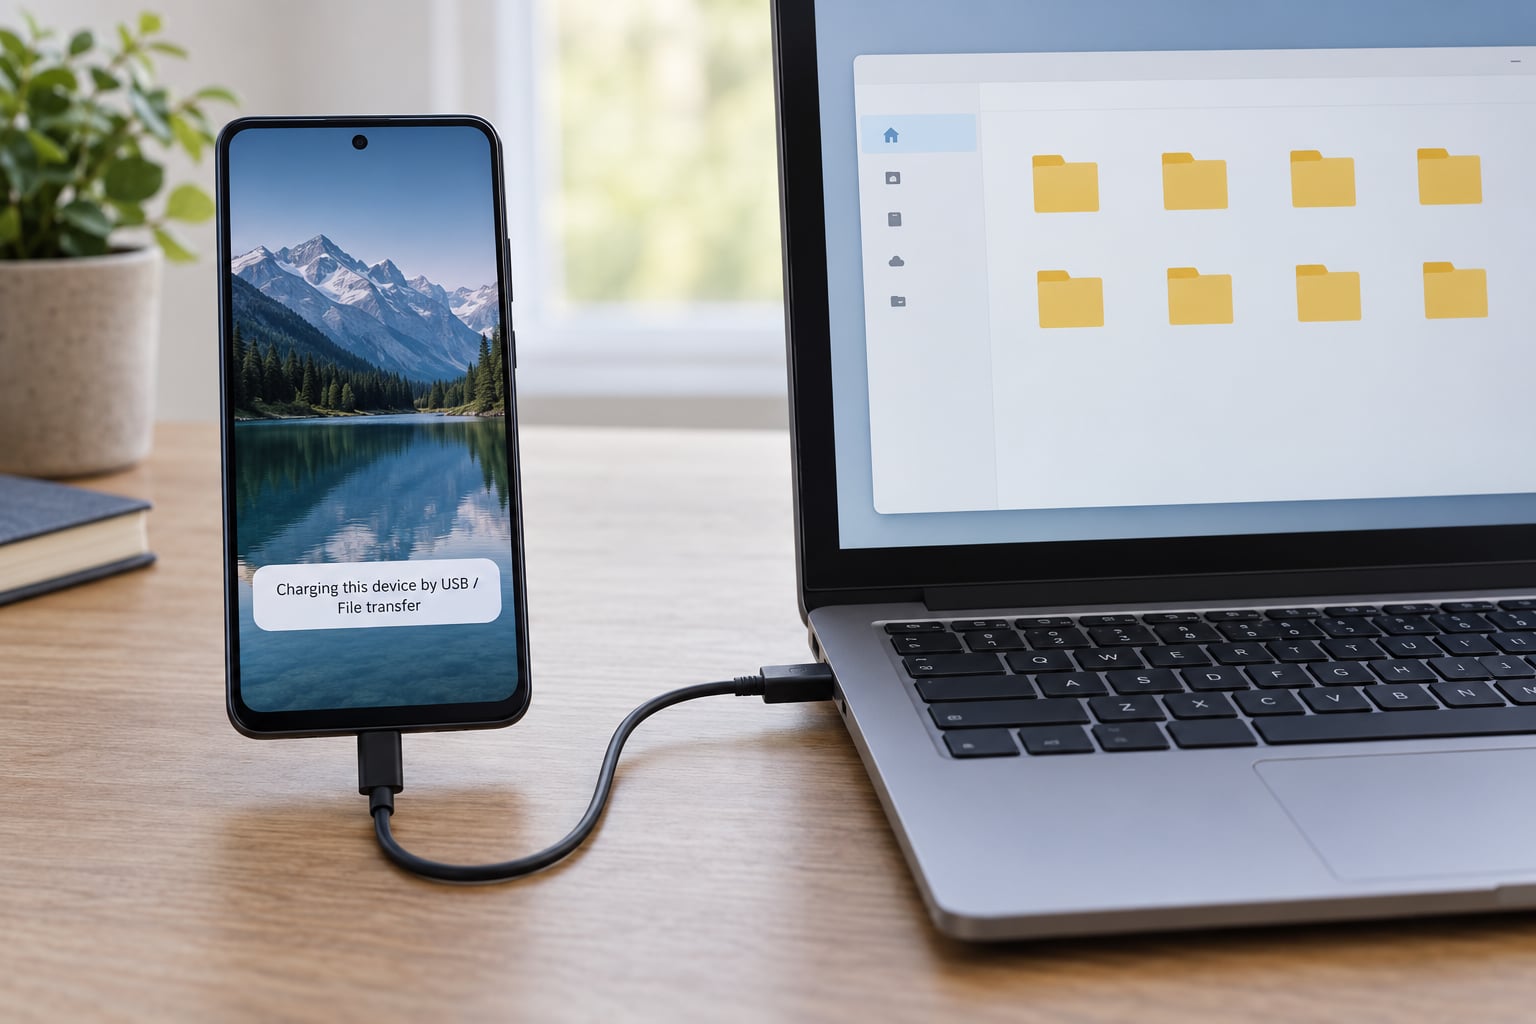
Android speaks MTP, Media Transfer Protocol, which lets Windows treat the phone like a portable drive. It works out of the box on Windows 10 and 11 with no drivers and no extra software.
- Plug the phone into a USB port on the computer with the phone unlocked. Use a port on the case itself rather than a hub if you can.
- Swipe down from the top of the phone screen. You should see a notification about the USB connection. Tap it.
- On that panel, choose File Transfer. If it says Charging only, the phone is drawing power and no files move. This is the setting most people never find.
- On your PC, open File Explorer from the taskbar. Your phone appears under This PC as a portable device with its model name.
- Open the phone, then Internal shared storage, then DCIM. Photos from the camera live in DCIM/Camera. Screenshots are usually in Pictures/Screenshots, and messaging pictures in Pictures or Download.
- Drag the folders you want onto a folder on your PC. Windows shows a copy progress bar per folder.
- To move only some photos, open the folder, select what you want with Ctrl-click, and copy just those.
- When the copy finishes, click the phone in File Explorer and use Eject. On the phone, swipe down and tap the USB notification to disconnect cleanly.
Samsung, Pixel and OnePlus phones all follow this path, though the labels differ slightly. Samsung calls the panel USB preferences and lists File transfer as an option; Pixel shows the same choice directly in the notification shade.
If the phone shows up but behaves oddly — connects and drops, or never appears at all — you can change the default behaviour. Go to Settings, About phone, tap Build number seven times to unlock Developer Options, then find Default USB configuration and set it to File transfer. That stops it reverting to charge-only every time you plug it in.
Transfer Photos from an iPhone with USB
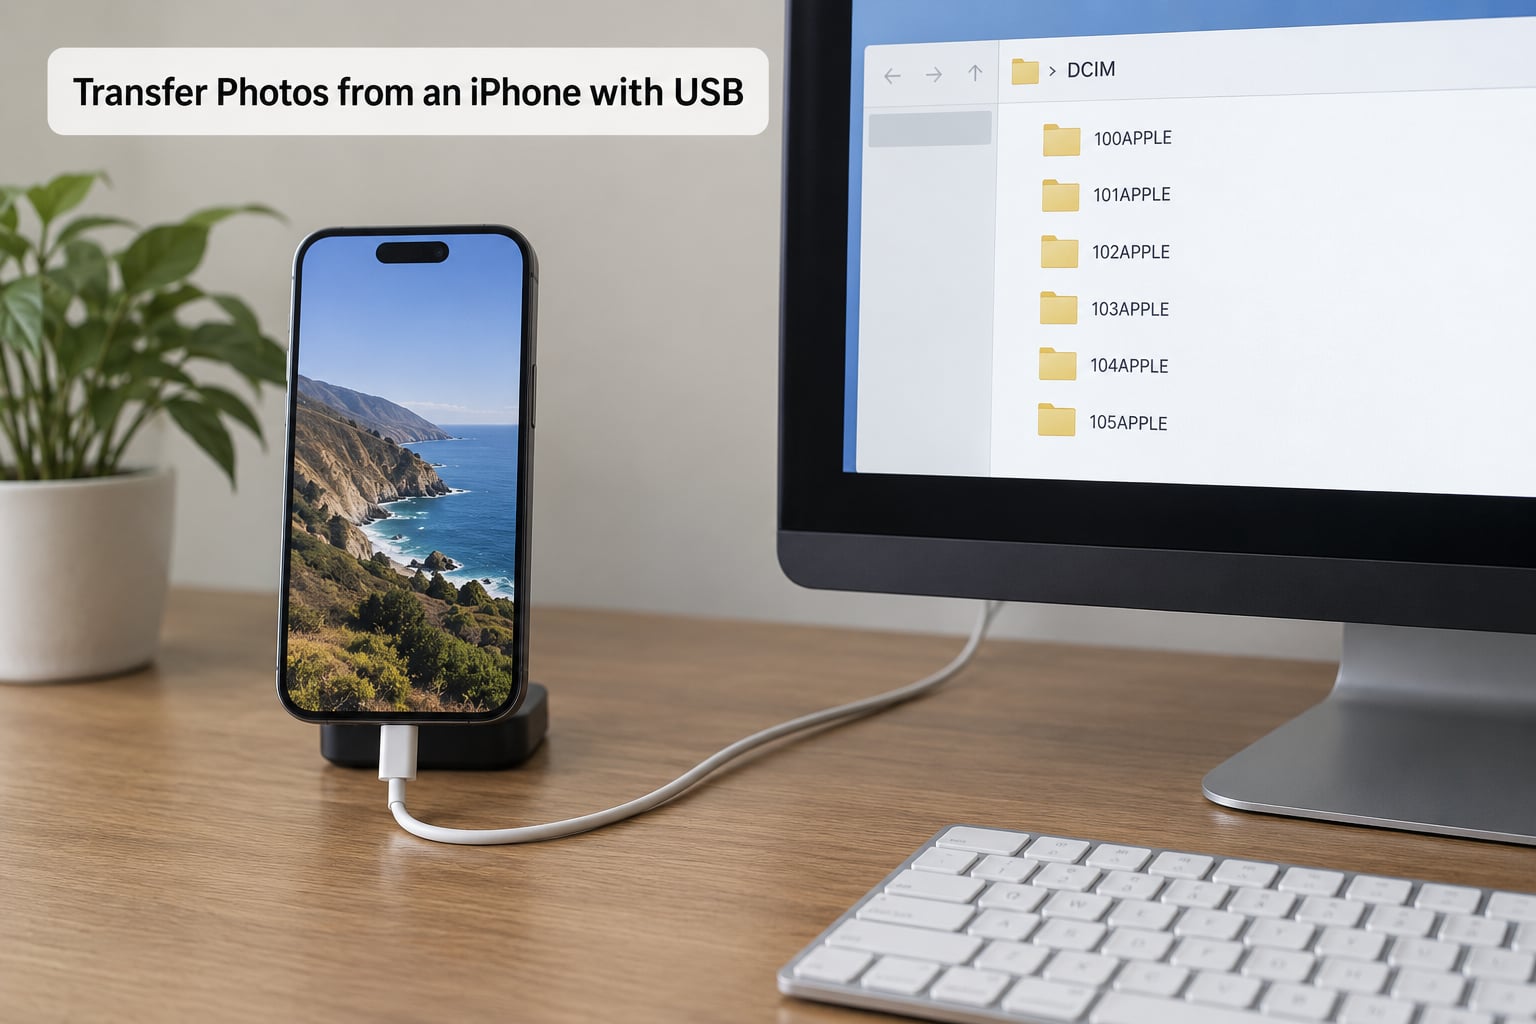
Apple dropped iTunes photo transfer on Windows and replaced it with the Apple Devices app. On macOS, Finder and Image Capture have handled it for years. Both give you the original files, including the date each photo was taken.
- Download and install the Apple Devices app from the Microsoft Store if you do not have it.
- Connect the iPhone by cable and unlock it. Keep it unlocked for the first minute or two.
- A prompt asks whether to Trust This Computer. Tap Trust and enter your iPhone passcode. Skip this and nothing shows up on the PC.
- Open the Apple Devices app. It shows your phone by name with options for photos, backups and transfers.
- Select the photos you want, or choose to import everything new, and pick the destination folder on your PC.
- Start the import and let it finish. Large libraries take a while because the app verifies each file rather than blindly copying.
Windows can also reach the photos without that app. Open File Explorer, click This PC, and your iPhone appears under Portable Devices. Open DCIM, then the 100APPLE folder, where iOS groups photos by batch.
On a Mac, connect the phone, open Finder, click it in the sidebar, and choose Photos from the Import dropdown. Image Capture is the alternative: it lists each shot with a checkbox so you can pick rather than take everything.
Two iPhone habits trip people up. Photos taken in iCloud are optimised, so you may need to tap the cloud icon and choose Download Originals. And Leave This Phone Unchecked, if selected, deletes the photos from the iPhone after the import — leave it off until you have verified the copies.
Transfer Photos Without a USB Cable
Wireless beats a cable for small jobs and loses badly for large ones. Knowing which is which saves hours.
Android to Android or Android to laptop: open the sharing panel on a photo, tap Share, then Nearby Share (Quick Share on many Samsung and Google models). Pick the receiving device from the list. Both devices need to be near each other, Bluetooth and Wi-Fi on, and Location permission granted to the sharing app.
iPhone to Mac: AirDrop, no cable, no app. Open Photos, select up to 50 images, tap Share, then AirDrop, and choose your Mac. The Mac has to be awake, within about 10 metres, and set to Allow AirDrop for Everyone in System Settings, or for Contacts Only with iCloud signed in.
Android to Windows: Phone Link (formerly Link to Windows), in the Microsoft Store, pairs by Bluetooth and pulls your gallery into a gallery pane on the PC. It is handy for browsing and grabbing a handful of shots. For thousands of photos it is slow, and it fails outright if the two devices sit on different networks or the router uses a guest SSID.
Cloud: Google Photos on Android backs up automatically once you turn it on in Settings, Camera, Backup. On iPhone, turn on iCloud Photos in Settings, Photos, iCloud Photos, which needs storage in your iCloud quota. OneDrive and Dropbox are the practical middle ground: install the app on the phone, choose a folder such as Camera Uploads, and files sync to the PC when the app is signed in.
Local Wi-Fi tools: LocalSend and Snapdrop move files directly between devices over your router with no upload in the middle. Open the same app on both, send, done. These are the sweet spot for a 40 GB library on slow broadband, though a weak Wi-Fi signal will still make large batches stall. Anyone with technical patience often prefers these to the cloud, and LocalSend is free with no account required.
Common Mistakes
The phone does not appear in File Explorer. Try another cable first — a charge-only cable is the top cause. Then try a different USB port, ideally one on the computer rather than a hub, and make sure the phone is unlocked. On Windows, open Device Manager and check for a phone or portable device with a warning triangle; a yellow marker means the driver failed to load and a reboot usually clears it. On iPhone, unplug, restart the phone, plug back in and tap Trust This Computer again.
The phone charges but transfers nothing. Change the USB mode from Charging only to File transfer in the notification shade. On iPhone this choice does not exist, so if you are on an iPhone the problem is the trust prompt or the passcode, not the mode.
iPhone photos will not open on Windows. Modern iPhones shoot HEIC, a compressed format Windows still struggles with. The files transfer fine, they just fail to open. Install the HEIF Image Extensions from the Microsoft Store and they open natively; otherwise convert a copy to JPEG in Photos, Ctrl-click, Convert, then save.
Photos are missing after the transfer. Most often they were never in the camera folder. Check Pictures, Download, WhatsApp or Messages media folders, and any cloud-only library that had not finished downloading to the phone. A partial transfer after an unplug looks exactly like missing photos, so copy everything again before assuming loss.
The same photos appear twice or three times. Repeated ad-hoc copies into new folders cause this. Search your PC for IMG_ and the file extension and delete the duplicates, keeping the copy in your main dated folder.
The transfer stalls or runs at walking pace. On Wi-Fi, move both devices closer to the router and drop any VPN on the PC. On USB, try a USB 3 port — those are usually blue or marked with the SS symbol — since USB 2 tops out around 30 MB/s and transfers over 100 GB will eat your evening. A failing cable also drags the speed down long before it stops working.
The computer runs out of space mid-copy. Check the drive’s free space before starting, and never delete from the phone until the copy completes. If the library is bigger than your free space, transfer in batches by month folder.
Tips for Keeping Photos Organized
Pick one folder structure and stick to it. Something like Pictures/Phone Backup/2026 works, and the year folder keeps a decade-old library navigable. Photos copied straight to Pictures/Screenshots or Downloads turn into a mess within a year.
Let Windows keep the dates. Copying inside File Explorer preserves the original date taken, so sorting by date shows your real timeline rather than the transfer date. Dragging from a different folder level sometimes resets it, so check a few random shots afterwards.
Verify before you delete. Open ten photos, including the oldest, a burst and a video. Compare counts if you can. Only then delete from the phone, and keep one backup elsewhere. In my experience the people who run into trouble are the ones who delete first and check later.
Set up automatic backup so you stop doing this manually. Google Photos on Android, iCloud Photos on iPhone, both with storage bought if your library is large. Once it runs nightly, the cable transfer becomes an occasional archive job rather than an emergency.
Move your finished archive to a second drive. One copy on your PC’s internal drive is not a backup if the drive dies. An external drive with your library in year folders is cheap insurance and takes about ten minutes to set up.
Frequently Asked Questions
What is the easiest way to transfer photos from a phone to a PC?
For most people, the easiest route is a USB cable: plug in an Android phone, choose File Transfer in the notification shade, then drag the DCIM folder into File Explorer. An iPhone needs the Apple Devices app on Windows or Finder on Mac, plus a tap on Trust This Computer. The one-shot click method is Google Photos or iCloud, but those need internet and a few hours.
Why isn’t my phone showing up on my PC when I plug it into the USB port?
The usual cause is a charge-only cable, which powers the phone without carrying data, so File Explorer never sees it. Try a second cable, use a USB port on the computer rather than a hub, and keep the phone unlocked. On an iPhone, tap Trust This Computer and enter your passcode. On Windows, check Device Manager for a device with a warning triangle and restart the machine.
How do I transfer photos from Android to PC without a USB cable?
Use Nearby Share on most Android phones: open a photo, tap Share, then Nearby Share, and pick the computer or phone from the list. For larger batches, LocalSend or Snapdrop move files straight over your Wi-Fi with no account and no upload step. Google Photos backs everything up automatically once you enable it under Settings, Camera, Backup. Bluetooth works but manages only a few files at a time.
Why is it hard to transfer photos from an iPhone to a PC?
Two reasons. iOS keeps photos in its own protected folders, so Windows cannot browse them the way it browses an Android phone, and access depends on you approving the connection. You must tap Trust This Computer and enter your passcode while the phone is unlocked. Older instructions also lean on iTunes, which Windows no longer uses for photos after the Apple Devices app replaced it.
How long does it take to transfer 10,000 photos or 100 GB?
Over USB 3, expect roughly 20 to 60 MB/s, which puts 100 GB at somewhere between 30 minutes and 90 minutes. USB 2 ports and slow cables cut that a lot. Over Wi-Fi it can stretch to several hours, and the cloud depends on your upload speed, so a 100 GB library may not finish overnight. For very large libraries, split the copy into batches by month rather than one enormous job.
Is it safe to delete photos from my phone after transferring them?
Only after you have checked the copies. Open a sample of the imported photos on your PC, including videos and the oldest shots, and compare the file count where you can. Deleting from the phone straight after a progress bar finishes is the most common way people lose a library, because an interrupted transfer still looks complete from the phone side.
Start with the automatic backup tonight, so tomorrow’s photos are already covered. When you want a full local copy or you are switching phones, run the USB transfer from the sections above, open a few of the newest and oldest files, and only then clear space on the phone.