Knowing how to take handwritten notes on a tablet comes down to three things: a screen that registers a stylus properly, a note app that stores ink instead of photos, and about twenty minutes of setup so your palm stops drawing while you write. Most people who hate writing on a tablet never fix those three things, and they blame the device. Set them up once and ink capture is quick, searchable, and backed up somewhere other than the glass.
The walkthrough below covers finger input, active and Bluetooth styluses, the settings that matter on iPad, Samsung Galaxy Tab, and plain Android, plus the export step that keeps years of notes from living on one device. Exact menu names shift with app and OS versions, so look for the label rather than the exact path.
Table of Contents›
- What You Need Before You Start
- The tablet
- The stylus
- The app, plus a few optional extras
- How to Take Handwritten Notes on a Tablet, Step by Step
- Step 1: Choose a Stylus and Input Method
- Step 2: Pick a Handwriting Note App
- Step 3: Adjust Pen, Palm, and Handwriting Settings
- Step 4: Create a Notebook and Start Writing
- Step 5: Organize, Save, and Back Up Notes
- Common Mistakes and How to Fix Them
- Frequently Asked Questions
- Do I need a stylus to take handwritten notes on a tablet?
- Which tablet is best for handwritten notes?
- Can I use my finger instead of a stylus for handwritten notes?
- How do I convert handwritten tablet notes to searchable text?
- How do I keep handwritten notes synchronized across my devices?
- Can I export handwritten notes from a tablet as a PDF?
What You Need Before You Start
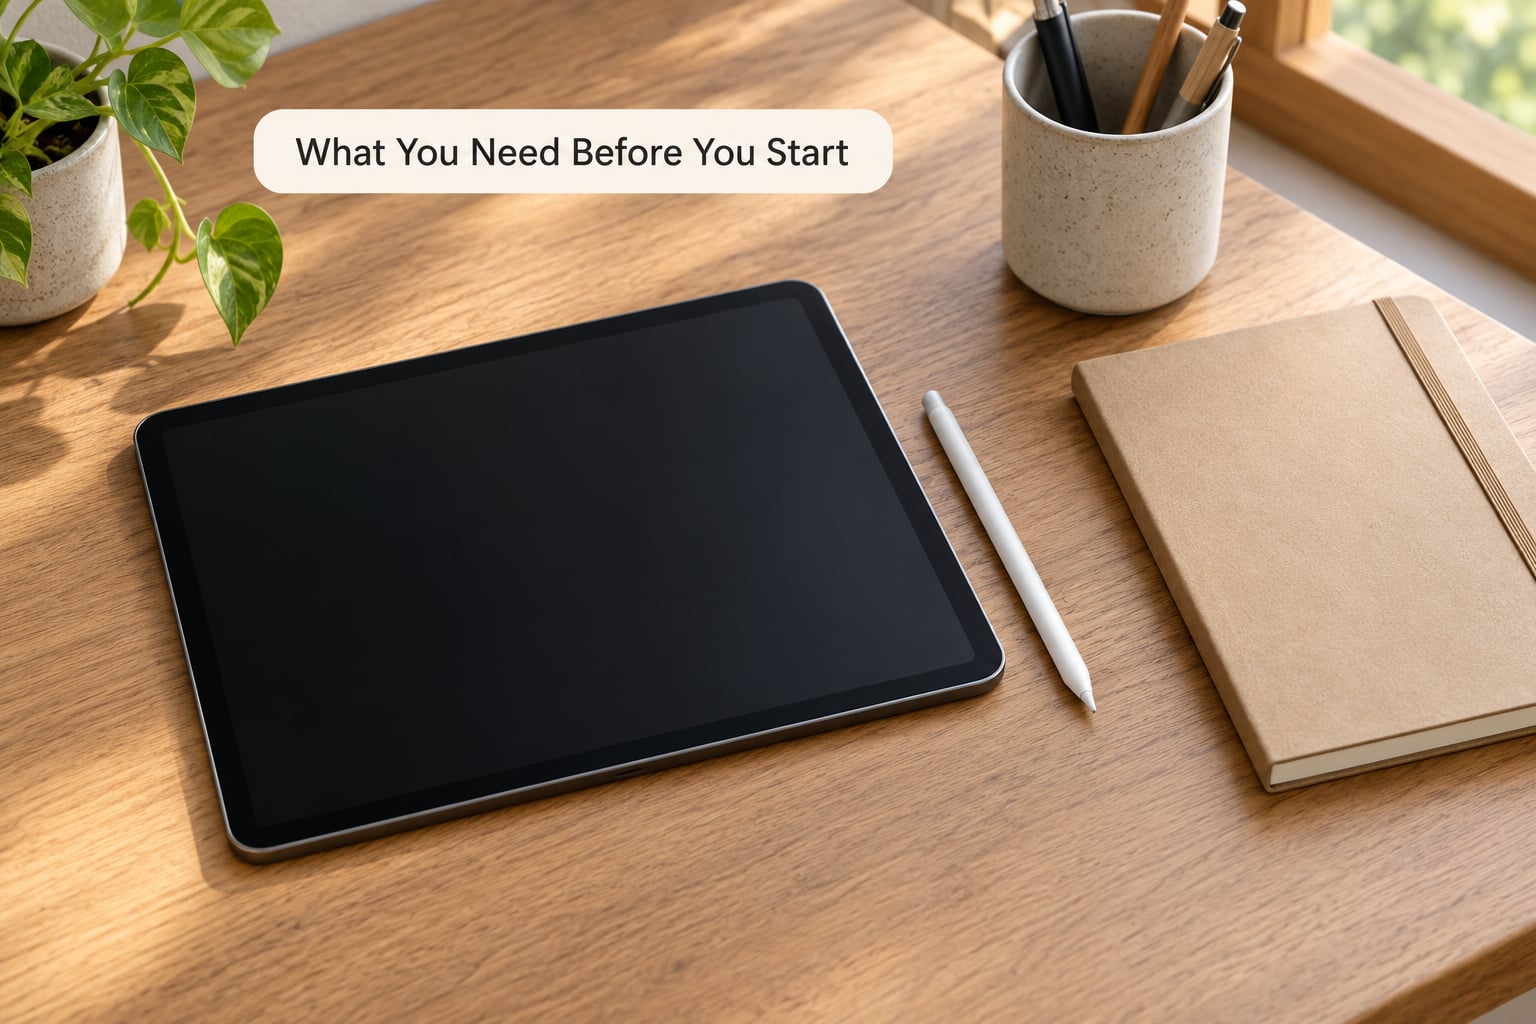
You need a tablet, a way to draw on it, and an app to draw in. That sounds obvious, which is why people skip it and end up with notes scattered across five apps and a stylus that never quite connects.
The tablet
Any tablet with a capacitive screen accepts finger input, and any tablet built around an active digitizer accepts a pen that reports pressure, tilt, and hover. The difference shows up in the first five minutes: a finger gives you thick uniform lines, no line weight, no hover, and a smeared mess when your hand rests on the screen. A pen-capable tablet gives you a thin-thick range, palm rejection, and the ability to write with your hand planted on the page the way you do on paper.
The stylus
A passive stylus is a plastic or metal stick with a soft tip. It works on almost any screen and costs very little, but it has no pressure sensing, no palm rejection, no shortcut buttons, and no hover. Fine for ticking boxes, poor for a page of lecture notes.
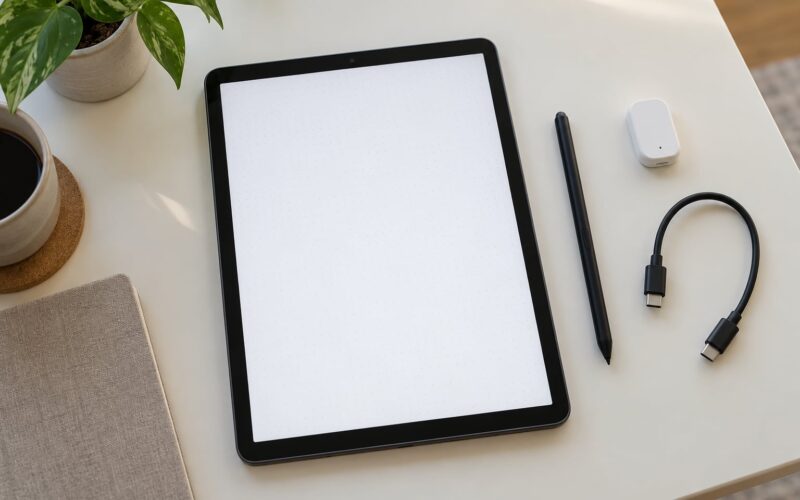
An active stylus draws its own power from the tablet, reports pressure levels, and usually works only with the brand that made it or with models listed as compatible. A Bluetooth stylus adds shortcut buttons, palm rejection, and sometimes tilt, at the cost of pairing and battery. If your tablet ships with its own pen, use that pen first. Third-party pens that look identical behave very differently, and reviewers regularly report generic styluses with no pressure curve and no palm rejection on cheaper Android tablets.
Palm rejection means the tablet ignores touch input from your hand while the pen is in contact with the screen, so you can rest your palm and write without stray marks. On well-matched hardware it is automatic. On a mismatched stylus it either never works or fails on a hard press.
Latency is the gap between your stroke and the line appearing. Anything under about 10 milliseconds feels like pen on paper. Above 20 or so, you start writing ahead of the line and losing the start of words.
The app, plus a few optional extras
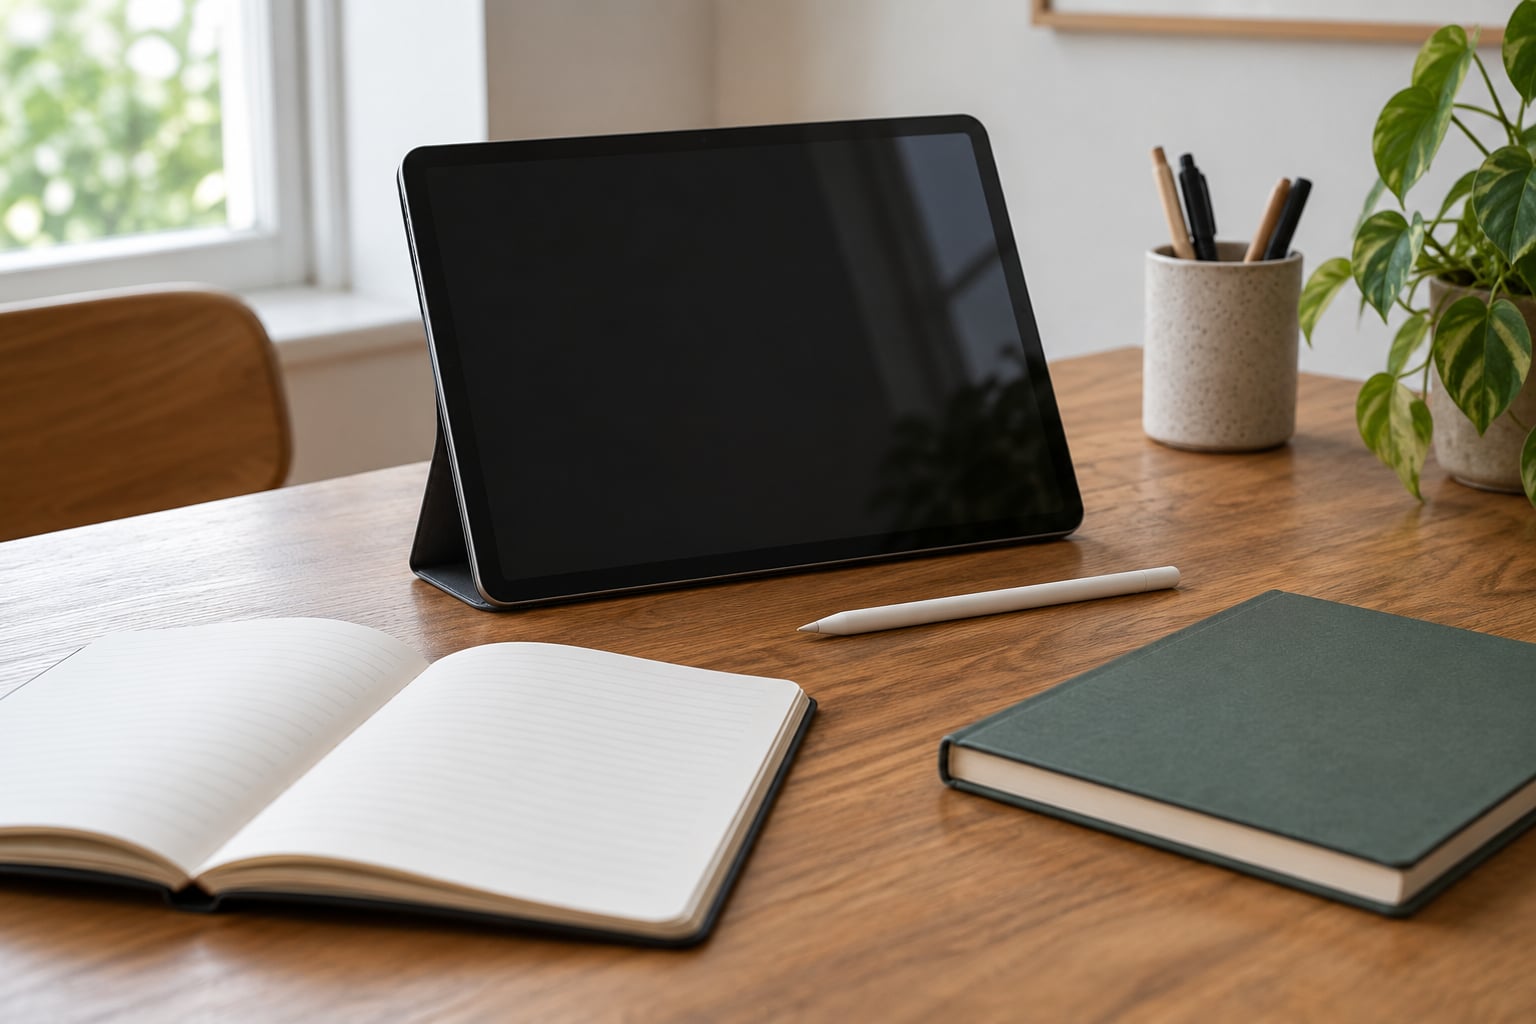
A note app that saves vector ink, not flattened screenshots. A case that props the tablet at roughly 30 to 45 degrees, because writing on a flat screen bends your wrist. A palm rest or drawing glove if the device is small. A keyboard if you type headings. Headphones if you record lectures alongside the notes, since audio-linked notes are a common student habit.
| Form factor | Palm rejection | Pressure and tilt | Battery while writing | Best for |
|---|---|---|---|---|
| Tablet plus active pen (Apple Pencil, S Pen, or equivalent) | Automatic and reliable | Yes | Several hours, screen on | Everything: lectures, meetings, PDF annotation |
| Tablet plus third-party active pen | Often partial or missing | Varies by model | Several hours, screen on | Trying out handwriting on a budget |
| Tablet plus passive stylus or finger | None | No | Several hours, screen on | Marking up forms and short checklists |
| E Ink writing tablet | Usually yes, since the pen writes on a surface layer | Yes on most current models | Weeks between charges | Long distraction-free handwriting sessions |
| Pen or drawing tablet | Varies | Yes | None, it is powered by the computer | Note-taking on a desktop, not standalone |
One buying mistake worth naming: a pen tablet and a writing tablet are different products. A pen tablet is a screenless pad that needs a computer, while a writing tablet is a standalone computer with its own screen and apps. Many people order the wrong one.
How to Take Handwritten Notes on a Tablet, Step by Step
Step 1: Choose a Stylus and Input Method
Test the options you already own before buying anything. Open any drawing app, write your name, then rest your palm flat on the screen and write again. If the palm draws, the hardware or pen is not giving you palm rejection, and no amount of app tweaking will change that.
Use a finger only for quick annotations, checkbox lists, and signatures. Your hand blocks most of the screen, and there is no line-weight variation, so paragraphs end up looking like they were drawn with a marker. If that is genuinely all you need, finger input is fine and costs nothing.
If you buy a pen, match it to the tablet rather than the other way around. Check the tablet’s supported pen list, confirm the pen supports pressure at least, and check whether it needs pairing or just needs to be held near the tablet. If you write with your other hand, mirror the page template in the app so your hand sits on the outside edge instead of over the margin.
Step 2: Pick a Handwriting Note App
Judge a handwriting app on five things: how the ink looks, how it stores pages, whether it converts handwriting to text, whether it opens PDFs, and whether it exports cleanly. Ink quality is the part you notice first, and it comes down to stroke smoothing, minimum line width, and how the app handles the gap between sampled points.
| App | Platforms | Strongest at | Free tier caveat | Handwriting to text |
|---|---|---|---|---|
| GoodNotes | iPad, iPhone, Mac, Android | Paper-like templates, PDF tools | Free use is limited to a small number of notebooks | Yes, after the fact |
| Notability | iPad, iPhone, Mac | Natural scrolling, audio linked to notes | Free tier is limited in scope | Yes |
| CollaNote | iPad and Android | Simple, fast, generous free version | Few premium templates | Yes |
| Noteshelf | Android | Handwriting with good pressure curves | Storage limits on the free plan | Yes |
| Samsung Notes | Samsung devices | Built-in on Galaxy Tab, works with S Pen shortcuts | Free, built into the device | Handwriting-to-text on newer models |
| Microsoft OneNote | All platforms | Sharing and cross-device sync | Free with a Microsoft account | Ink-to-text in supported versions |
If the platform is not fixed, Microsoft OneNote is the easiest to start with because one account covers iPad, Android tablet, laptop, and desktop. People who care most about the feel of the pen tend to stay with GoodNotes or CollaNote instead, and Notability is the one reviewers most often single out for how naturally pages scroll and for recording audio against a page.
Install the app and open it before buying accessories. Ten minutes of writing will tell you more than any feature list.
Step 3: Adjust Pen, Palm, and Handwriting Settings
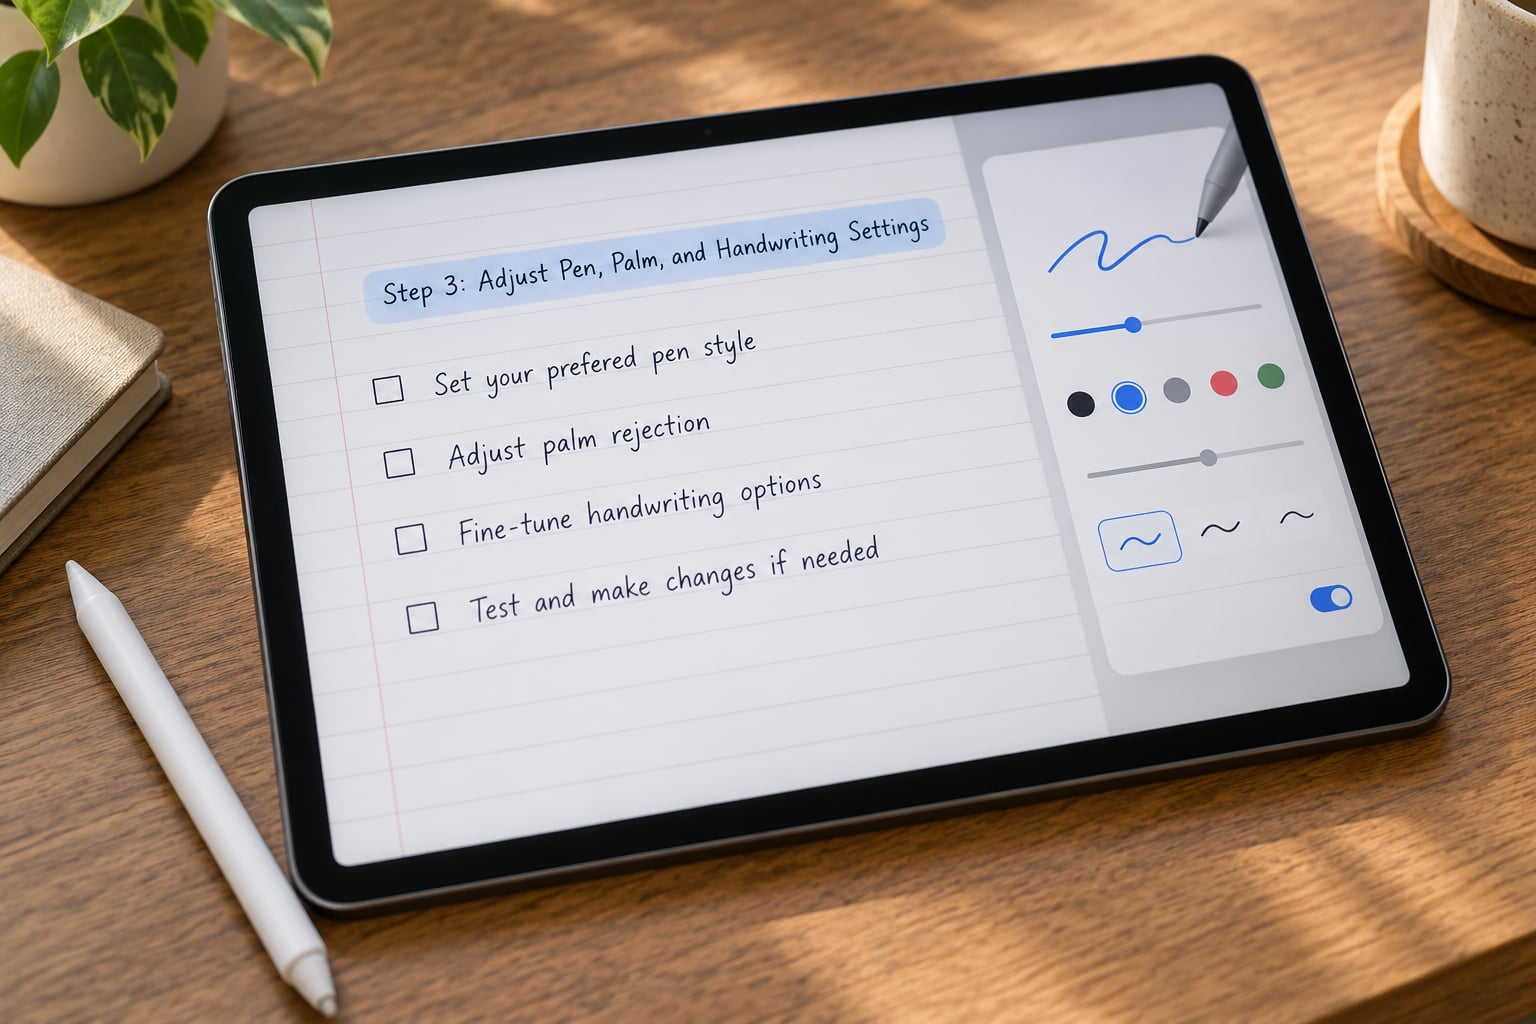
Now open the pen settings inside the app, not just the tablet settings. In most apps the pen menu is reachable by tapping the pen or brush icon on the toolbar, and a settings gear sits inside that panel. Set these first:
- Pen type and pressure curve. Pick a pen with a soft-to-hard curve for body text and a hard-tipped technical pen for diagrams. If strokes look identical at every speed, pressure is being flattened somewhere in the chain.
- Stroke smoothing. Start in the middle. Too little and lines look like shaky segments; too much and fine letters turn to mush.
- Palm rejection. On matched hardware this is automatic. If there is a toggle, turn it on. Samsung tablets expose S Pen behaviour under S Pen settings in the device settings app, including gesture behaviour; iPads handle this automatically with a paired Apple Pencil, though the Scribble setting that converts writing to typed text is worth switching off if you never want it.
- Zoom and scroll behaviour. Decide whether the pen zooms into text (Apple Pencil and S Pen have modes for this) or always draws. Mixing the two is a common cause of accidental marks and stray strokes.
- Handwriting recognition. Turn it on if you plan to search old notes later, and turn it off while writing if it fights you. It works best on printed text and tidy handwriting, not on shorthand.
Then adjust the tablet itself. Turn off or skip features that fire when your palm lands on the screen, such as palm-triggered back gestures or an edge panel that opens on touch. If you write left-to-right with your hand on one side, check the device’s touch-blocker or palm-rest setting, which disables part of the screen for finger input while the pen is down.
Step 4: Create a Notebook and Start Writing
Create a notebook, not a loose page. Name it for the subject or project and the date it started, since untitled notebooks are impossible to search later. Inside it, pick a page template that matches the work: ruled or dot grid for lecture notes, blank for diagrams, graph for lab or data work, and a two-column layout when you are annotating a printed page.
Write a test page before you rely on it. Write a full sentence at your normal speed, a capital B, a lowercase g with a descender, and a line of numbers. Then check four things: the strokes vary in weight, the spacing is even, the letters are not smaller than you intended, and nothing lands outside the margin. If line width looks too fat, lower the pen thickness before writing a whole lecture.
If your handwriting looks cramped or inconsistent, the fix is usually not the tablet. It is posture. Sit with the tablet propped up, keep your forearm supported at the edge, and write slightly larger than feels natural. A page template with wider lines also changes the letter size you pick without you deciding to.
Step 5: Organize, Save, and Back Up Notes
Automatic saving is on in every serious app, so a page is normally saved the moment you lift the pen. What is not automatic is a backup you can reach without the device, and that is the part people skip and regret. Set three things up once:
- Turn on cloud sync or a backup account in the app’s settings, and confirm it works by opening a recent page on a second device. Reviewers who lost years of notes usually lost them to an app update or a device failure, not to a crash.
- Use folders and tags consistently. One folder per course, project, or client, with a tag for status such as to-review or action-items. Handwriting is only searchable if you also type a few words of context on the page.
- Export to PDF at the end of each term or project. A PDF export keeps the ink, works on any device, and removes your dependency on one app. Do this even if you sync, because sync can stop when a subscription ends or a vendor changes login methods.
For search to work later, add a typed header at the top of each page with the date, topic, and source. It takes fifteen seconds and turns a write-only archive into something you can find.
Common Mistakes and How to Fix Them
- Palm marks appear while you write. The stylus is probably not matched to the tablet, so the hardware never switches off touch input. Confirm the pen is on the supported list, remove any case or screen protector between the pen tip and the digitizer, and check that palm rejection is enabled in the app’s pen menu.
- Ink looks the same at every pressure. Choose a pen type with a pressure curve in the app, and confirm the pen actually reports pressure. Cheap passive styluses cannot, and no setting will fake it.
- Strokes lag behind the pen. Close background apps, drop the display brightness or refresh rate, and disable live effects and filters in the note app. Latency is usually a rendering problem, not a pen problem.
- Writing is clipped at the page edges. You are writing too close to the margin, or the app is cropping pages. Add an outer margin setting or switch to a template with wider margins.
- Notes cannot be found later. Handwriting recognition is unreliable on messy writing. Type a header and two or three keywords on each page, and use tags instead of relying on ink search alone.
- Everything vanished after an app update. Restore from the backup, then export to PDF before reinstalling. This is the failure that makes backups non-negotiable.
- The screen goes dark mid-lecture. Raise the screen timeout to five minutes or more and confirm the tablet is charging while you write.
- The page scrolls while you write. Switch the pen to draw-only mode and disable zoom-on-scroll, which is the usual cause of strokes appearing at the wrong size.
Frequently Asked Questions
Do I need a stylus to take handwritten notes on a tablet?
No, you can write with your finger on any tablet screen, and it is fine for checklists, forms, and short annotations. For paragraphs of text, a finger gives you no line-weight variation, no hover, and no palm rejection, so your hand covers the page as you write. An active stylus matched to your tablet is the difference between finger writing and something that feels like pen on paper.
Which tablet is best for handwritten notes?
The best tablet is whichever one pairs a pen that reports pressure with a screen that supports palm rejection, and that usually means the pen made by the tablet’s manufacturer. Screen size matters more than specs: a larger display fits more on a page and reduces how often you restart a line. Reviewers are near-unanimous that if ink quality is the priority, an iPad with Apple Pencil is the default answer.
Can I use my finger instead of a stylus for handwritten notes?
Yes, and it costs nothing to try first. Open a drawing app, write a full sentence at your normal speed, and see whether the result is legible to you. If the lines are too thick and your hand blocks the text, that settles it. Finger input makes more sense for tapping, highlighting, signing, and checkbox lists than for a page of lecture notes.
How do I convert handwritten tablet notes to searchable text?
Open the page in your note app and use its convert or recognize text command, usually found in the selection or share menu. Recognition works best on printed text, tidy letters, and straight lines, and it struggles with shorthand or overlapping writing. Because accuracy varies, type a dated header and a few keywords at the top of each page so you can search by those instead of trusting the conversion.
How do I keep handwritten notes synchronized across my devices?
Turn on cloud sync inside the note app’s settings rather than in the tablet’s system settings, then sign in and confirm a recent page appears on a second device. Keep one account as the source of truth rather than mixing local storage on two devices. Sync keeps working while your subscription does, so export to PDF at the end of each term as well.
Can I export handwritten notes from a tablet as a PDF?
Yes, and you should do it regularly. In most apps, open the notebook, select the pages you want, and use share, then export or print, then choose save as PDF. A PDF keeps the ink, opens on any device, and survives an app being discontinued. Export after every project so your notes never depend on one app and one device staying alive.
Start with the twenty-minute setup: match a pen to your tablet, pick one app, turn on palm rejection and pressure, and write one test page to check line weight and margins. Then add a typed header to every page and set up a backup the same week you start. The people who stick with tablet handwriting long-term are not the ones with the newest hardware; they are the ones who spent an hour on setup and stopped losing pages.