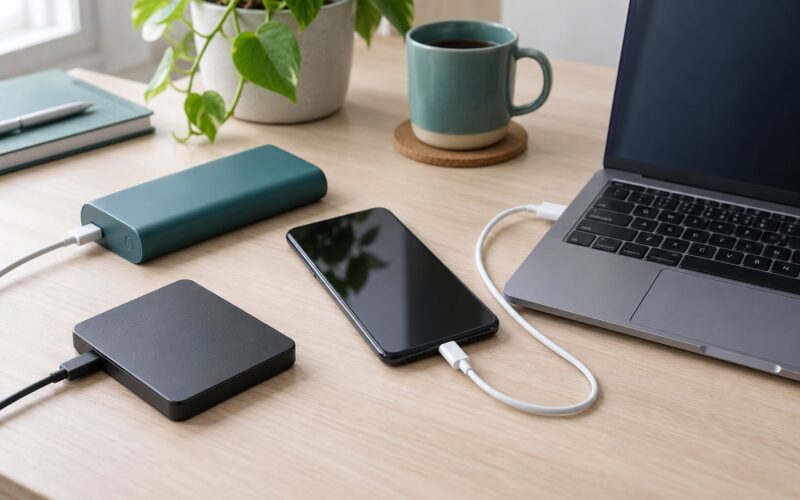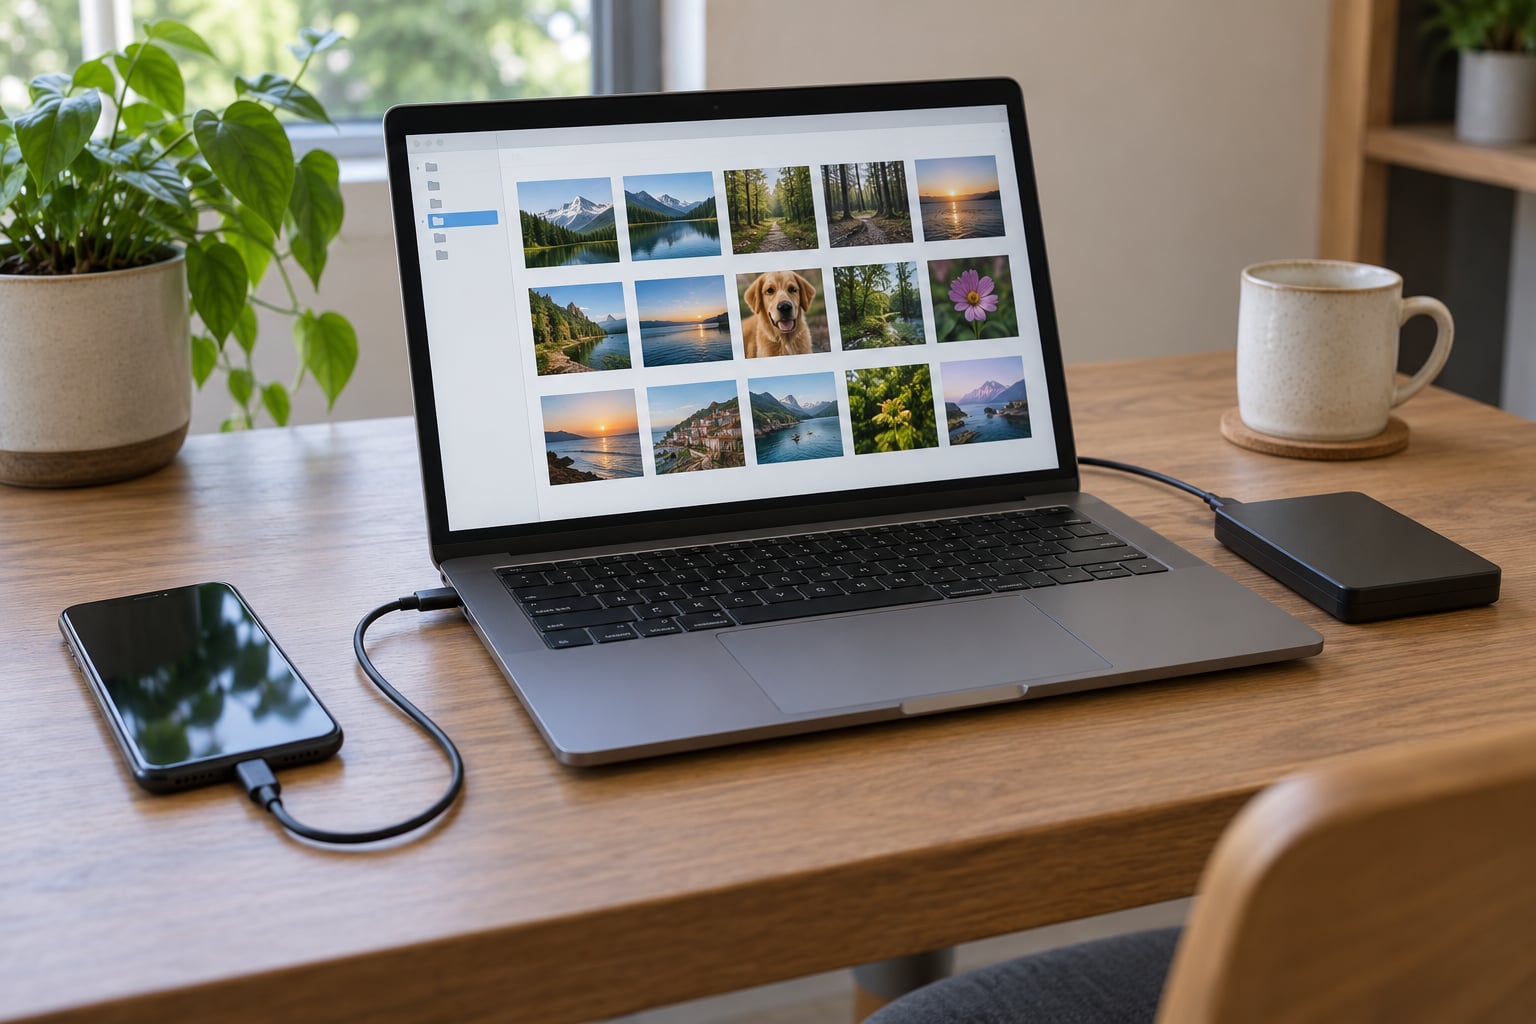
You can back up photos without paying for cloud storage by copying your library onto a computer, an external SSD or hard drive, a network-attached storage box, or a self-hosted server on your own Wi-Fi. The fastest zero-cost method is a USB cable transfer straight to a computer or drive, and it takes about ten minutes for a typical phone library. The catch nobody mentions: a copy you never verified is not a backup.
Below is the order I would do it in, including the exact menu paths for Android and iPhone, the free tiers that need no card, and the five-minute check that tells you whether the copy is real.
Table of Contents›
- What You Need
- Pick your primary destination first
- Do the storage maths before you start
- Check your device and drive compatibility
- How to Back Up Photos Without Paying for Cloud Storage: Step-by-Step
- Step 1: Create a dated folder on your destination
- Step 2: Connect the phone with a data-capable cable
- Step 3: Unlock the phone and set the USB mode to file transfer
- Step 4: Select the originals, not the edits
- Step 5: Transfer, and do not interrupt it
- Step 6: Confirm every file arrived
- Step 7: Add the second copy
- Step 8: Disconnect properly
- How to back up photos without paying for cloud storage on Android
- How to back up photos without paying for cloud storage on iPhone or iPad
- Choose a free backup destination
- Verify the backup before deleting anything
- Keep the backup working automatically
- Common Mistakes
- Frequently Asked Questions
- Can I back up my phone photos for free without using cloud storage?
- Is an external hard drive a reliable backup for iPhone or Android photos?
- What is the best free way to back up phone photos to a computer?
- Does Google Photos free storage make a complete photo backup?
- Will a USB photo transfer keep the full-resolution originals and metadata?
- How many copies of my photos should I keep before deleting them from my phone?
- Conclusion: Start With Two Verified Copies
What You Need
Almost everyone already owns the hardware. You need a destination with more free space than your current library, a cable, and roughly an hour of quiet time for the first run.
Pick your primary destination first
- A computer. Free, already on your desk, and the easiest place to verify files. Downside: it lives in one room and it is a single failure point.
- An external SSD or hard drive. Portable, cheap per terabyte, and it can be labelled and stored away from the computer. Most phones can write to a modern drive directly over USB.
- Network-attached storage (NAS). A small box on your Wi-Fi that your phone backs up to automatically over the air. More setup, hands-off after that.
- A self-hosted photo server. Free software such as Immich, Nextcloud Photos or PhotoPrism running on a spare mini PC or a Raspberry Pi. Looks and behaves like a cloud service, but the files live at home.
- A free cloud tier. Useful as a second copy offsite, not as your only copy, and the free size is small enough to fill quickly.
Do the storage maths before you start
Open Photos or your gallery and check the library size in Settings. A rough guide: 3 to 5 MB per phone photo, 15 to 30 MB for a high-resolution mode, and 30 to 60 MB for a RAW file or a one-minute 4K clip. A library of 20,000 phone photos usually lands somewhere around 60 GB. Add headroom, because the next phone will be bigger.
Then check the destination has that much free space before you connect anything. A transfer that runs out of room halfway through is one of the most common ways a photo library goes missing.
Check your device and drive compatibility
Most current Android phones and all iPhones with USB-C support USB 3.0 or better, so a direct phone-to-drive copy takes minutes rather than an hour. Older Lightning iPhones are slower but still fine. Format new drives to exFAT if you want the phone, the PC and the Mac to all read them without complaints; NTFS is read-only on iPhone, and APFS is not readable on Windows.
Whatever you do, copy the originals before you reorganise, rename, edit or delete anything on the phone. Once you start tidying first, the backup becomes a copy of the tidied version and the untouched originals are gone.
How to Back Up Photos Without Paying for Cloud Storage: Step-by-Step
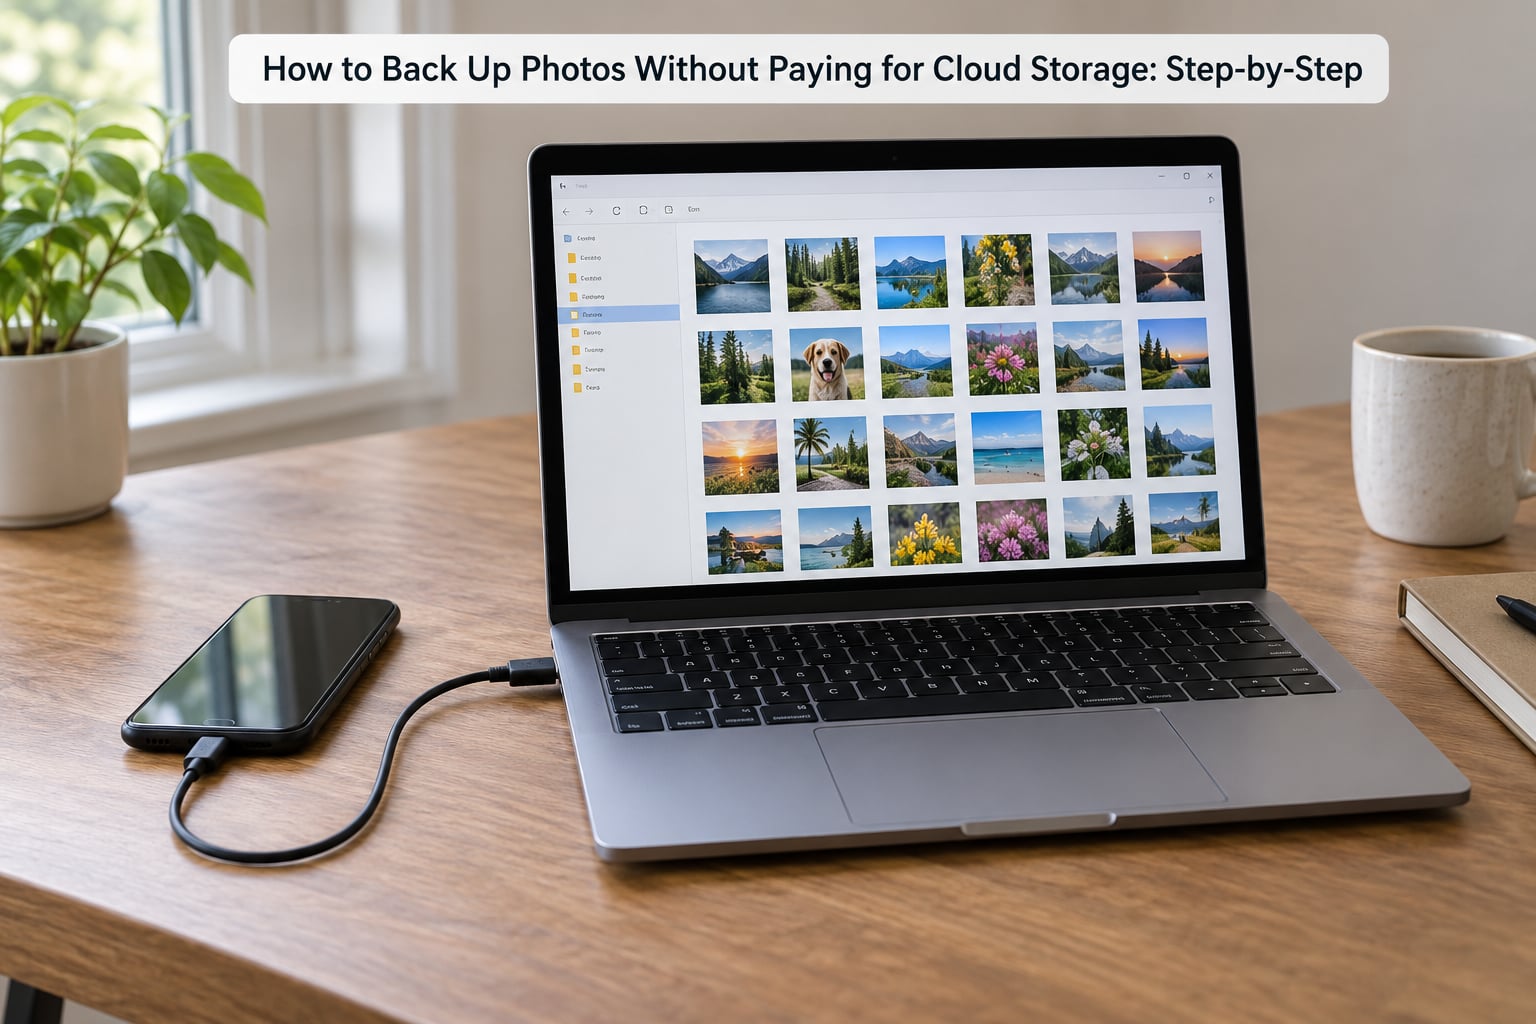
This is the whole workflow. It works on a phone that has never been connected to a computer before, and it is the same routine whether you end up on a laptop, an external drive or a NAS.
Step 1: Create a dated folder on your destination
Before connecting, make a folder named for today, like 2026-10-03-originals. Dated folders mean a later transfer adds new photos to a new folder instead of mixing everything together, which makes a failed or partial run obvious.
Step 2: Connect the phone with a data-capable cable
Use the cable that came with the phone, or any USB cable that carries data rather than power only. Most cheap charging cables are power only and the phone will never appear on the computer, which sends people to the wrong troubleshooting guide entirely.
Step 3: Unlock the phone and set the USB mode to file transfer
On Android you get a notification asking whether to charge only or transfer files. Pick file transfer. On iPhone, tap Trust This Computer the first time, and enter your passcode when prompted.
Step 4: Select the originals, not the edits
Copy the DCIM and Pictures folders, and check that full-resolution originals are included. On Android, the camera folder is usually DCIM/Camera, with edited copies under DCIM/Screenshots and sometimes a folder for edited images. On iPhone, the full-quality originals sit in DCIM/100APPLE with the Live Photos and metadata intact; the thumbnails you see in the Files app may be smaller versions.
Step 5: Transfer, and do not interrupt it
Drag the folders across. Do not unplug, lock the phone or close the file manager while the progress bar is moving, because that produces a set of zero-byte or half-written files. A transfer that stops at 60 percent is the single most common reason a “backup” is missing photos later.
Step 6: Confirm every file arrived
Compare the number of items on the phone with the number of items in the destination folder. On macOS, press Command-click to select a folder and read the item count in the status bar; on Windows, select the folder and check the Properties details tab. The counts should match. Then open a handful of files at full size, not just the thumbnails.
Step 7: Add the second copy
One copy is not a backup. A phone plus a laptop in the same room still fails when the house burns, and a laptop plus a phone in the same room still fails when both are stolen. Copy the folder to a second physical location: another drive in a different room, a drive in a desk at work, or a free cloud tier as the offsite copy.
Step 8: Disconnect properly
On Windows, use the system tray to safely remove the device before unplugging. On macOS, click the eject icon in the sidebar. On Android, swipe down the notification shade and tap the USB notification to disconnect. Pulling a cable while the phone is still writing is how you get a corrupt file.
How to back up photos without paying for cloud storage on Android
Android gives you three routes, and the third is the one that needs no account at all.
Route one: the Files app to a computer. Connect the cable, tap the USB notification, choose File transfer, then open This PC on your computer. Copy the DCIM folder to your dated folder and follow the count check in step 6.
Route two: Samsung’s My Files to an external drive. On a Samsung phone, plug a drive into the USB-C port using an adapter, pull down the notification shade and tap the storage notification to switch the USB mode to File transfer. Open My Files, find Internal Storage, and copy DCIM/Camera straight onto the drive. Phones that support USB 3.2 can run a few hundred photos a second this way. On a Pixel or other stock Android phone, the same idea works through the Files app.
Route three: Google Photos and Files by Google. Google Photos gives you a free tier inside the same account as your mail, and its backup switch uploads in the background. It is genuinely free and automatic, but it is a cloud copy, so treat it as your offsite copy rather than the only one. Google also has its own Files by Google app, which is a file manager with a clean Connect to computer flow built in. Check the backup switch inside Google Photos, Settings, Backup, and confirm it says Backed up with an up-to-date count.
A detail worth knowing: Google Photos compresses to a smaller size unless you open Settings, Backup, Backup quality and choose Original. RAW files and high-resolution mode images are only uploaded in full if that setting is on.
Check the transferred count, not the folder size. Android’s Files app shows a file count at the bottom of a folder view. If the phone says 4,812 items and the destination says 4,690, the transfer lost files and you should not delete anything from the phone.
How to back up photos without paying for cloud storage on iPhone or iPad
Apple is a little fussy here, but the destination is the same: a real copy of the file, not a preview.
On a Mac. Connect the phone by cable, open Finder, and pick the phone in the sidebar under Locations. Under the Files tab you will see the DCIM folder, and the Imported Photos section. Drag the DCIM folder onto your dated destination folder, then compare the item count in the Finder status bar.
On Windows. The old iTunes method is gone. Install Apple Devices, Microsoft’s replacement for iTunes, connect by cable, unlock the phone, tap Trust This Computer, and the phone appears as a portable device. Copy the DCIM folder from Internal Storage the same way you would from a USB stick.
AirDrop or iCloud Drive for a quick hand-off. Share, then AirDrop sends full-quality originals to a nearby Mac with no account involved. Sharing a photo to iCloud Drive uploads it and creates a copy, so it still counts as a cloud copy, not a local one.
On iPad. Plug it into a computer the same way, or use the Files app to move items straight to a connected drive. The same original-versus-thumbnail distinction applies.
Optimized versus actual. The Files app and Finder’s quick look show an optimised version, which can be much smaller than the original. The originals with full resolution, Live Photos and date and location data live in DCIM/100APPLE. If you open the copied file in Preview or Photos and it loads instantly and looks sharp at full screen, the copy is intact. If it is a blur placeholder or will not open, the transfer failed.
One more iPhone habit worth breaking: an interrupted iCloud Photos sync can leave a photo looking synced in the grid but not fully downloaded on the device. Before you trust the local copy, scroll through the library on the phone and confirm the file opens at full size.
Choose a free backup destination
Here is how the main options compare. Cost is described qualitatively because drive and plan prices move, so check current figures before you buy.
| Destination | One-time cost | Recurring cost | Automatic | Capacity | Best use |
|---|---|---|---|---|---|
| Computer folder | None, hardware you own | Electricity and drive wear | Manual cable transfer | Whatever the internal drive holds | First and fastest copy, easy verification |
| External SSD or hard drive | One purchase, then nothing | None | Manual, or app-assisted | Typically 1 TB to 8 TB per drive | Portable cold storage you can store away |
| NAS | Higher up-front purchase, plus drives | Electricity while always on | Yes, over Wi-Fi | Scales with the drives you fit | Hands-off daily backup for a whole household |
| Self-hosted server | Cheap mini PC or single-board computer, or a spare machine | Electricity | Yes | Limited by the disks you add | Google Photos-like experience with the data at home |
| Free cloud tier | None | None until you exceed the free size | Yes | Small, often 5 GB to 20 GB | The offsite copy, not the only copy |
Two points on that table. A device plus a computer is not automatically two backups, because files that were never copied are not a copy, and a phone and a laptop in the same room share every risk that matters. And the free tiers below are small on purpose: a free account is a useful offsite copy for a few years of ordinary phone photos, not a library of tens of thousands.
| Free tier | Free space | Roughly how many phone photos | Android background backup | iPhone background backup |
|---|---|---|---|---|
| Google Photos (shared with your Google account) | 15 GB | Around 3,000 to 5,000 photos | Yes | Yes |
| Microsoft OneDrive | 5 GB | Around 1,000 to 1,500 photos | Yes | Yes |
| MEGA | 20 GB | Around 4,000 to 6,500 photos | Yes | Yes |
| pCloud | 5 GB | Around 1,000 to 1,500 photos | Yes | Yes |
| Internxt | 15 GB | Around 3,000 to 5,000 photos | Yes | Yes |
Those photo counts assume 3 to 5 MB per image and no video, so treat them as a guide. Video is what fills a free account first, usually within a year or two of normal use. A lot of people in photo forums discovered the same thing: the free space felt huge when they signed up and was gone by the time they mattered, so they now rely on their own drives for the main library and keep one free account purely as the offsite copy.
One warning about the free tiers. If your free storage came with a university or employer account, it disappears the day you leave. On AskPhotography, people have described exactly this: generous university storage that stopped existing once the account ended, taking the backup with it. Never treat an institutional account as your copy of record.
Verify the backup before deleting anything
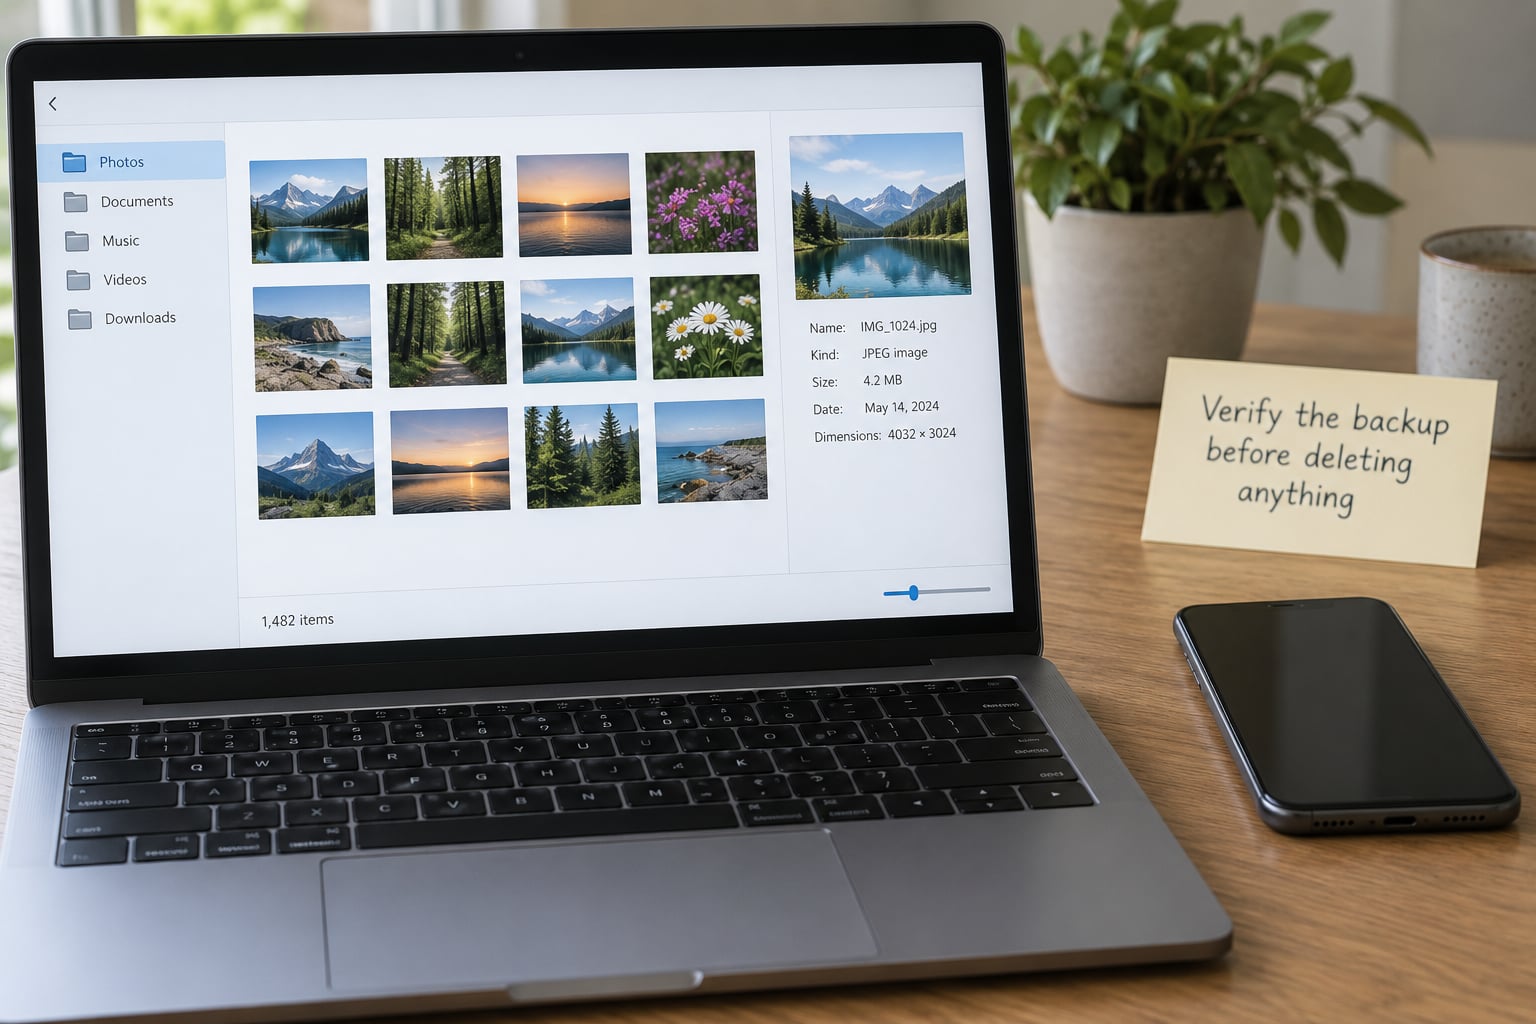
Verification is the part everyone skips, and it is the whole point. A five-minute check now saves a very bad afternoon later.
- Compare the counts. Note the number of items in the phone library, then the number in the backup folder. They should match exactly, not approximately.
- Open ten files at full size. Pick a mix: some recent shots, some older ones, one video, one screenshot, and anything with a Live Photo. Every one should open sharp and load fast.
- Check the dates and locations. Sort the destination folder by date taken. If the newest photo in your backup is from two months ago, you have a problem the count check did not catch.
- Look for zero-byte files. Sort by size and check that the smallest images are not 0 KB. A partial transfer leaves files that exist but contain nothing.
- Restore a test folder. Copy ten photos to a fresh folder, rename them, and open them on another device if you can. If you can find a photo by name and it opens, your copy is real.
- Copy the test folder to a second location. This proves the second copy works too, not just the first.
If the counts do not match, run the transfer again into a new folder rather than topping up the old one. A fresh, complete run is easier to reason about than a folder with an unknown gap in it.
Keep the backup working automatically
Manual transfers get skipped. Once the first verified copy exists, set up something that runs on its own.
On a computer. Windows can be told to copy from a folder whenever the phone appears: use Task Scheduler with a trigger on device attach, running a robocopy command. On macOS, a launchd job or a Folder action in Hazel does the same. The key detail is that the copy must create a new dated folder or append only new files, not overwrite the whole library every time.
Over Wi-Fi, without a cable. Syncthing is free, open source and syncs phone photos to a computer or a spare machine with no account anywhere. The Syncthing app for Android and the Mobius Sync fork for iOS are the usual choices. Once the two devices see each other, new photos land on the destination automatically. Syncthing does not delete from the phone, which is exactly what you want.
FolderSync on Android. It points any folder at an SMB or WebDAV share, including a NAS folder, and can run on a schedule or on Wi-Fi connection. It is a good fit if you already own a NAS.
NAS mobile apps. Synology Photos and the equivalent apps from other NAS makers watch the phone’s camera roll and upload new shots over Wi-Fi, no cable needed. Be aware of the failure mode reported on Synology and Ubiquiti community boards: after a firmware update or a port change the phone app can quietly stop uploading. Check the NAS activity log occasionally rather than trusting the app’s green tick.
Self-hosted photo servers. Immich is the one people in the self-hosting communities recommend most, because it gives a timeline, album view and phone app that feel like Google Photos while everything stays on your hardware. Nextcloud Photos and PhotoPrism are the other names that come up repeatedly, and both are free and open source. They run on a Raspberry Pi or an old laptop; forum advice converges on keeping it simple rather than building a proper server stack.
A maintenance schedule that survives. Once a month, plug in the drive, copy anything new, confirm the count, and check the free space. Once a quarter, open ten random files from the older folders. And keep one copy in a genuinely different place, not just a different folder on the same desk. Automatic tools still need storage, still need space, and still need someone to look at them.
Common Mistakes
Trusting a sync that only shows thumbnails. A library view that looks right proves nothing about the files. Fix: open ten originals at full size and check the file sizes are not all tiny.
Assuming a shared album is a backup. A shared album is a viewing space, and anyone with the link can see what is in it. Fix: keep shared links off your only library, and treat a shared album as a copy you happen to have published.
Unplugging too early. Pulling the cable during a transfer produces files that exist and are empty. Fix: wait for the eject or safe-remove prompt, then compare counts.
Backing up screenshots and edits instead of originals. The edited copy is smaller and the original is not in that folder. Fix: copy DCIM/Camera from Android or DCIM/100APPLE from iPhone, and confirm the backup quality setting in Google Photos is set to Original.
Keeping one copy in one room. A fire, a flood, a burglary and a spilled drink all take out a whole room at once. Fix: the second copy goes somewhere else, and a free account is a perfectly good offsite second copy.
Deleting before testing. The fear is real, and it is why people keep three copies of everything forever. Fix: run the verification steps above, restore a test folder, and only then clear space.
One more worth adding. If the library includes anything sensitive, encrypt the backup drive and label it. BitLocker on Windows, FileVault on Mac, or VeraCrypt for a drive that travels, plus a written label saying what is inside and when it was last verified, will protect a drive that is ever borrowed or sold.
Frequently Asked Questions
Can I back up my phone photos for free without using cloud storage?
Yes, and the commonest route is a USB cable from your phone to a computer or an external drive. Everything on the phone is copied as original files onto hardware you already own, so there is no subscription and no storage ceiling. Many Android phones can also write straight to a drive over USB-C. Add a second copy somewhere else and you have a proper backup that costs nothing to run.
Is an external hard drive a reliable backup for iPhone or Android photos?
A drive is a reliable copy, but it is still one disk with one failure mode, so treat it as one of at least two copies. Buy a drive rated for sustained writing rather than the cheapest one on the shelf, and expect to replace it every few years as the read and write head wears out. Keep a second copy in another room, and verify the backup by restoring a few files. Swap drives in on a schedule, not when one fails.
What is the best free way to back up phone photos to a computer?
A USB cable and a copy of the DCIM folder is still the best free method. On iPhone, open Finder on a Mac or Apple Devices on Windows, choose the phone, and drag the DCIM folder to your drive. On Android, use the USB file transfer mode and copy DCIM and Camera. Compare the item counts afterwards, open a few originals at full size, and the copy is done. No account, no app, no upload time.
Does Google Photos free storage make a complete photo backup?
It is a complete backup only within the 15 GB your Google account includes, and that space is shared with mail and documents. Set Backup quality to Original so RAW and edited copies are excluded, and check that backup has actually finished before you trust it. For most people it works well as the offsite copy, but it should never be the only one, especially if your free space came from a school or employer account that ends.
Will a USB photo transfer keep the full-resolution originals and metadata?
Yes, copying the DCIM folder directly preserves the full-resolution file with its date, location and device data intact. What gets lost is usually Live Photos, which are a paired image plus a short video, and any edits made in the gallery rather than the original file. Those need a full device backup, not a file copy. If you open a copied file and it is sharp, full screen and shows the correct date, the original came across.
How many copies of my photos should I keep before deleting them from my phone?
Two verified copies is the practical minimum: one on a computer or drive at home, and one in a different physical location or a free cloud tier. The 3-2-1 rule asks for three copies, on two kinds of storage, with one kept offsite. Before you delete anything from the phone, compare the item counts, open ten originals at full size, and restore a test folder. If those pass, clearing phone storage is safe.
Conclusion: Start With Two Verified Copies
Connect your phone to a computer with a data cable, copy the DCIM folder into a dated folder, and count the files. That single afternoon gets your library off the phone and onto hardware you own, which is all you need to stop paying for cloud storage.
Then find a second home for the copy: another drive in a different room, or a free tier as the offsite option. The rule to remember from this guide on how to back up photos without paying for cloud storage is simple. Two copies, both opened and confirmed, before you delete a single photo from the phone. Free storage fills up, subscriptions keep charging, and drives eventually wear out, but a copy you have opened yourself is still there years later.