Editing video on your phone takes five moves: import your clips, trim the parts you do not want, arrange them in order, add text or music, then export the finished file. That is genuinely the whole job. Most beginners finish their first edit in twenty minutes, and your original footage is never overwritten.
Phone editors all look different on screen, but they work the same way underneath. Learn one of them properly and you will know the rest. This guide walks through the workflow, then names the exact tap path on iPhone and Android.
Table of Contents›
- What You Need
- Step-by-Step: How to Edit Video on a Phone for Beginners
- 1. Open a New Project and Import Your Video
- 2. Trim and Arrange the Clips
- 3. Adjust Color, Sound, and Timing
- 4. Add Music, Text, or Simple Transitions
- 5. Preview, Export, and Save the Final Video
- Common Mistakes
- Frequently Asked Questions
- What is the easiest free app for editing video on a phone?
- Can I edit a video already saved on my phone?
- How do I add text or captions to a phone video?
- Can I use the same editing steps on both iPhone and Android?
- What format should I use when exporting a video for social media?
- How much phone storage does video editing need?
What You Need
You need a phone with some free storage, one video to work on, and one editing app. That is the entire shopping list.
For storage, clear about 2 GB before you start if you can. A 4K export of a one-minute clip can be several hundred megabytes, and most editors keep a working copy while you edit, so you end up with two files instead of one.
For the app, iPhone owners already have iMovie built in, and most Android phones ship with Google Photos or Clipchamp doing a similar job. CapCut and VN Video Editor are the two most-recommended free options across iOS and Android. InShot is popular for quick Instagram clips.
One piece of advice straight from the r/VideoEditors crowd, and it is the thing that trips up most beginners: pick one app and use it for five projects. People download four editors in a week, get confused by all four, and quit. Familiarity, not software quality, is what makes an editor feel hard.
Step-by-Step: How to Edit Video on a Phone for Beginners
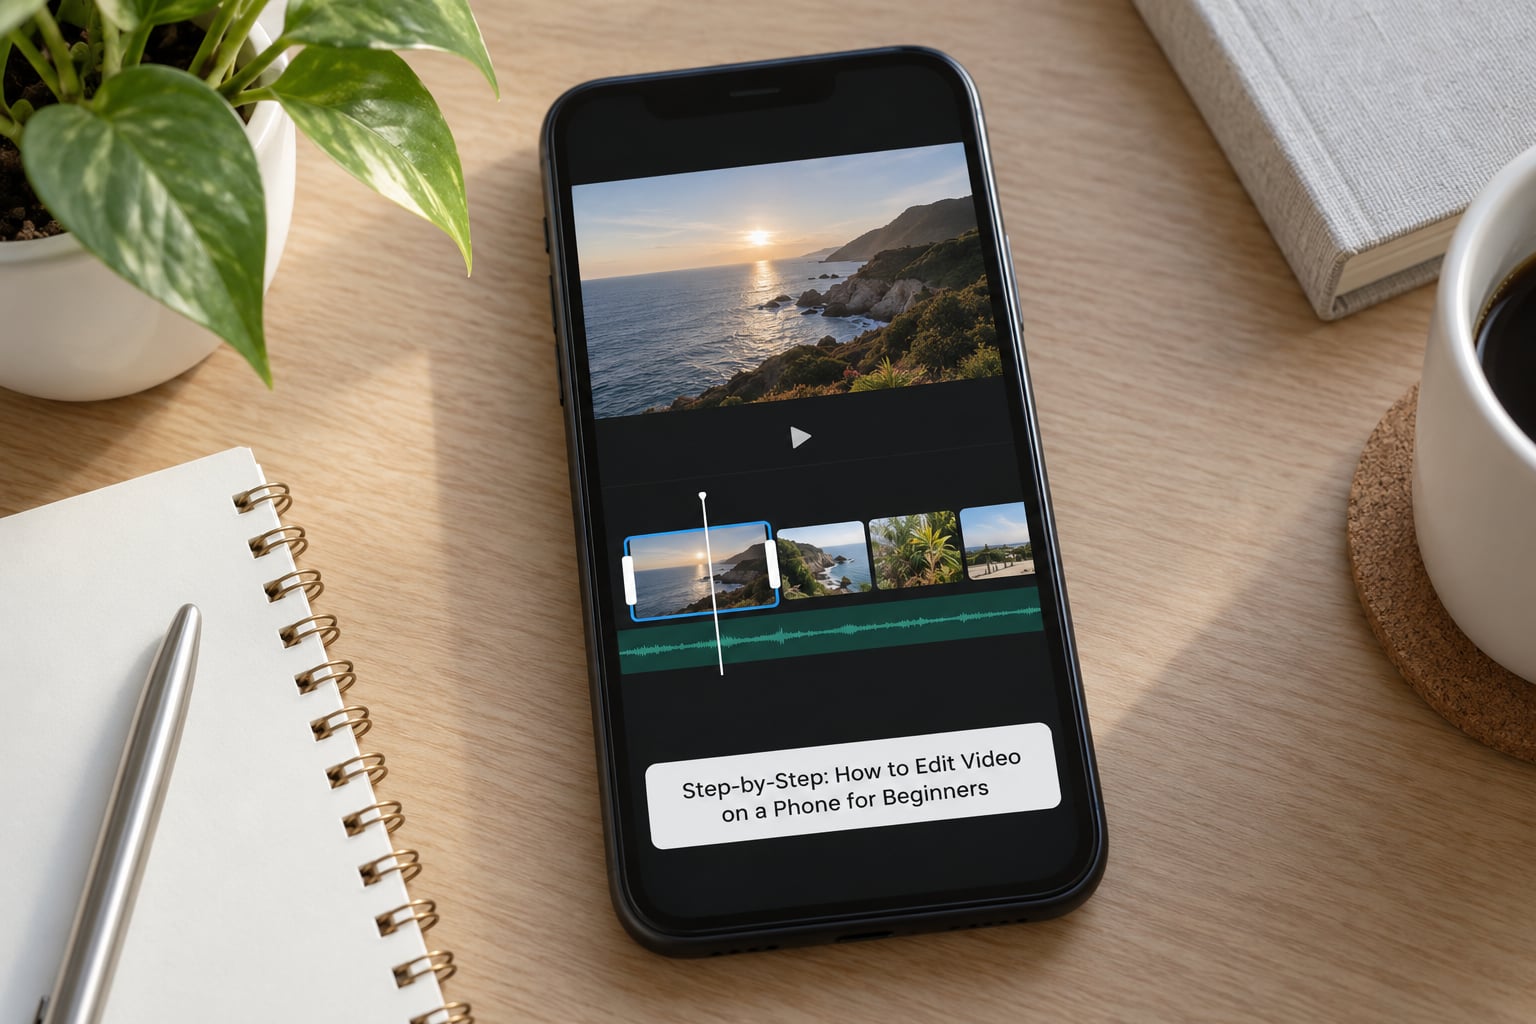
1. Open a New Project and Import Your Video
Open your editor and tap the plus button or Create project icon to start a new project. You will see a gallery of everything in your camera roll, so tap the clips you want in the order you want them, then confirm.
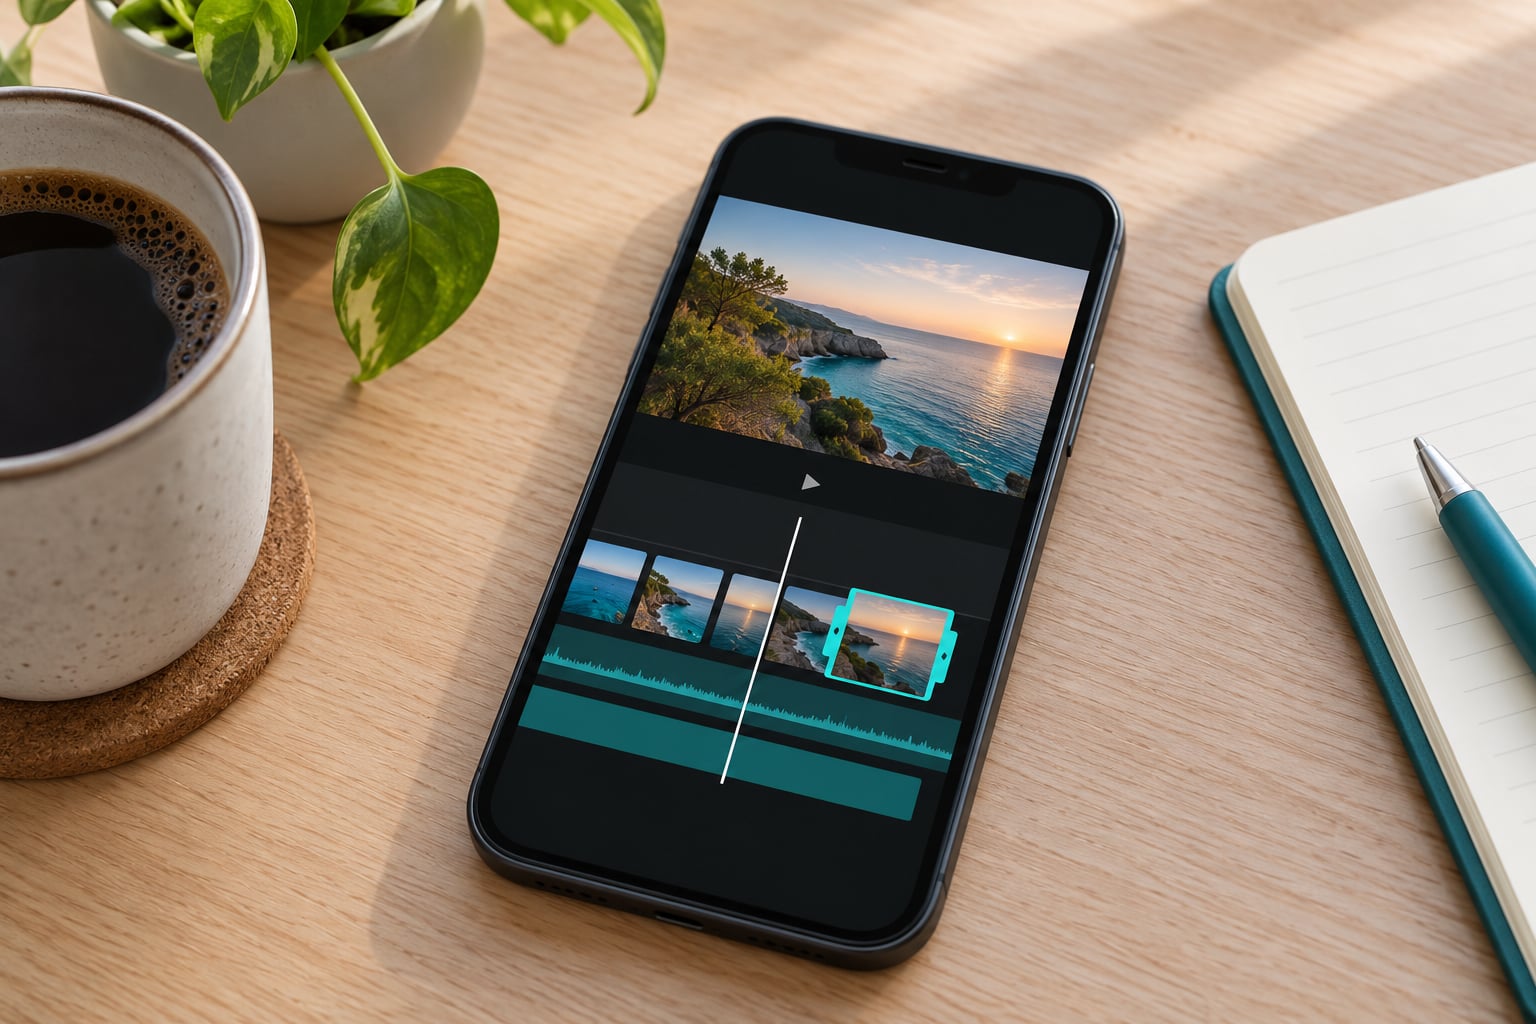
Two things you are looking at once. The preview window shows the clip you have selected right now. The timeline is the strip along the bottom or top, holding every clip in sequence with its length. If you understand those two panels, you understand phone editing.
On an iPhone, open iMovie, tap Create project, and choose Add Media. On Android, open Google Photos, tap the clip, then tap Edit; for a multi-clip project, open Clipchamp and tap New project. CapCut and VN both use a New project button on their home screens.
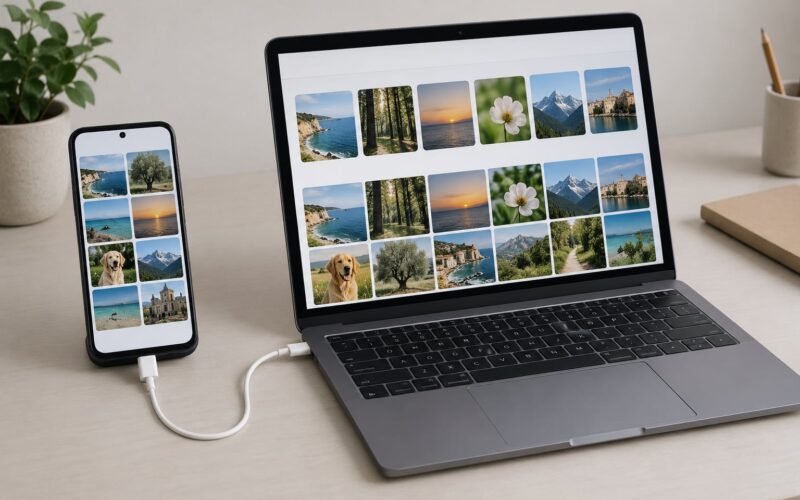
How do I get videos onto my phone in the first place? If the footage came from a camera, a messaging app or a cloud drive, it already sits in your camera roll or gallery. If you recorded it on the phone, it is there too. Open the app you shot in, find the file, and import from there.
2. Trim and Arrange the Clips
Tap a clip on the timeline to select it, then find the Trim tool on the bottom bar. Drag the white handles inward to cut the start or the end. Drag the centre of the clip to slide it in its own slot. To remove a middle section, tap Split at the playhead, tap the unwanted piece, then Delete.
Most rough footage is mostly dead air. The ten seconds before you press record and the four seconds after you stop are the easiest wins, and cutting them takes about fifteen seconds per clip.
To reorder, press and hold a clip and drag it to a new spot in the timeline. Release when the playhead snaps into place. Keep it simple: aim for two to five clips for a first project.
Play the whole thing back once, mute the sound, and watch it the way a stranger would. If the order confuses you, it will confuse them too. Fix the sequence now, because rearranging after adding text and music is far more work.
3. Adjust Color, Sound, and Timing
With a clip selected, most editors show an Adjust or Filters panel. Nudge brightness up until faces are visible but not glowing, and pull contrast only a little. One filter at 50 to 70 percent strength is plenty.
For audio, tap the volume control under the clip to duck a voice clip down, and add Audio to layer a track. If you recorded somewhere windy, noise reduction in the audio panel does more good than any filter.
Speed control sits on the same panel. Half speed on a clip with a clear action reads as slow motion, and 2x on a boring wait is the standard trick for event videos. The speed ramp that slides from normal into slow motion is worth learning later, not on edit one.
A word of caution. Effects stack badly, and every extra transition and filter makes the result look worse. If you can hear a transition, it is too loud, too long or too frequent.
4. Add Music, Text, or Simple Transitions
Tap Add Music or Audio to open the built-in library and scroll by mood rather than by song. These tracks are cleared for use inside the app. Songs from your music library are a different matter, and using them on a business or monetised account can get a video taken down, so stick to the built-in library for anything public.
Keep the music around 20 to 30 percent volume and raise the voiceover above it. If a clip already has audio, mute or lower that audio rather than layering both at full strength.
For text, tap Text, choose a style, and type. Keep it large enough to read on a small screen without squinting, and give it a contrast outline or shadow so it works over a bright background. Most viewers watch with the sound off, so treat captions as a requirement rather than a nice extra. CapCut has a Generate captions button that transcribes speech automatically, and you then correct the wording before it burns into the video.
For transitions, drag one between two clips and shorten its duration to about a third of a second. Use the same transition in the same places each time. That consistency is the whole trick.
5. Preview, Export, and Save the Final Video
Watch the full video start to finish with sound on before you export. Look for a jump that feels wrong, a text block that runs off screen, and a music track that is louder than the voice.
Then set the aspect ratio. Vertical 9:16 suits Instagram Reels, TikTok and YouTube Shorts. Landscape 16:9 suits YouTube and a family video you might watch on a television. Decide this before you export, because changing it afterwards crops your own framing out of the frame. If you shot 16:9 and need 9:16, keep your subject centred so a vertical crop still works.
For resolution, 1080p is the sensible default. 4K exports take much longer, take far more storage, and rarely look better on a phone screen.
Where does the finished video go? On an iPhone, iMovie saves it to Photos after you tap Done and Share, and it also offers Save Video. CapCut and VN on either platform save the export straight to your camera roll or gallery. On Android, Google Photos puts the edit back in the album where the original sits, and Clipchamp saves into your gallery once the render finishes. If you cannot find a file, check the app’s Projects or Drafts tab, because unsaved work lives there rather than in your gallery.
Your original clip is still in the camera roll, untouched. See the last section for why that matters.
Common Mistakes
Exporting before you preview. You spot the problem after a two-minute render. Preview the whole timeline first, every time.
Using music from your own library on a public post. Built-in app tracks are cleared; personal library songs are not. Switch to a built-in track before you upload.
Text too small to read. Open the video full screen on your phone, then on a smaller screen if you have one. If you have to squint, enlarge the text.
Stacking effects. Three transitions and two filters per clip is the usual beginner pattern and it is always the reason a video looks amateur. One filter, one transition type.
Running out of storage mid-export. Clear old exports and duplicate drafts, and shoot in 1080p instead of 4K. An export that fails at 99 percent is a common and fixable annoyance.
Cropping your own subject out. Set the aspect ratio at the start of the project, not at the end.
Downloading a new app every week. Stick with one editor until you have finished five projects. The skills transfer even when the buttons do not look the same.
Two habits make the editing itself faster. Clean the lens and shoot in good light before pressing record, because no editor rescues a hazy, badly lit shot. And shoot short, separate clips rather than one long take, so you have pieces to arrange instead of a single block to cut apart.
Back up before you delete anything. Most editors can restore a deleted project for a while, but the only reliable copy of original footage is the file in your camera roll or a cloud backup.
Frequently Asked Questions
What is the easiest free app for editing video on a phone?
CapCut is the most-recommended starting point on both iPhone and Android, and it costs nothing to begin. iMovie on iPhone and Google Photos on Android are already installed, which makes them the fastest option of all. VN Video Editor is genuinely free with no watermark. Whatever you pick, give it five projects before moving on.
Can I edit a video already saved on my phone?
Yes. Every phone editor imports from your camera roll or gallery, so any clip you shot on the phone or downloaded from messages or a cloud drive can be opened. Tap New project, then select the files from the gallery grid. Google Photos is the exception: you open the single clip first, then tap Edit.
How do I add text or captions to a phone video?
Tap the Text button in the editor, pick a style, and type your words onto the preview. Move and resize the text box by dragging it. For captions, CapCut and VN have a Generate captions or Auto captions option that transcribes the speech for you, which you then correct before it is burned into the video.
Can I use the same editing steps on both iPhone and Android?
Almost. Import, trim, split, reorder, add text, adjust audio and export work the same way in every phone editor, because the timeline model is identical. What differs is the button layout and the wording, plus the built-in apps: iMovie on iPhone, Google Photos and Clipchamp on Android. The five steps in this guide apply to both.
What format should I use when exporting a video for social media?
Use 9:16 vertical at 1080p for Instagram Reels, TikTok and YouTube Shorts. Use 16:9 at 1080p for regular YouTube videos and anything you might watch on a television. Set the aspect ratio at the start of the project, because resizing at the end crops whatever sits near the edges of your original framing.
How much phone storage does video editing need?
Free up at least 2 GB before a typical project. Editing keeps a working copy of each clip while your project is open, then adds a finished export, so a 1080p minute-long video can exist three times over. Shooting in 4K multiplies that. Clearing old exports and duplicate drafts is usually enough to make room.
Start small: pick one app, import one video, cut ten seconds off the front, and export it. That single finished file teaches you more than another hour of reading. Then make a second one, and by the fifth you will not need a guide at all.
Updated for October 2026. App screens change with every release, so tap targets are described by their function rather than their exact position.