Most disappointing phone photos are not a camera problem. They are a smudged lens, harsh midday light, a shaky press and a pinch of digital zoom, and all four cost nothing to fix. This guide walks through how to take better photos with a phone camera on any current iPhone, Samsung Galaxy, Pixel or other Android handset, in about ten minutes of setup and one full shoot.
Last reviewed: October 2026. Menu labels drift between manufacturers and app versions, so I have named the setting and the path rather than assuming your exact phone.
Table of Contents›
- What You Need
- Step-by-Step: How to Take Better Photos with a Phone Camera
- Clean the Camera and Choose the Right Settings
- Use Good Lighting
- Set Focus and Exposure: Tap, Slide and Lock
- Compose the Photo Deliberately
- Keep the Phone Steady
- Take a Sharp, Well-Timed Shot
- Review and Edit Without Ruining the Image
- Common Mistakes
- Frequently Asked Questions
- What is the best camera app for taking better photos on a phone?
- Should I use the front or rear camera for better photos?
- How can I take better low-light photos without blur?
- Is digital zoom worth using for phone photography?
- When should I use portrait mode on a phone camera?
- Why do photos taken on my phone look less sharp on my computer?
- Take Better Phone Photos Starting with Light and Focus
What You Need
You need a phone with a working rear camera, a dry microfiber cloth or soft cleaning cloth, and somewhere with even light: a window, a porch, or open shade outside. That is the whole kit.
Two optional things help. A small tabletop tripod or a stable prop such as a stack of books keeps long exposures honest, and a remote shutter or the built-in timer avoids touching the phone at the moment of capture. Clear some storage first, too, so the camera never silently drops to a lower resolution or refuses a RAW frame mid-session.
These steps apply to current iPhone and Android phones, including Samsung Galaxy models. Where a setting is named, look for the equivalent on your device under Camera in system settings.
Step-by-Step: How to Take Better Photos with a Phone Camera
Clean the Camera and Choose the Right Settings
Wipe the rear lens with a dry microfiber cloth before every session. Fingerprints and pocket lint sit on that glass constantly, and a smudged lens produces haze and softness that no amount of editing fully recovers. Forum regulars on dpreview.com call this out constantly, and it is still the most-missed step in phone photography.
Then open the native camera app rather than a third-party launcher, and pick the rear 1x lens for everyday subjects. Move to 2x or the telephoto only when you genuinely need the tighter framing, because switching lenses mid-session can shift color and exposure between frames.
For format, iPhone users check Settings > Camera > Formats and choose Most Compatible on applicable models; most Android phones expose the same idea under Camera > Resolution or Camera > Photo quality. Pick the highest quality option that still saves fast. You will know it worked when your photo file is larger than your old ones and the camera app never stutters when you shoot a burst.
Use Good Lighting
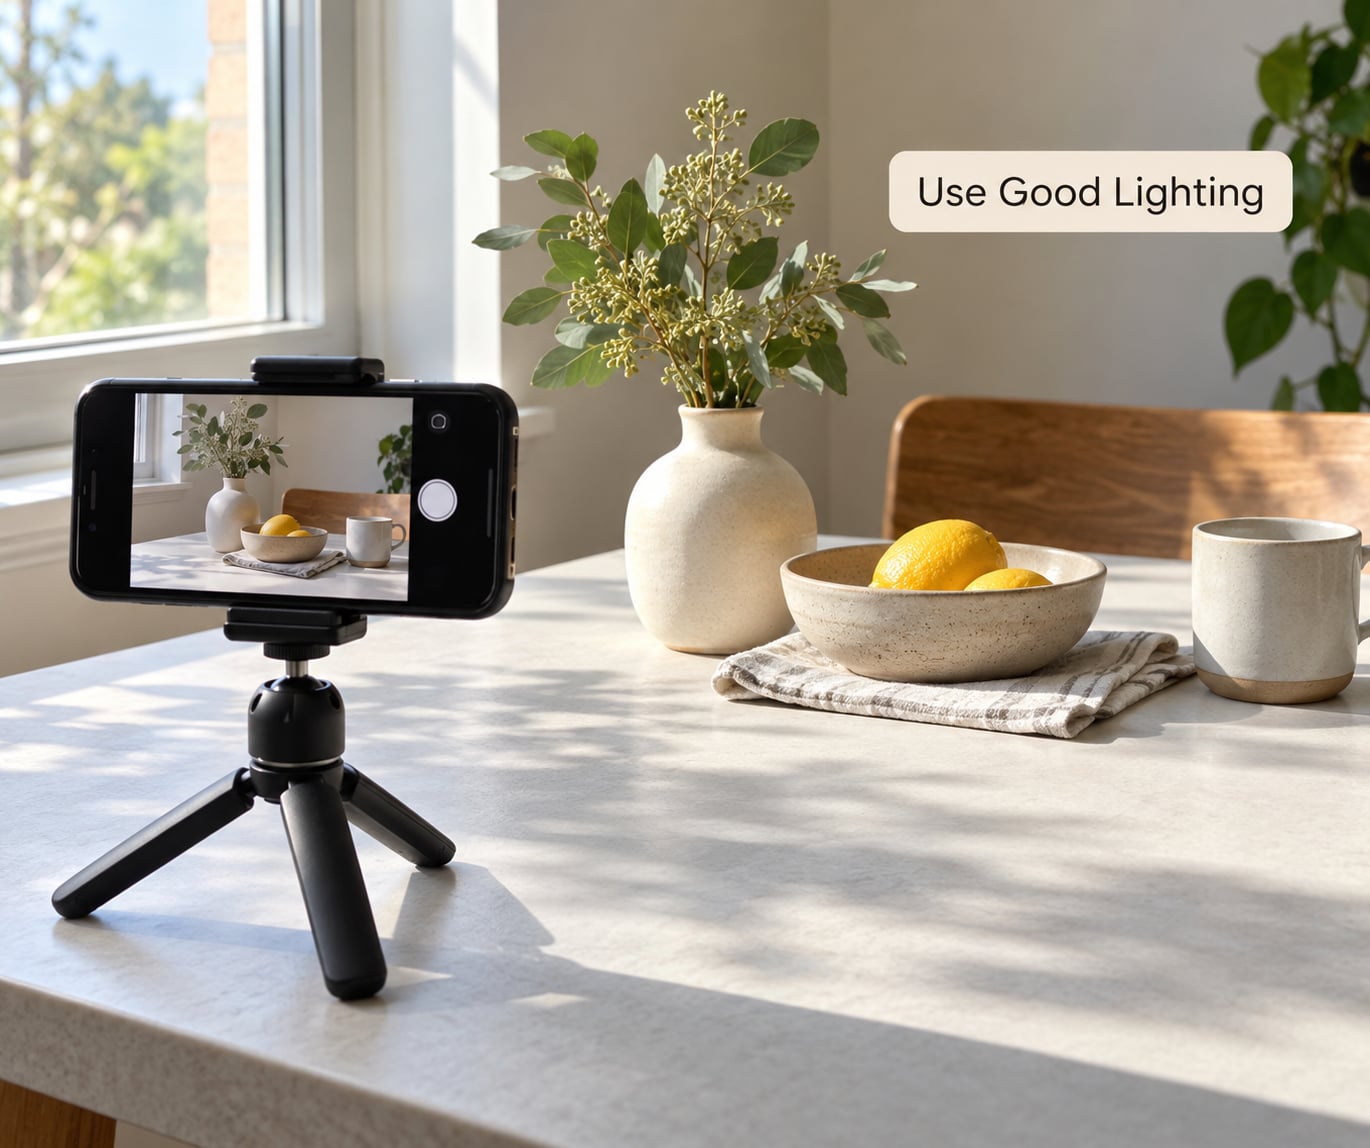
Light decides more about your photo than any setting does. Turn your subject to face a window, or position yourself so the sun is behind your shoulder rather than behind the subject.
That one move prevents the three failures people complain about most: hard shadows across a face, blown-out patches of sky or skin, and red-eye from the flash bouncing straight back. Before you shoot, look at the brightness of the phone screen itself. If the image looks dim, the phone has under-exposed to protect highlights, and you can raise exposure in the next step or turn the screen up to judge it more honestly.
Midday sun is the hardest case. The light directly overhead drops shadows under eyes and chins, so move into the shade of a building, a tree line or an awning and wait a minute for your eyes to adjust. Late afternoon and the hour after sunset give you warm, low, directional light, which is the easiest free upgrade available to a phone shooter.
Set Focus and Exposure: Tap, Slide and Lock
Tap your subject on the screen to set focus, then check that a focus box or focus indicator appeared over it. On iPhone a yellow sun icon means the camera is setting exposure; on Android it is usually a similar sun-shaped control beside the focus box. Slide it up to brighten the shot, down to hold back detail in a bright window or a white wall.
Tap and hold on the subject to lock both focus and exposure. The box turns blue or the label changes to AE/AF lock, and from that moment the camera stops second-guessing you. That is the setting you want for a portrait, a group shot where the focus would otherwise hunt between faces, or any scene with a bright sky next to a dark building.
Check sharpness before you commit: pinch to zoom the on-screen preview onto your subject’s eyes or front edge. If the detail looks mushy at 100 percent, tap again, slightly in front of the subject rather than on it, and hold steady while the lens hunts. If a r/GooglePixel or r/Honor thread has you wondering why indoor shots look flat or waxy, the culprit is usually white balance, not focus, and it shows up most in mixed light.
Compose the Photo Deliberately
Turn on gridlines so the frame is divided into nine boxes, then place your subject on a line rather than dead center. That is the rule of thirds, and it is the fastest compositional fix most people never apply.
Leave intentional space in the direction a subject moves or looks. A runner facing left wants room on the left; a person looking off-frame wants the empty side in front of their eyes. Watch the edges too, because a half-cut lamp post or a stranger’s elbow in the corner pulls attention away from the subject.
Level horizons using the horizon-level guide most phones show, and hunt for simple backgrounds: move one step sideways before you shoot rather than after. A one-subject portrait works best against a plain wall with the subject filling a third to half the frame; a landscape wants a foreground anchor and a horizon off dead center; a close-up product shot wants the item flat, evenly lit and filling most of the frame with no clutter behind it.
Keep the Phone Steady
Any movement during the exposure creates blur, and the slower the shutter the more obvious it becomes. Hold the phone with both hands, cup the top edge with your fingertips, and tuck your elbows into your ribs so your upper arms carry the weight instead of your wrists.
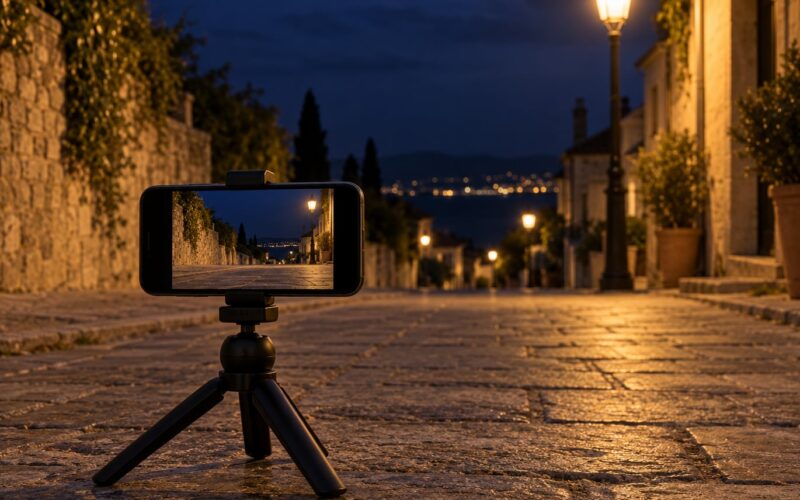
For long exposures, low light or any tripod work, prop the phone on something solid and use the built-in timer or a remote instead of pressing the shutter. Pressing the button shakes the phone just enough to ruin a three-second night shot.
Two different problems hide behind the word blurry. Camera shake comes from you, and steadiness fixes it. Subject motion blur comes from the thing that is moving, and you need more light, a faster shutter, a stabilization mode such as Action Mode or Super Steady, or several frames shot in quick succession so you have a sharp one to choose from.
Take a Sharp, Well-Timed Shot
Do not use digital zoom. Pinching to magnify crops the sensor and enlarges the pixels, which is why zoomed phone photos look soft and pixelated while optical lenses stay crisp. Walk closer instead, and if you need more reach, switch to the telephoto lens rather than pinching.
Watch the focus box, hold still, and take three or four candidate shots in a row. A single frame is luck; a small burst is a decision. Then open them at full size and keep the one where the eyes or edges are sharpest.
Use portrait mode when a person is the clear subject and the background should soften. Avoid it on groups, pets with fine fur, or anything where you need maximum sharpness, since the background blur is built from several frames and edges can halo. Use night mode in genuinely dark scenes, not as a way to brighten a daylight shot. Neither mode fixes a subject that moves during the capture.
Review and Edit Without Ruining the Image
Open each shot full size and look for five things: softness, clipped highlights, crushed shadows, distracting objects at the edges, and an obvious color cast. You can fix the first, fourth and fifth in editing. The second and third you can only partly recover.
Then edit in the native Photos or Gallery editor with restraint. Correct orientation if the phone picked one, crop to the composition you wanted, nudge exposure and contrast slightly, pull highlights down and lift shadows a little, shift white balance if the color looks wrong, and add a small amount of sharpening. Small moves, checked on the actual screen size you will view the photo at, beat a heavy filter every time.
If your phone supports RAW capture, one RAW frame plus a light edit can rescue a photo that a JPEG already destroyed. If your photos look over-processed by default, a Photographic Style or filter setting chosen before the shot gives you more say than a filter applied after it.
Common Mistakes
Dirty lens. The most common problem and the easiest fix: a dry microfiber wipe before you shoot. If your photos have a hazy glow that survives editing, this is why.
Harsh or backlit light. Turn the subject toward the window, put the sun behind you, or shoot in open shade. Check the screen brightness before pressing the shutter.
Digital zoom. Walk closer or switch to the telephoto lens. Digital zoom crops the sensor, so quality drops every time you pinch.
Blurry moving subjects. Add light first, then try a stabilization or action mode, then shoot several frames in a row. Stability fixes your movement, not theirs.
Overusing portrait or night mode. Both are multi-frame processes that trade sharpness for effect. Use portrait mode for a single clear subject and night mode for real darkness, not out of habit.
Excessive HDR or saturation. Heavy HDR leaves halos around edges and can grey out a sky. Turn HDR off for a moving subject or a high-contrast scene, or capture RAW and tone it yourself later.
Cluttered backgrounds. Change your position before you change anything else. One step left or right, or a hand held behind the subject, often removes more clutter than editing can.
Editing too heavily. Saturated, heavily sharpened images look worse on a phone screen than on a large monitor. Cut every adjustment roughly in half and view the result at the size you will actually see it.
Relying on the front camera for group shots. The front lens is a fixed wide angle at a short distance, so groups get edge distortion and uneven faces. Turn the phone around and use the rear 1x lens instead.
One last habit: delete the near-duplicates on the spot and keep your best frame only, then use the grid and the level tool on every shot until framing becomes automatic.
Frequently Asked Questions
What is the best camera app for taking better photos on a phone?
Start with your phone’s built-in camera app, because it receives processing updates and controls RAW and high-resolution modes that third-party apps often cannot reach. Add a free editor such as Lightroom Mobile or Snapseed afterward for control over exposure, highlights and color. Third-party camera apps like Blackmagic Camera or Halide help mainly if you want manual controls or unprocessed RAW.
Should I use the front or rear camera for better photos?
Use the rear camera whenever you can. It has more lenses, autofocus and a larger sensor, so it is sharper and faster. The front camera is a fixed wide angle at short distance, which distorts group shots and edges. Front cameras also apply more smoothing to faces, so switch to the rear lens and hold the phone higher for selfies.
How can I take better low-light photos without blur?
Find more light first, then steady the phone: two-handed grip, elbows tucked, or a tripod with the timer. In dark scenes add more light rather than brightening a dark shot, because brightening amplifies noise and smoothing. Hold the shot still, brace against something solid, and take several frames so you can pick the sharpest one.
Is digital zoom worth using for phone photography?
Rarely. Digital zoom crops a smaller area of the sensor and enlarges it, so detail is invented from interpolation and photos look soft and pixelated. Walk closer for framing, or switch to the telephoto lens, which uses its own hardware. Digital zoom is acceptable as a quick way to preview a distant scene, not for a photo you plan to keep.
When should I use portrait mode on a phone camera?
Use it when one person is the clear subject, they are reasonably still, and the background should blur. It combines several frames, so it needs a steady phone and a subject that holds a position. Avoid it for groups, fast motion, pet fur and anything where you need maximum sharpness, because edges can halo and fine texture is smoothed away.
Why do photos taken on my phone look less sharp on my computer?
Usually the photo is being displayed larger than it should be, or the display cannot match the phone’s brightness. Check the pixel dimensions, view it at 100 percent rather than stretched to fit, and set your monitor to the highest resolution it supports with matching scaling. If it is still soft, compare the same file on the phone, because a soft subject or lens smear is a capture problem, not a screen problem.
Take Better Phone Photos Starting with Light and Focus
If you change one habit tonight, make it the lens wipe and the window. Everything else follows from those two.
Here is the short version of how to take better photos with a phone camera: wipe the lens, find even light and turn your subject toward it, tap to focus and lock the exposure, hold the phone with two hands, shoot three or four frames, and make small edits rather than filters. That sequence costs nothing and fixes the majority of disappointing shots.
New hardware helps, but people in phone photography forums consistently report that the basics move the needle more than an upgrade. Learn the sequence first, and the phone you already own will surprise you.