Battery calibration means resetting your phone’s internal fuel gauge so the percentage on screen matches the charge actually left in the cell. The honest version: on a modern phone the gauge drifts mostly after a software update, a battery swap, or a month of odd charging habits, and one full cycle usually resyncs it. Plan about 8 to 12 hours of mostly waiting.
It will not add capacity you lost. If your phone dies at 30% every day, calibration is worth one attempt, then you look at battery health.
Table of Contents›
- What You Need
- Step-by-Step: How to Calibrate a Phone Battery
- How to calibrate a phone battery in one full cycle
- 1. Check Your Phone’s Battery Health First
- 2. Reduce or Turn Off Battery-Intensive Features
- 3. Charge the Phone to a Stable Full Level
- 4. Let the Battery Settle at Full Charge
- 5. Discharge Through Normal Use
- 6. Recharge Without Interrupting the Cycle
- 7. Check the Percentage and Repeat Only if Needed
- Common Mistakes
- Frequently Asked Questions
- Is it safe to calibrate a phone battery?
- Should I drain my phone battery to zero to calibrate it?
- How do I calibrate an Android phone battery?
- Can I calibrate an iPhone battery?
- How often should I calibrate a phone battery?
- Conclusion
What You Need
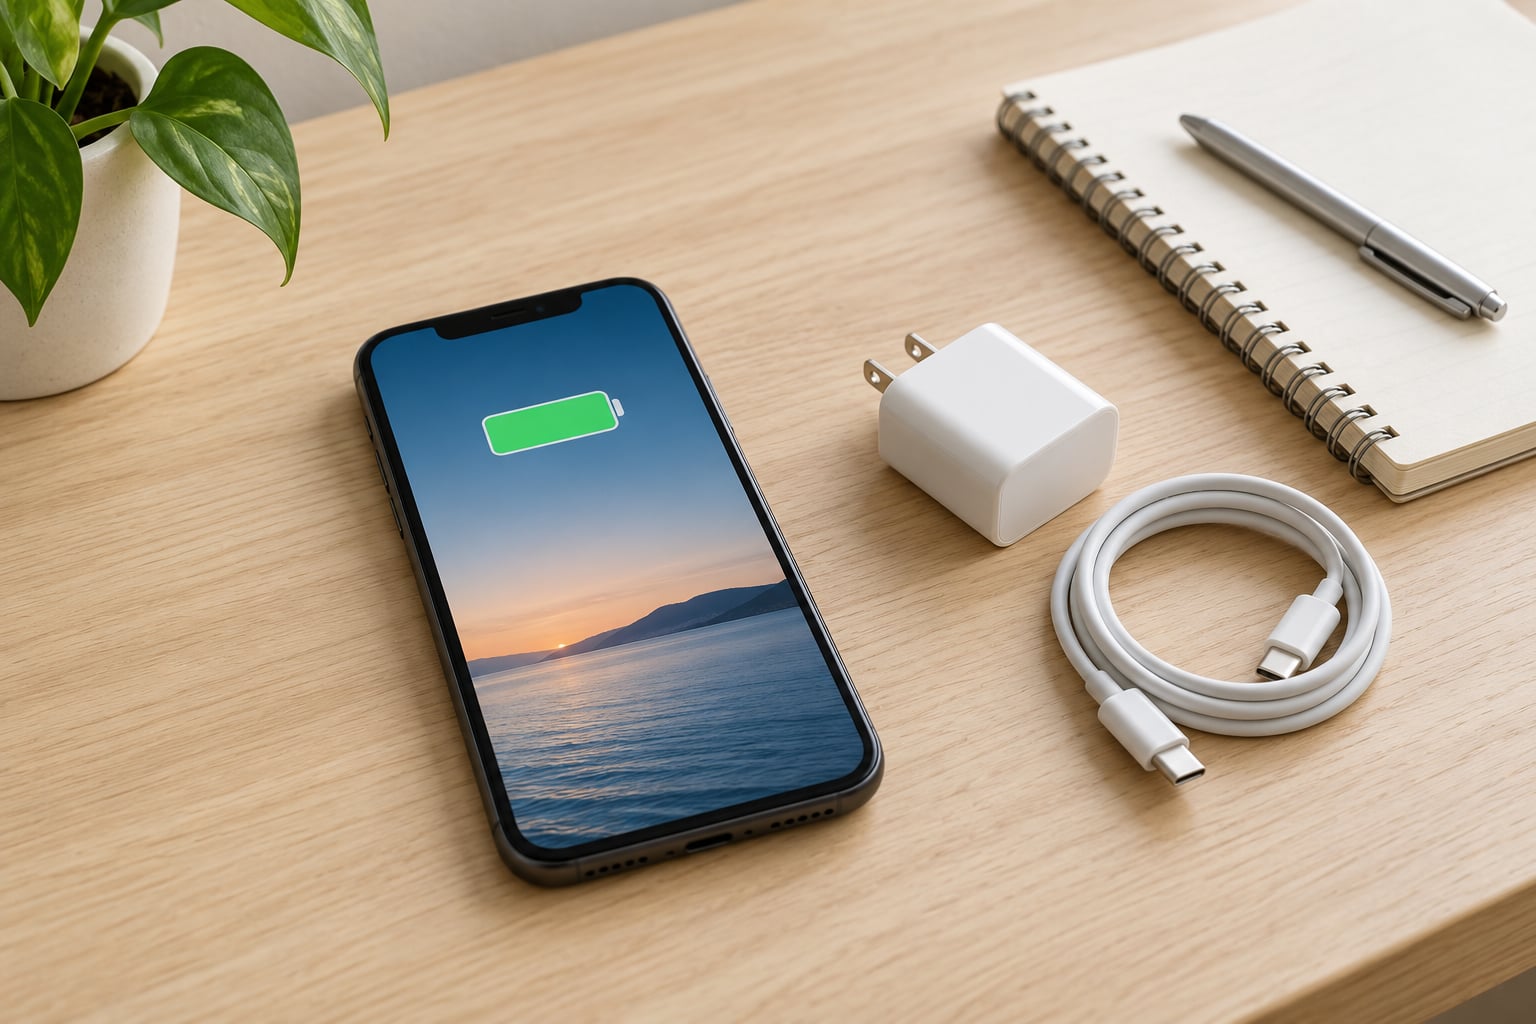
Before you touch the charger, check that you have the right gear and a healthy battery. Grabbing a cheap cable is the fastest way to ruin a calibration cycle, because an unreliable charger produces erratic current readings that the fuel gauge learns from.
- Your phone and its original or manufacturer-certified charger and cable.
- A wall outlet rather than a car adapter or a laptop USB port.
- A clear hour or two of not needing the phone.
- Battery health information from your settings menu (paths below).
- A screen-off timer or Do Not Disturb so the display is not on for hours.
Two safety checks come before anything else. Feel the phone and the battery area: if it is already unusually warm, or if the back is bulging, or if the screen lifts at the edges, stop and get the battery replaced. Calibrating a swelling lithium-ion pack is how a small problem becomes an expensive one.
Next, read the battery health number. On an iPhone, open Settings, Battery, then Battery Health and Charging. On Android, most makers expose it under Settings, Battery, then Battery usage or Battery health. If health sits well below the original rating or the phone has been in use for years, calibration is a diagnostic step, not a repair.
Step-by-Step: How to Calibrate a Phone Battery
How to calibrate a phone battery in one full cycle
The whole method is a single controlled cycle: measure the empty end, measure the full end, and let the fuel gauge record both. Each step below is one part of that cycle.
1. Check Your Phone’s Battery Health First
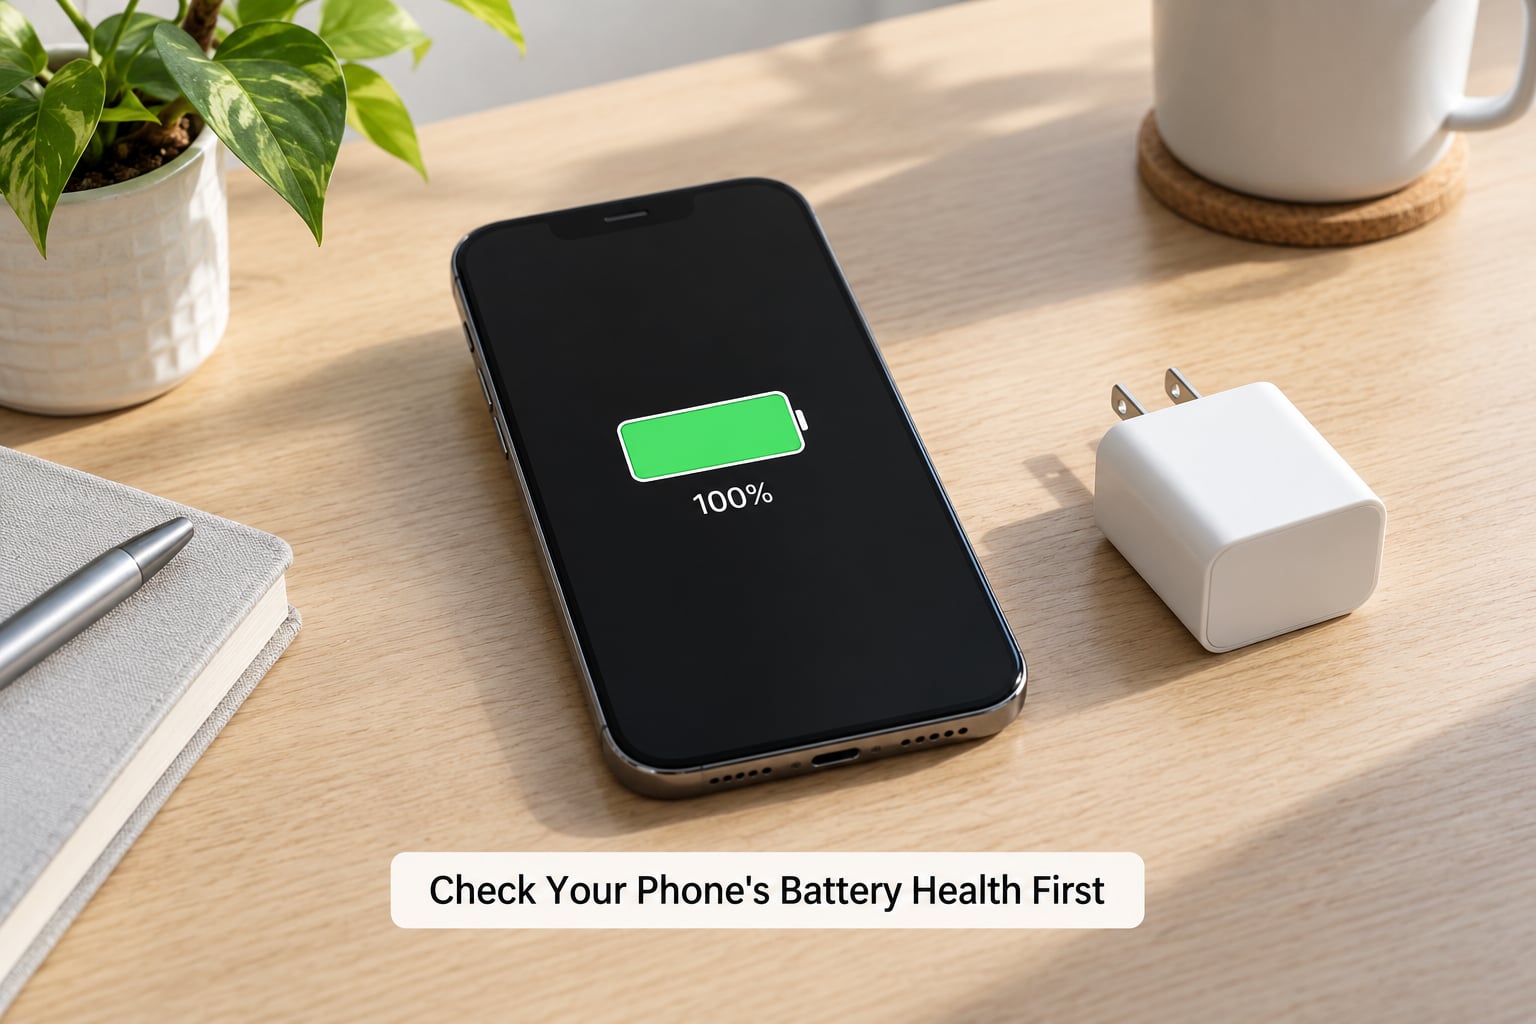
Open the battery settings and note the maximum capacity figure before you start, so you can compare later. On iOS 16 and later, Battery Health and Charging shows both Maximum Capacity and a cycle count. Samsung shows Battery usage plus a rough status line, and some Pixel models expose Battery information under a diagnostics screen. Xiaomi hides most of this behind MIUI’s Battery settings.
Decide from that number. Below roughly 80% of original capacity on iPhone, the phone is worn, and no amount of resyncing changes that. An unhealthy battery also makes a full drain risky, which is exactly the step below that needs care.
2. Reduce or Turn Off Battery-Intensive Features
The point of this step is a quiet phone, so background activity does not blur the discharge reading. Turn on airplane mode, close every app, and switch on Low Power Mode or Battery Saver. Leave Wi-Fi and Bluetooth off for the duration.
Skip the scammy extras: no app needs rooting, no system file needs editing, and no unknown settings need changing. If a method requires you to install something from outside the official store, drop it.
3. Charge the Phone to a Stable Full Level
Charge to 100% first, then keep going past it. Several phones stop accepting charge at a protected ceiling, so a phone sitting at 100% for ten minutes may not yet be at the real top of the curve. Many reviewers leave it plugged in for one to two extra hours past the 100% icon for that reason.
Turn off anything that would cut the charge short. On iPhone, disable Optimized Battery Charging and any charge limit. On Samsung, turn off Protect Battery and the Charging Limits setting. On Xiaomi, switch off Optimized charging from the Battery settings screen. Use the wall charger, keep the phone on a hard surface, and stop if it gets uncomfortably hot.
4. Let the Battery Settle at Full Charge
Leave the phone plugged in at full charge for another hour or two with the screen off. This is where the charge flag gets set consistently, and it is the step most guides treat as optional. I would not skip it. Skipping the rest at full and jumping straight to the drain is the main reason people repeat the cycle twice and see nothing.
5. Discharge Through Normal Use
Now run the phone down through ordinary use, not a torture test. Unplug it, drop airplane mode, and use it lightly until the warning appears. On iPhone, iOS reserves roughly the last 10% for emergency calls, so the phone will not actually hit 0% and shut down on its own. On Android, you may be able to see the true state of charge in the battery stats screen or with the *#0228# or *#*#4638#*#* diagnostic codes, though what they show varies a lot by brand and many current versions do little or nothing useful.
Let it switch off on its own, or shut it down when you reach the shutdown threshold. Then leave it powered off, unplugged, for two to four hours. Do not sit on a depleted battery for days; that is genuine deep discharge and it stresses the cells.
6. Recharge Without Interrupting the Cycle
Plug it straight back in and charge the whole way to 100% without unplugging midway, without gaming, and without heavy camera use. Heat is the enemy here, so keep the phone face-down on a cool surface and the brightness low.
Do not repeatedly top it up from 98% to 100% and stop. A partial top-up gives the gauge another low-quality data point instead of a clean full endpoint. Once it reaches 100%, keep it plugged in for one to two more hours before you unplug.
7. Check the Percentage and Repeat Only if Needed
Restart the phone. On Android, holding Power plus Volume Down for ten seconds does it; on iPhone, swipe to power off, wait a moment, and power on again. Then use it normally for a day or two and watch whether the number tracks reality.
Good signs: the percentage declines in even steps, charging stops near 100%, and the phone no longer dies early. If nothing changed after two or three good cycles, stop repeating it. Multiple cycles a month add stress without adding accuracy.
Common Mistakes
Most battery calibration failures come down to a handful of repeatable errors, and each has a straightforward fix.
- Draining to 0% repeatedly. Modern lithium-ion packs dislike sitting empty. Deep discharge stresses the cells and can push a worn battery into an early shutdown. Fix: one moderate discharge as step 5 describes, not a weekly habit.
- Using an unapproved charger. A cable that cannot hold current produces a noisy charge profile, and the gauge learns from that noise. Fix: the certified charger that came with the phone, on a wall outlet.
- Calibrating a damaged or overheating battery. Heat, swelling, or a screen lifting off the display means the pack is failing. Fix: stop the cycle and arrange a battery replacement.
- Expecting calibration to restore lost capacity. Once a cell has aged through many charge cycles, the capacity is simply gone. Calibration moves the number on the screen, not the charge you can store. Fix: read the battery health figure and price a replacement if it is low.
- Over-calibrating. Doing it weekly to be safe adds wear and, on some phones, reinforces the drift you were trying to remove. Fix: once, then only after an update, a battery swap, or a new misbehaviour.
- Leaving charge limits switched on. A phone capped at 80% never reaches the top of the curve, so the full endpoint never gets recorded. Fix: turn off any protect-battery or bypass-charging toggle for the cycle.
- Installing third-party calibration apps. On iOS they cannot reach the fuel gauge at all. On Android they do the same thing you can do by hand. Fix: use the built-in menus.
Frequently Asked Questions
Is it safe to calibrate a phone battery?
Yes, done once and carefully. Calibration means one normal discharge followed by one uninterrupted full charge, which is closer to everyday use than anything else you do to a battery. The risk comes from repeating deep discharges, using a poor charger, or running the cycle on a pack that is already swollen or hot. Check battery health first, and if the phone feels warm or bulged, skip the cycle entirely.
Should I drain my phone battery to zero to calibrate it?
Not on a regular basis. One controlled run down to the shutdown threshold is enough for the fuel gauge to record the empty endpoint. Repeatedly taking a lithium-ion cell to zero stresses it and shortens its life, and iOS will not let you get there anyway since it holds back the last 10% for emergency calls. If your phone dies at 20-30% every day, that is a worn battery or a rogue app, not a gauge that needs draining.
How do I calibrate an Android phone battery?
Turn off battery limiters such as Samsung Protect Battery or MIUI Optimized charging, charge to 100% on the wall charger, keep it plugged in for another one to two hours, then use it normally down to the shutdown threshold. Leave it powered off and unplugged for two to four hours, recharge straight to 100% without interrupting, and restart. You can check true capacity under Battery usage, though the *#0228# and *#*#4638#*#* codes vary by brand and are often unreliable on current versions.
Can I calibrate an iPhone battery?
Yes, and it is the same physical cycle as Android. Check Settings, Battery, Battery Health and Charging first, then disable Optimized Battery Charging so the phone reaches a true 100%. Charge on a certified wall charger, rest it plugged in for one to two hours, run it down until it shuts off, leave it unplugged for a few hours, then charge straight through to 100% and restart. Note the Maximum Capacity number again afterwards to see whether anything actually improved.
How often should I calibrate a phone battery?
Rarely. Most phones never need it. One cycle is reasonable after a battery replacement, after a major OS update, or when the percentage starts jumping or the phone shuts down with charge still showing. Otherwise, leaving it alone is healthier than a monthly routine. Preventing drift works better: keep daily use between 20% and 80%, leave heat alone, and let the phone charge uninterrupted overnight rather than topping it up all evening.
Conclusion
Start with the battery health number, because that one figure decides whether calibration can help at all. If the phone is healthy, run exactly one controlled cycle: full charge, a rest at full, a normal discharge to shutdown, a rest while powered off, then one uninterrupted charge back to 100% and a restart. That is the whole method. If the percentage still misbehaves, or the battery is swollen, unusually hot, or failing within a day of charging, stop troubleshooting and get a professional battery replacement.