Learning how to compress photos to save space on your phone comes down to four moves: resize the image, lower the quality setting, strip the hidden data, and move the full-size copy somewhere else. On a phone, the fastest route is usually a built-in setting that does the first three for you, then a manual pass on the leftovers. The whole job takes about 20 minutes for a typical library of a few thousand shots, and the difficulty is low if you keep a backup first.
Most people find their phone storage bar full long before they think of photos, because modern shots are heavy. A 12-megapixel JPEG runs about 3 to 5 MB. Switch a phone to a 48-megapixel mode or turn on ProRAW or HEIF and the same picture can land between 8 and 25 MB. Multiply that by a few thousand photos and you have a very ordinary reason for a full 128 GB phone.
What follows is the order I would actually use: built-in settings first, an app or a browser tool for what is left, then a careful cleanup. If your only goal is getting room back tonight, the first step alone may be enough.
Table of Contents›
- What You Need
- Step-by-Step: How to Compress Photos to Save Space
- Use Your Phone’s Built-in Compression Option
- Compress Photos in a Dedicated App
- Resize Images Before You Compress Them
- Check the File Size and Quality
- Remove or Archive the Originals Safely
- Common Mistakes
- Frequently Asked Questions
- How much space can photo compression save?
- Will compressing photos make them look bad?
- Can I compress multiple photos at once on Android or iPhone?
- Should I keep the original photos after compressing them?
- Do screenshots and live photos compress the same way?
- Can I recover photos after deleting the originals?
- Conclusion
What You Need
You need very little. A phone or tablet running a current version of iOS or Android, its built-in Photos or Gallery app, and about 500 MB of free space so the phone has somewhere to put compressed copies while the originals still exist.
Also worth having on hand:
- A backup. Photos synced to iCloud Photos or Google Photos count as backed up, as does a copy on a computer or external drive. Read that as: do not start deleting originals until one of those is true.
- A gallery or compression app if the built-in setting is not enough. Apps titled along the lines of “Compress Photo and Save Space” are common in both the App Store and Google Play.
- A browser-based tool such as TinyPNG, Image Compressor, or Squoosh for one-off jobs on a laptop. These process images inside your browser, so the file never uploads to a server.
- A desktop tool if you are handling a whole archive on a computer: ImageOptim on Mac, ShortPixel, or Photoshop’s File > Scripts > Image Processor for batch work.
Nothing here is required, but a backup is the one item I would not skip. Forum threads on r/DataRecoveryHelp and the DPReview forums repeat the same regret: a conversion pass overwrote the originals, and there was no second copy.
Step-by-Step: How to Compress Photos to Save Space
This is the whole process in order. Steps one and two are the big wins and take the least effort; steps four and five are the guardrails that keep you from deleting something you wanted.
Use Your Phone’s Built-in Compression Option
Start here, because it needs no app and no decisions. Both major platforms can shrink every photo on the device at once while keeping the full-size version in the cloud.
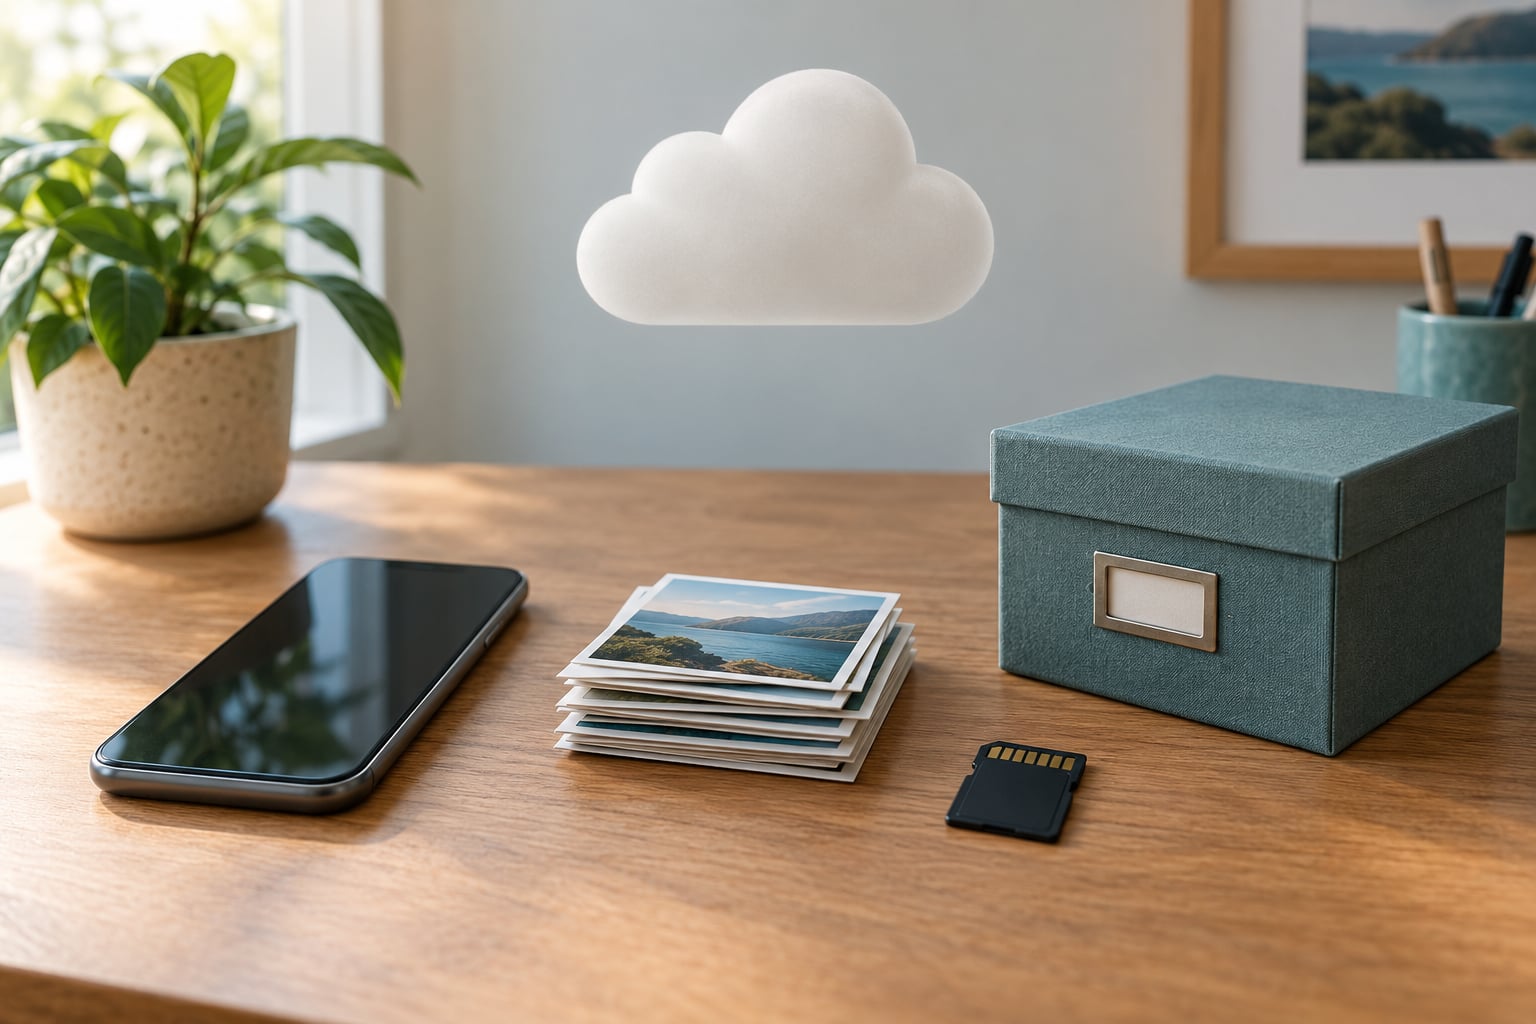
On iPhone and iPad: open Settings > Photos and scroll down to Optimize iPhone Storage, then switch it on. The exact wording and position shift a little between iOS releases, and on recent versions the same control also appears inside the Photos app under the library’s storage view, so look for both. Once it is on, the phone keeps small on-device copies of anything older than roughly 30 days and fetches the full-size file from iCloud when you open it or view it at full resolution. Note the flip side straight away: your iCloud bill does not go down, and you need a connection to see photos clearly.
On Android with Google Photos: open the app, tap your profile picture in the top corner, choose Google Photos storage, then tap Free up space. Older versions of the app call the same button Storage saver. It only touches photos already synced to your Google account, and the originals stay in your Google Photos library, so switching the setting back to Original quality brings the full-size file down again on demand. Do not assume the cloud copy is safe forever, though. Google can reclaim originals under some account conditions, so keep a real backup of anything irreplaceable.
On other Android phones: Samsung, Xiaomi, OnePlus, and Google all ship their own Gallery app with a similar control buried in the three-dot menu under words like Storage, Optimize, or Compress images. Samsung users can also change the capture format in Camera > Settings > High efficiency pictures, which is worth switching on before the next shoot rather than compressing old files afterwards.
Compress Photos in a Dedicated App
When the built-in setting is not enough, this is how to compress photos to save space one batch at a time with a gallery or compression app. The workflow is the same in nearly all of them, and the app name matters far less than the settings you pick.
- Open the app and grant photo access. Pick one that processes images on the device if you care about privacy, since uploading a personal library to a stranger’s server is a real risk with some free apps.
- Select multiple photos at once. Look for Select all or a multi-select toggle, tap the photos you want, and confirm the count. Start with 20, not 2,000. A small test batch is how you find the right setting before you commit an entire library.
- Choose quality or a target size. A quality slider between 60 and 90 works for most phone photos. Tools aimed at email will instead ask for a target in kilobytes, which is genuinely useful when a mail server rejects anything over about 20 to 25 MB.
- Pick an output folder, never the original folder. Compressed copies should land somewhere separate so the two versions can sit side by side while you check them.
- Run the batch and wait. A few hundred photos takes under a minute on a current phone. Thousands of shots can take several minutes, so keep the app open rather than interrupting it.
- Open three or four results side by side with their originals. Zoom to 200% on a face and on any text. If you see ringing around the eyes or blurry letter edges, the setting was too aggressive; move up by ten points and run it again.
For files sitting on a computer rather than a phone, the same idea applies with browser tools. TinyPNG is conservative and good for graphics with flat colour; Image Compressor handles JPEG, PNG, WebP, GIF, and SVG with an adjustable quality slider; Squoosh lets you compare before and after at several quality levels before you download anything. All three run in the browser, which is why they work on a school or work machine where you cannot install software.
Resize Images Before You Compress Them
Resolution is usually a bigger lever than quality. A phone photo is 4032 by 3024 pixels, and almost nothing you upload actually displays at that size. Cutting the dimensions in half removes three quarters of the pixels before the compressor starts throwing detail away, and the result looks essentially identical on a phone screen.
Sensible targets:
- Sharing in a messaging app: 1600 pixels on the long edge. That is roughly a quarter of the original data.
- Email attachment: 1200 to 1600 pixels, and under about 1500 KB if a mail provider is strict.
- Website upload or blog image: 2000 pixels wide for a full-width hero image, 800 to 1000 for in-body photos. Anyone printing larger wants the original.
- Archiving to an external drive or USB stick: 3000 to 4000 pixels, which keeps a decent 4K television happy.
On iPhone, the quickest route is the Shortcuts app: create a shortcut with the Convert Image action, set the image size, set the format to JPEG or HEIF, and drop it in a share sheet. On Android, most Gallery apps offer a resize option inside their editor, and batch resize usually means opening a file, choosing Resize, entering the long edge, and repeating.
Check the File Size and Quality
Look at the numbers before you trust them. On iPhone, tap the info button in the top corner of a photo and the size appears in the details. On Android, the Files or Gallery app shows the size under each thumbnail. On Windows, right-click the file and open Properties; on Mac, select the file and press Command-I.
Here is what a typical re-save of a 4 MB JPEG at the same dimensions does:
| Quality setting | Typical size reduction | What you notice |
|---|---|---|
| 95 | about 5 to 10% | Nothing at normal viewing size; the file is still heavy |
| 90 | about 15% | Safe default for a family album you will print from |
| 80 | about 30% | Visually identical on a phone or laptop screen |
| 70 | about 45% | Fine for sharing; check text and faces at 200% |
| 60 | about 60% | Softness in skies and hair; limit this to the web |
| 50 and below | 65% or more | Visible blocking and blotchy skies. Not worth keeping |
Two other savings hide in the same operation. Stripping EXIF data removes the capture settings, camera serial, and often the GPS coordinates, which is worth a few hundred kilobytes on a modern file and a lot for your privacy if you plan to share a photo publicly. And converting to a newer format beats lowering quality at the same visible result: WebP typically lands 25 to 35 percent smaller than JPEG at equivalent quality, AVIF goes further still, and JPEG XL is the one lossless option that pays off.
Remove or Archive the Originals Safely
This is the step where people lose photos, so do it in this order and never in a hurry.
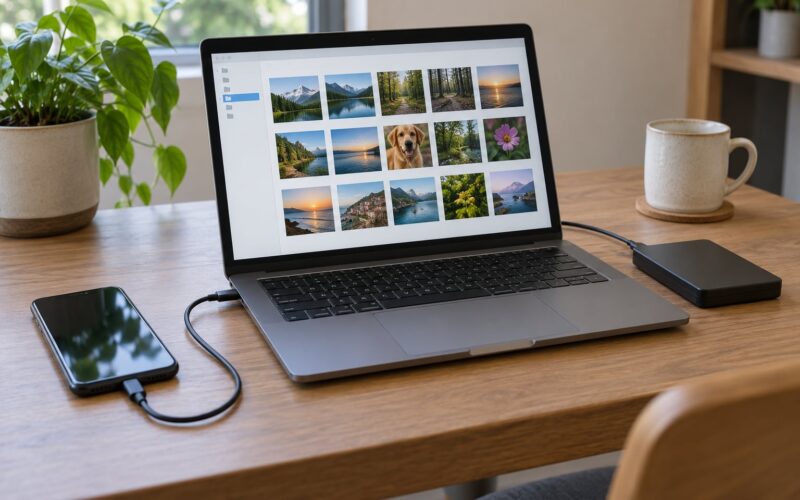
- Confirm the backup. Open the album on iCloud Photos or Google Photos, or check that a recent sync finished. If you are not certain, connect the phone and copy the folder to a computer first. This is the boring step that protects everything after it.
- Open three compressed files at full size. Check a landscape for banding, a group shot for faces, and any document or receipt shot for text. Zoom in, do not judge from the thumbnail.
- Delete the originals in batches. Select a few hundred at a time rather than the whole library, so a mistake stays a mistake instead of becoming a catastrophe.
- Empty Recently Deleted. On both iPhone and Google Photos, deleting does nothing to storage until you clear the 30-day recently deleted album. This is the single most common reason a phone still reports storage as full.
- Watch the storage bar for a few days. Cloud-optimised photos re-download full-size copies when opened, so if you view an entire album on wifi, expect some of the savings to fade.
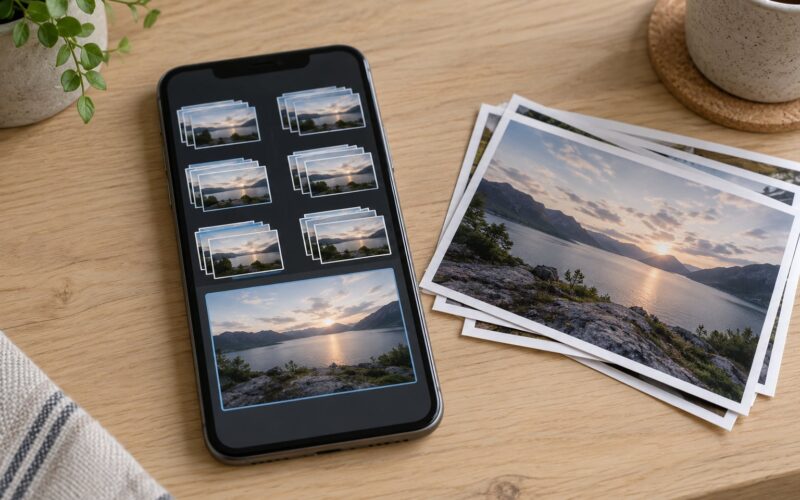
- Organise what remains. Move keepers into albums, delete near-duplicate burst shots while you remember the moment, and clear out screenshots, which are frequently 1 to 3 MB each and rarely worth keeping past a month.
Common Mistakes
Zipping a folder of photos and expecting it to shrink. JPEG, PNG, HEIC, and WebP are already compressed, so a general-purpose archive has almost nothing left to squeeze. A thread on the DPReview forums shows a 2 MB image going to 1.99 MB, and a r/DataHoarder user with 140 GB of photos got it down to 130 GB with WinRAR and 7z. That is not compression working badly; that is the format already being efficient. Zipping a folder of text documents behaves the same way photos do not, and the difference is the entire explanation.
Compressing the same photo repeatedly. Every lossy pass stacks artefacts on the ones already there. Compress once from the original, and if the result is too soft, start over from the untouched file rather than re-running the tool on its own output.
Picking a quality setting far below what the photo needs. Quality 50 saves a lot and looks like it. The fix is to stop chasing the biggest number and go back to 70 or 80, then get the remaining savings from resizing instead, which costs no visible quality at all.
Deleting originals before checking the compressed copies. Open them, zoom in, and confirm you are happy with them. A preview in the app thumbnail is not a check.
Treating screenshots and Live Photos like ordinary photos. Screenshots are PNG, which does not compress the way a JPEG does, so they need different settings or conversion to JPEG first. Live Photos are a photo plus a short video, so the video component is where most of the space sits, and most photo compressors ignore it entirely.
Confusing file size with dimensions. Halving the dimensions on all four sides cuts the pixel count to a quarter, which is a far bigger saving than any quality tweak at moderate settings. People spend ages sliding a quality bar when the resize button does more work in one tap.
Expecting compression to fix a full phone. Video, app caches, downloads, and the Other or System category on both iPhone and Android frequently outgrow the photo library. Check those categories in Settings > General > iPhone Storage or Settings > Storage before blaming your pictures.
Turning on cloud optimisation without reading the trade-off. You free up the device and keep paying for the cloud. That is a good deal if the photos are insurance and a poor one if you are trying to cut a recurring bill.
Frequently Asked Questions
How much space can photo compression save?
It depends on the starting point. Re-saving a JPEG at quality 80 cuts 25 to 35 percent, while resizing to half its dimensions cuts about 75 percent because you remove three quarters of the pixels. Converting to WebP saves a further 25 to 35 percent, and a lossless JPEG XL conversion gives back roughly 20 percent with no visible change at all.
Will compressing photos make them look bad?
Not if you stay in the sensible range. Quality 70 to 90 on a modern JPEG is visually identical at phone and laptop viewing sizes, and most people cannot tell the difference even when told. Trouble starts below 60, where skies band, hair goes soft, and text edges blur. Resizing to the size you actually need usually saves more space than lowering quality, without costing a single visible pixel of sharpness.
Can I compress multiple photos at once on Android or iPhone?
Yes, both platforms can do it in batches. On iPhone, the Shortcuts app with the Convert Image action is the only built-in route, and you can loop it across a selection from the share sheet. Most Android compression apps offer a select-multiple mode that processes hundreds of photos in one run. Google Photos also compresses your whole synced library automatically once you turn on Free up space, without you picking anything.
Should I keep the original photos after compressing them?
Keep them somewhere until you are sure. Locally, deleting the original after a verified check is fine, and it is the whole point of the exercise. In the cloud, iCloud Photos and Google Photos both keep the full-size version for you after you enable storage optimisation, so your device shrinks without the originals disappearing. For anything you would be upset to lose, keep one independent copy on a computer or drive before you delete anything.
Do screenshots and live photos compress the same way?
No, and treating them the same is a common waste of time. Screenshots are usually PNG, which stores pixels without compression, so they can shrink dramatically when converted to JPEG, while ordinary photos get much less benefit from the same tool. Live Photos bundle a still image with a few seconds of video, so the video component holds most of the space and photo compressors leave it untouched. Compress the still frame, and treat the clip as a separate video file.
Can I recover photos after deleting the originals?
Sometimes, and it depends entirely on where a copy exists. On iPhone and Google Photos, anything in Recently Deleted stays for 30 days and can be restored from there, which is also why that album keeps holding your storage. If the photos were synced to iCloud or Google Photos, the cloud copy is still there. If you deleted them with no backup and no cloud sync, they are gone, and recovery tools cannot recreate pixels that no longer exist.
Conclusion
Start with the backup, then turn on your platform’s built-in option: Settings > Photos > Optimize iPhone Storage on iOS, or Google Photos storage > Free up space on Android. Both are reversible and cost nothing. After that, take twenty photos you do not care about, compress them at quality 80, and compare the file sizes and the full-size view before touching anything else.
Once you know the setting you trust, run it across a folder at a time, clear Recently Deleted, and check the storage bar a few days later. If the phone is still tight after all that, video and app caches are the next place to look, not your pictures.