Backing up an Android phone to Google Drive takes about ten minutes. You turn on Backup by Google One in Settings, let it sync over Wi-Fi, and your contacts, messages, call history, apps, photos, and device settings live in your Google account instead of on the phone. That backup is what saves you during a factory reset, a stolen phone, or a switch to a new device.
Here’s the part most guides skip: Google’s system backup and Google Drive are two different things doing two different jobs. The system backup is an encrypted snapshot Google restores during setup. A Drive upload is your own folder of photos and files you can open and browse. You usually want both, and the steps below cover each one separately.
Table of Contents›
- What You Need
- Step-by-Step: How to Back Up an Android Phone to Google Drive
- Step 1: Sign In and Check Your Google Account
- Step 2: Turn On Android Device Backup
- Step 3: Choose What Google Will Back Up
- Step 4: Back Up Photos and Files to Google Drive
- Step 5: Run and Verify the Backup
- Common Mistakes
- Frequently Asked Questions
- Does Google Drive back up everything on an Android phone?
- Is it safe to back up my phone to Google?
- Is it better to back up with Samsung or Google?
- Why is my Android backup stuck at 99 percent?
- How do I restore an Android phone from a Google backup?
- Can I back up my phone to Google without a Google One subscription?
- Start With One Manual Backup
What You Need
You need four things, and one of them is checking rather than buying.
- An Android phone you can unlock, ideally on Wi-Fi.
- A Google account already signed in on the device.
- A working internet connection, with Wi-Fi preferred.
- Free space in that Google account. The free tier gives you 15 GB shared across Gmail, Google Photos, and Drive, and device backups now count against it.
Before you change anything, open the backup screen and note the date of the last successful backup. That date is your reference point. If a restore later looks incomplete, you will know whether you are dealing with an old backup or a new one that never finished.
Menu labels differ a little by brand. Samsung, OnePlus, and Pixel run different skins over Android, and older versions bury backup under a different heading. I’ll give the current Google path first, then the alternates.
Step-by-Step: How to Back Up an Android Phone to Google Drive
Step 1: Sign In and Check Your Google Account
Open Settings, tap Accounts or Passwords and accounts, then Account. Tap Add account and choose Google if your account isn’t listed yet.
Sign in and confirm it’s the address you actually use for mail. The backup goes to whichever account is set as the backup account, so a work account left over from a previous phone can quietly capture your data in the wrong place. Once you’re in, check the address at the top of the backup screen later on and make sure it matches.
Step 2: Turn On Android Device Backup
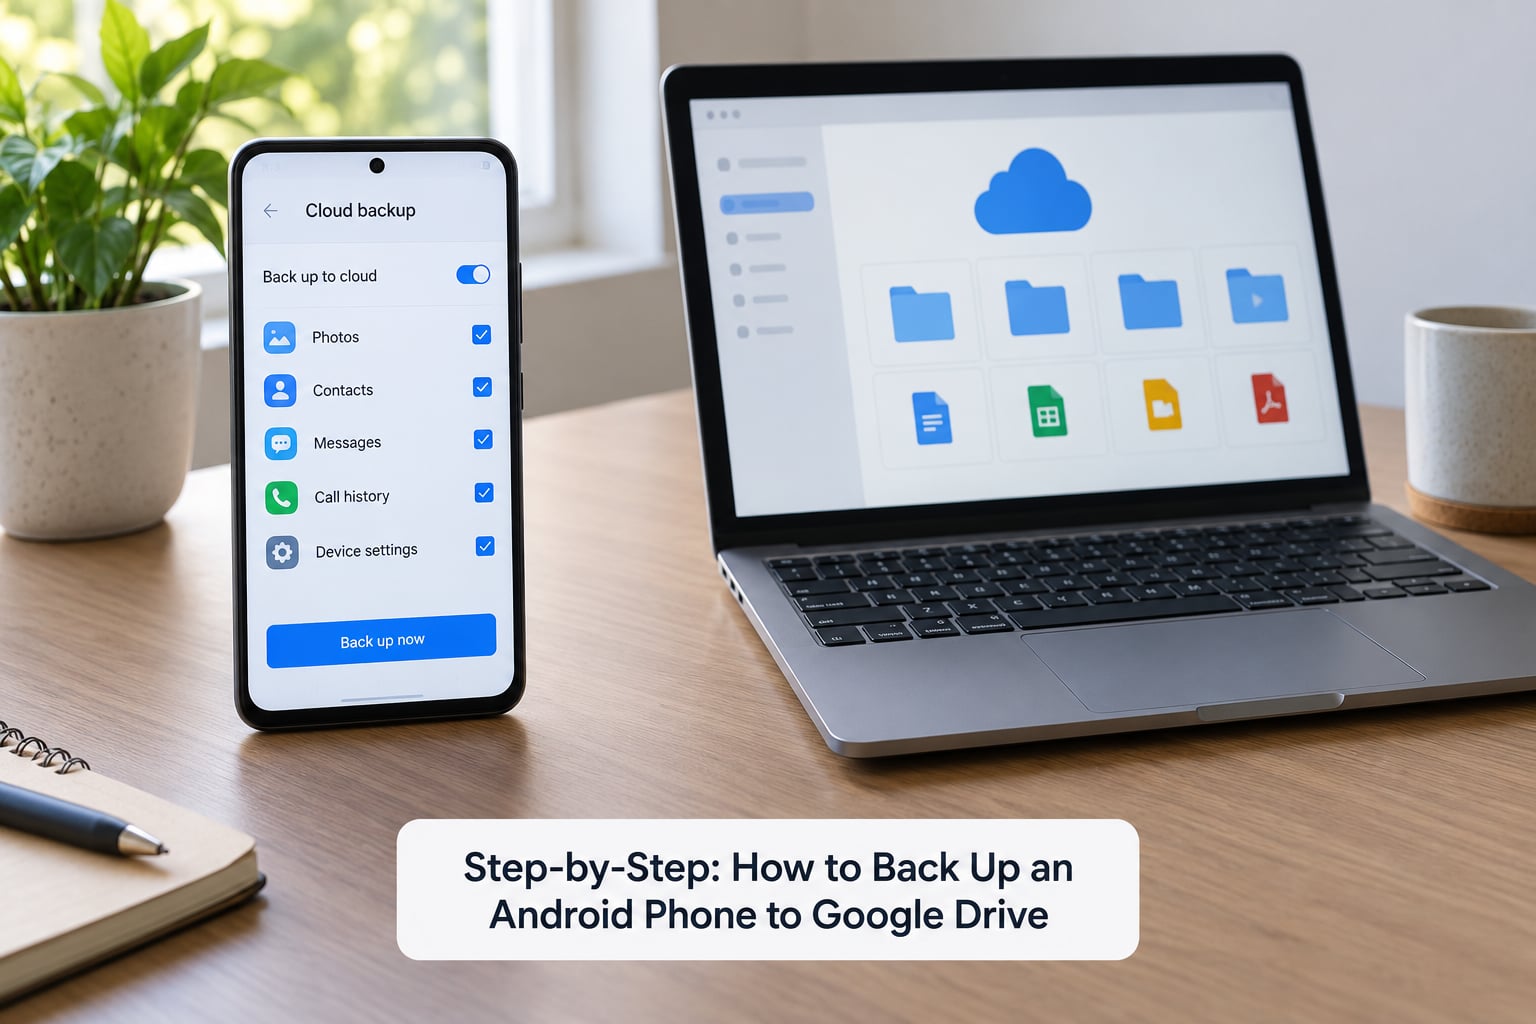
Go to Settings, tap Google, tap Manage your Google Account, then tap Backup. Toggle on Backup by Google One, then tap Back up now.
If Backup isn’t where I said, try these: Settings, System, Backup and reset on some older versions; Settings, Accounts, Google, Manage your Google Account, Backup on Samsung in recent builds; or Settings, Google, All services, Backup and restore, Backup.
Leave Use Wi-Fi only on unless you have a generous mobile plan. Backups on cellular data work, but a large first upload can quietly eat a chunk of your data allowance. On Samsung you’ll also see Samsung Cloud sitting right above the Google toggle. Running both is common and mostly harmless, but it means two separate backups and two separate restores to think about.
Step 3: Choose What Google Will Back Up
On the same Backup screen, tap Backup details to see each category and switch items off individually.
What Google’s Android backup covers:
- Apps and their settings, plus app data where each developer allows it
- Contacts, calendar events, and notes tied to your Google account
- SMS and MMS messages, and call history
- Device settings, including Wi-Fi networks, saved passwords, display preferences, and language
- Photos and videos, when Google Photos is set to back them up
What it usually doesn’t: the actual files on your internal storage. Downloads, music files, documents, and anything in a file manager live outside the system backup. That’s the job of a Drive upload. And app data is opt-in per developer, so a game or a banking app may save nothing at all, or restore with a fresh login.
WhatsApp is separate too. Its Google Drive backup runs on its own schedule inside the app, and restoring it means a manual chat restore on the new phone. It never travels inside the system snapshot.
Step 4: Back Up Photos and Files to Google Drive
Open the Google Drive app, tap the plus button in the bottom right, and choose Upload. Select your photos or files, then tap Save or Done and pick the folder you want them in.
For photos specifically, Google Photos is the better tool. Open Google Photos, tap your profile picture, turn on Back up, and choose Backup quality. Full quality keeps the original resolution; Storage saver shrinks images to about 16 megapixels and can stretch to gigabytes less over a few years of phone photography.
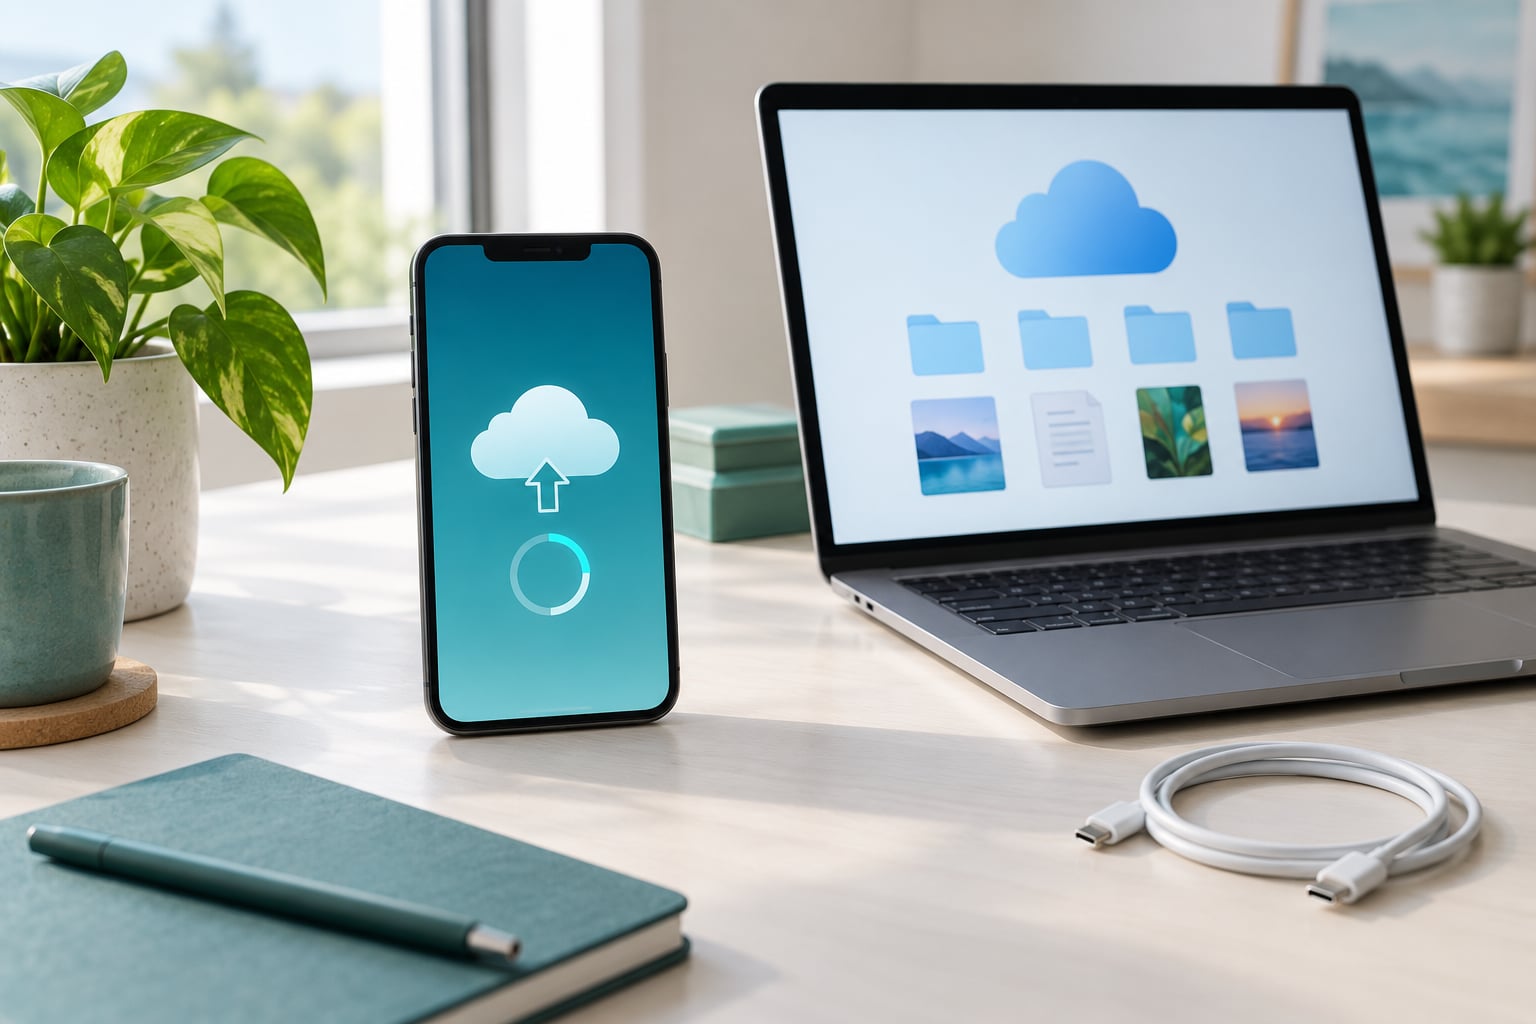
Drive’s plus menu also has a Backup tab in some versions, which uploads a folder of recent items without you picking them one by one. I check the uploads by watching the progress circle in the Drive activity feed rather than assuming it worked.
Step 5: Run and Verify the Backup
Plug the phone in, leave it on Wi-Fi, and tap Back up now. A first backup on a phone with years of photos and app data can take a long time, so overnight on charger is reasonable.
When it finishes, open the Backup screen again and check the line that says Last backup. Open Drive in a browser, go to My Drive, then Activity in the left sidebar, and look for the backup entry. If the Drive app shows nothing after a completed backup, that’s expected: the device backup is encrypted and stored separately, and it won’t appear as a browsable folder.
That last point trips people up constantly. If you want to see and manage your own files in Drive, they need to be uploaded as files in Step 4.
Common Mistakes
Backup stuck at 99 percent. Usually a single large app or a stalled network. Leave the phone charging on Wi-Fi overnight, then restart and try again. If it hangs at the same spot two nights running, that app is the suspect: open its settings and clear its cache, or temporarily toggle off Backup details for that app.
Nothing backs up on mobile data. By default, Use Wi-Fi only is on. Turn it off on the Backup screen, and check that your mobile plan doesn’t block large background uploads.
Backup full or failing for storage reasons. Your backup draws from the same 15 GB as Gmail and Google Photos. Open Google Photos and set existing photos to Storage saver, clear out large videos, or check drive.google.com for old device backups you no longer need.
Backed up the wrong Google account. The backup screen shows the address it uses. If it’s wrong, switch accounts by removing that Google account from the device, then sign into the correct one, which turns backup on for it.
Restored phone is missing logins and app data. This is the big one, and it’s a design limit rather than a broken backup. Many apps don’t expose their data to the system, and a few explicitly block it for security. Two-factor authenticator apps almost never restore. Export those by hand before you wipe anything.
No selective restore. Android restores a backup whole, or not at all. There’s no built-in way to pull contacts only and leave messages behind. For a one-item move, export that item separately, or copy it through a wired transfer from a computer.
Restore stalls on the new phone. Stay on Wi-Fi, plug the phone in, and skip every optional step in the setup wizard you can. Restoration picks up where it left off if you interrupt it.
One habit worth keeping: back up a few days before any major software update, not just before a reset. It costs nothing and gives you a known-good restore point if the update goes sideways.
Frequently Asked Questions
Does Google Drive back up everything on an Android phone?
No. Google’s system backup covers contacts, SMS, call history, apps, device settings, and photos backed up through Google Photos. It does not cover files on your internal storage such as downloads, music, and documents. Those need a separate Drive upload or Backup step. App data also depends on each developer, so logins and game progress are often missing.
Is it safe to back up my phone to Google?
Google encrypts device backups in transit and at rest, and it can’t read the contents of an encrypted backup. The honest caveat is that your data sits inside a Google account, so anyone who can sign in to that account can restore it. Keep two-factor authentication on and your account recovery details current.
Is it better to back up with Samsung or Google?
On a Samsung phone, use both. Samsung Cloud and Smart Switch move app data and settings across Samsung hardware more completely than Google’s system backup does. Google remains the better choice if you’re leaving the brand, and it’s what restores photos, contacts, and messages. Switching from Samsung to another brand, Smart Switch on the old phone plus Google on the new one covers the most.
Why is my Android backup stuck at 99 percent?
Something large is stalling near the end, most often one app’s data. Leave the phone charging on Wi-Fi overnight so it finishes, and restart if it doesn’t. If it stops in the same place twice, clear that app’s cache or turn off Backup details for it, then run the backup again. Freeing Google account storage also helps.
How do I restore an Android phone from a Google backup?
On a new phone, open Settings during or after setup and tap Restore. Sign in with the same Google account, pick the most recent backup, and let it restore before adding your own account. On a phone you’ve already set up, go to Settings, Google, Manage your Google Account, Backup, then Transfer or Restore. Keep it plugged in and online.
Can I back up my phone to Google without a Google One subscription?
Yes. The free tier includes 15 GB shared across Gmail, Photos, and Drive, and that is enough for most people’s backups. The device backup counts against those same 15 GB, so a photo-heavy library can fill it. A Google One plan simply raises the limit; the backup feature itself does not require one.
Start With One Manual Backup
Open Settings, Google, Manage your Google Account, Backup, and tap Back up now. Leave it on Wi-Fi and power until the last backup date changes. Then upload anything that isn’t already synced, like a folder of documents, to Google Drive.
Once a backup completes, keep automatic backup on and check that date every few weeks. That’s the whole job, and it’s much cheaper than the afternoon you’ll spend rebuilding a contacts list from memory.