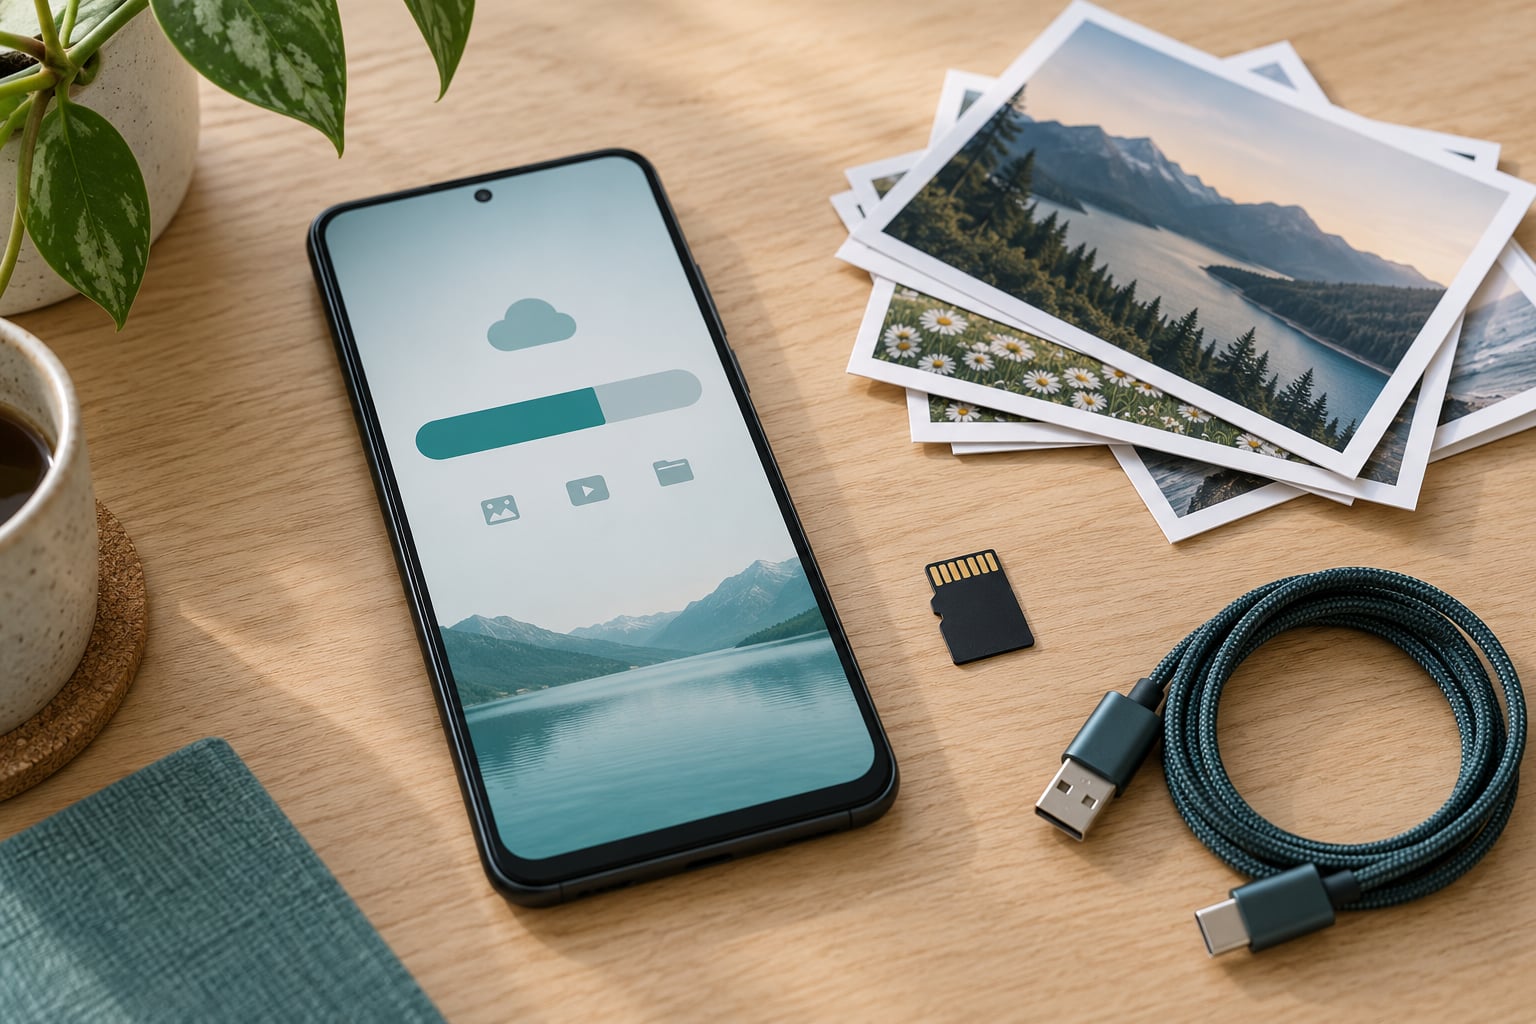
You can free up storage on Android without deleting photos by backing your camera roll up to Google Photos, then using its Free up space tool to remove only the device copies that are already stored in the cloud. Clearing app caches, uninstalling unused apps and deleting offline downloads fills the rest of the gap, and none of it touches your photo library.
That last part matters more than most guides admit. A phone with 64 GB free still feels full, because apps, cached data, chat attachments and downloaded video quietly eat everything else. The camera roll takes the blame for being the thing that grows visibly every week.
Every step below names the exact menu path, states plainly what is preserved and what is removed, and works on standard Android, Samsung One UI and Xiaomi. Budget about 15 minutes for the first pass. Last updated in 2026.
Table of Contents›
- What You Need to Free Up Storage on Android Without Deleting Photos
- Step-by-Step
- Step 1: Check What Is Using Your Storage
- Step 2: Back Up Photos Before Moving Them
- Step 3: Free Up Storage on Android Without Deleting Photos Using Google Photos
- Step 4: Clear App Data and Cache Without Removing Photos
- Step 5: Change Photo and Video Quality Settings
- Step 6: Use Android Storage Recommendations
- Step 7: Verify the Storage You Recovered
- Common Mistakes
- Frequently Asked Questions
- Does Free up space in Google Photos delete my photos?
- Do Google Photos backups use up my Google Drive storage?
- Why is my Android storage still full after deleting photos?
- Will Free up space reduce my photo quality?
- How do I move photos to an SD card to free up storage?
- Does clearing app cache delete my messages or photos?
- Conclusion
What You Need to Free Up Storage on Android Without Deleting Photos
Nothing exotic. An unlocked Android phone, a Google account, and a Wi-Fi or mobile connection for the backup step, because uploading a full camera roll over cellular can eat a big chunk of your data allowance.
Before you start, check that the phone is charged above 50 percent. The clean-up scan in Settings can take a couple of minutes on a packed device, and you do not want it dying halfway through.
Also helpful, but not required:
- A computer with a USB cable, if you would rather back up photos manually than trust cloud backup.
- A microSD card, if your phone has a slot. Plenty of current models do not, so check first.
- Ten quiet minutes to open a few apps and confirm they still work after clearing caches.
One rule before anything else: make sure your photos are backed up and confirmed before you remove local copies. The Free up space button looks exactly like a delete button, and that is why people hesitate on it for weeks instead of pressing it.
Step-by-Step
Step 1: Check What Is Using Your Storage
Open Settings, tap Storage, and read the bar before you change anything. On standard Android and Pixels this is Settings > Storage. Samsung puts the same screen behind Settings > Device Care > Storage, and Xiaomi users will find it under Settings > About phone > Storage.
The screen breaks your internal storage into four categories, and they are not equally safe to clean.
- Apps holds installed apps, their data and cached files. Safe to trim through cache clears, uninstalling what you never open, and clearing data on apps you have abandoned.
- Photos and videos holds the camera roll, screenshots and gallery downloads. Clean only the device copies, and only after a confirmed backup.
- System holds Android itself, firmware and system apps. Never delete anything in here.
- Other holds downloads, chat attachments, offline media and orphaned cache. Mostly safe, once you know what is inside.
Tap through any category that looks large. Photos and videos usually breaks down into Camera, Screenshots, Download pictures and WhatsApp or Messages media. If a category holds 20 GB and you cannot name what is in it, drill in before deleting.
The same screen usually has a Storage bar or Clean up button that runs a scan for unused apps, duplicate files and leftover downloads. Run it now to get a baseline, then run it again at the end to compare.
Step 2: Back Up Photos Before Moving Them
Open Google Photos, tap your profile icon in the top right, and switch on Back up & sync. Leave it connected to Wi-Fi and plug the phone in, because the first backup of a large camera roll can run for a long time.
One fact that stops a lot of people deleting the wrong thing: photos backed up to Google Photos do not count against your Google Drive or Gmail storage quota. The two are separate, and a backup you delete does not free a single byte on the phone.
Verify the backup rather than assuming it. Tap your profile icon, look for Backed up, and check the date under Manage storage. Every photo you intend to remove from the device should show a cloud checkmark. A photo you cannot confirm should stay on the phone for now.
If you would rather not use Google Photos, copying the DCIM folder to a computer over USB gives you the same safety net. Some people prefer this route because it produces a folder you own rather than an account you rent, and there is no backup switch to forget about later.
Step 3: Free Up Storage on Android Without Deleting Photos Using Google Photos
Once backup is confirmed, open Google Photos, select a batch of photos and videos, tap the three-dot menu, and choose Delete from device. Your library keeps every item, and the local copies disappear immediately.
There is a faster route. Tap your profile icon and look for Free up space. It scans your camera roll and removes device copies of everything already backed up in one pass. The photos stay visible in the app, in your browser, and on any signed-in device.
The same feature carries three names depending on the manufacturer:
- Standard Android and Pixels: Google Photos > profile icon > Storage, labelled Free up space.
- Samsung One UI: Device Care > Storage, or Photos > profile icon, labelled Free up storage space.
- Xiaomi MIUI and HyperOS: Settings > Apps > Gallery > Free up space, sometimes labelled Clean now.
If your phone is running out of room badly, turn on Storage saver under Photos > Settings as well. New photos then upload at a slightly reduced resolution, which keeps the ceiling from climbing. It does not shrink photos you have already taken.
Step 4: Clear App Data and Cache Without Removing Photos
Go to Settings > Apps, pick the app, tap Storage, and tap Clear cache. Do this for your messaging app, your browser, your music and video apps, and any gallery app other than your main photo library.
Cache is safe. It is temporary data your app rebuilds when it needs it, and clearing it makes the app feel faster for a while because it no longer has to sift through junk to find what it needs. Data is not the same thing, and this is where people lose things.
Clear data wipes the app’s local account, settings, downloaded content and login sessions. On a messaging app it removes offline attachments and cached conversations. On a gallery app it can remove local copies of photos that were never uploaded. Clear cache whenever you can, and save Clear data for an app you have already decided to abandon.
Clearing cache on its own often barely moves the number on the storage screen. That is normal when tens of gigabytes sit in app data or media rather than in cache. Work the biggest offenders first and check the storage screen after each one.
Step 5: Change Photo and Video Quality Settings
This is the step that stops the problem coming back. Open your camera app, go to Settings, and find Photo quality, Video quality or Resolution. Most phones ship at the highest setting.
Dropping photos from the highest resolution to a standard setting typically cuts file size dramatically, and most people cannot tell the difference on a phone screen. Video matters even more: a few minutes of 4K footage can swallow 2 GB or more, and 1080p looks nearly identical on a handset.
Existing photos are not resized by this change. It applies to everything you shoot from now on, and it works on any phone where the camera app exposes the setting, regardless of brand.
Step 6: Use Android Storage Recommendations
Return to the storage screen you used in Step 1 and open the clean-up or storage recommendations panel. Stock Android and Pixels call it Clean up, Samsung calls it Device Care with a Clean now button, and Xiaomi places it under Storage usage.
The panel usually offers a few things worth doing: unused apps it thinks you have not opened in months, duplicate images it found by comparing file sizes and dates, downloaded files sitting in the Downloads folder, and old setup packages.
Review duplicates before confirming. The scan flags near-identical images, and occasionally it flags two genuinely different shots that happen to be the same size. Open each pair before you accept the deletion.
Clean the Downloads folder yourself too, with the Files app or My Files. Old PDFs, installers, ZIP archives and screenshots that were already saved elsewhere are all fair game, and if you are searching for how to free up storage on Android without deleting photos, this folder is where the easiest wins hide.
Step 7: Verify the Storage You Recovered
Go back to Settings > Storage and compare the used figure against the number you wrote down in Step 1. That comparison is the only reliable way to know whether any of this worked.
Give it a few minutes first. The storage number refreshes on a timer, and it can lag behind reality by ten or fifteen minutes after a large cleanup. Pull down to refresh, or leave the screen and come back.
Cached data rebuilds too. An app you cleared an hour ago has probably already put back part of what it lost, so a lower number today is not a permanent win unless you removed the source of the growth.
Finally, open a handful of photos from Google Photos and make sure they load. Choose one from six months ago rather than one you just took, since recent photos are the most likely to still be sitting on the device. If it loads instantly and looks right, the backup is real.
Common Mistakes
Clearing data on the photo app. The single most common self-inflicted problem. Clear cache on gallery apps, and never clear data unless you have confirmed every photo in that library is backed up somewhere else.
Assuming deleted photos freed space immediately. They sit in Recently Deleted or Trash, sometimes for 30 days, until you empty the bin yourself. In Google Photos, open the app and clear Recently Deleted, and check your phone’s own Files app trash as well.
Deleting backups to free storage. Removing a cloud backup does nothing to internal storage, and it puts your only remaining copy at risk. Backups live on Google’s servers.
Expecting camera settings to shrink old photos. They only affect new captures. Old files stay exactly the size they are until you compress or move them.
Reading “Other” or “System” as junk. On several phones, gallery thumbnails and messaging media get filed under these buckets, which makes it look like an enormous unknown is eating the phone. Open the subcategories instead of guessing.
Believing a clean phone cannot get full again. If usage climbs back within a month, the growth source is still active. A monthly three-minute pass over the Downloads folder, offline downloads and unused apps keeps the ceiling from reappearing.
Frequently Asked Questions
Does Free up space in Google Photos delete my photos?
No. Free up space removes only the copies stored on your phone, and only for items already backed up to your Google Photos library. Everything stays visible in the app, on the web, and on any other device signed into the same account. If you later want a photo back on your phone, open it and tap Download, and it will restore at full quality. Photos that were never backed up are never touched by the tool.
Do Google Photos backups use up my Google Drive storage?
No. Photos and videos in Google Photos are stored separately and do not count against the Google Drive quota that comes with Gmail. Documents, PDFs and videos uploaded to Drive through the Drive app do count. This trips a lot of people up, and they sometimes delete a working backup to save Drive space while the real problem sits on the phone.
Why is my Android storage still full after deleting photos?
Four usual reasons. Deleted photos wait in Recently Deleted or the Files trash until you empty the bin. Chat attachments and offline media hide under Other or System. Your gallery app may keep thumbnails and cached copies after the originals go. And app data can refill within hours. Check Settings u0026gt; Storage, drill into Other, and empty Recently Deleted in Google Photos before assuming anything failed.
Will Free up space reduce my photo quality?
Not the ones already stored. Free up space removes local copies of items that exist in full resolution in your Google Photos library, so you can restore any of them later at original quality. The separate Storage saver setting is what compresses future uploads to roughly 16 megapixels, which saves space but is a deliberate quality trade-off. Leave Storage saver off if full resolution matters to you.
How do I move photos to an SD card to free up storage?
Insert a microSD card, then open Settings u0026gt; Storage and switch the camera save location to the card so new photos skip internal storage. For existing photos, open Files or My Files, cut the DCIM folder and paste it to the card, then confirm the files open before removing any originals. Note that many current phones have no card slot at all, and moving apps themselves rarely frees much because most apps stay internal.
Does clearing app cache delete my messages or photos?
No. Clear cache removes temporary files only, and apps rebuild them on demand. Messages, photos, saved accounts and settings all stay put. Clear data is the destructive option: it wipes the app’s local storage, logs you out, and deletes offline attachments and cached conversations. If you are unsure which to tap, stick with Clear cache.
Conclusion
Start with the storage screen, not with your photo library. Read the categories, back up the camera roll, confirm the backup, then press Free up space and clear caches on the apps that dominate your usage. That combination usually recovers tens of gigabytes and leaves every photo intact.
That is the practical answer to how to free up storage on Android without deleting photos: check usage first, back up before you touch anything, then clear caches and downloads rather than photos. Before you remove any local copy, open it in Google Photos and confirm it loads. And once you are done, drop the camera to a standard resolution so the same problem does not return next month.