Knowing how to test a phone before the return window closes takes about 45 minutes if you work through it in the right order: document the device, check the display and touch layer, test charging and battery, run every camera and microphone, then verify connectivity, apps and identifiers. Photograph or screen-record anything that looks wrong as you find it, because inside the return window you only have to show that a fault exists.
The window itself is set by whoever you bought from, not by the phone brand. Marketplace orders commonly run 30 days, carrier programmes often give 14 to 30 days with a restocking fee attached, and manufacturer direct returns are often shorter. Start the process before the deadline, not on it.
Table of Contents›
- What You Need
- How to Test a Phone Before the Return Window Closes: Step by Step
- Document the device before you test it
- Check the display, buttons, speakers, microphones, and cameras
- How to test a phone battery, charging and everyday performance
- Verify Wi-Fi, cellular service, Bluetooth, GPS, calls, and apps
- Common mistakes that can put a return at risk
- Frequently Asked Questions
- When should I start testing a phone I want to return?
- How do I know if a phone has a battery problem before returning it?
- Should I factory-reset a phone before sending it back?
- What if the phone has a carrier lock or activation lock?
- How can I document a defect if I only have the phone and not the original box?
- Does testing every function take too long before the return window closes?
- Conclusion
What You Need
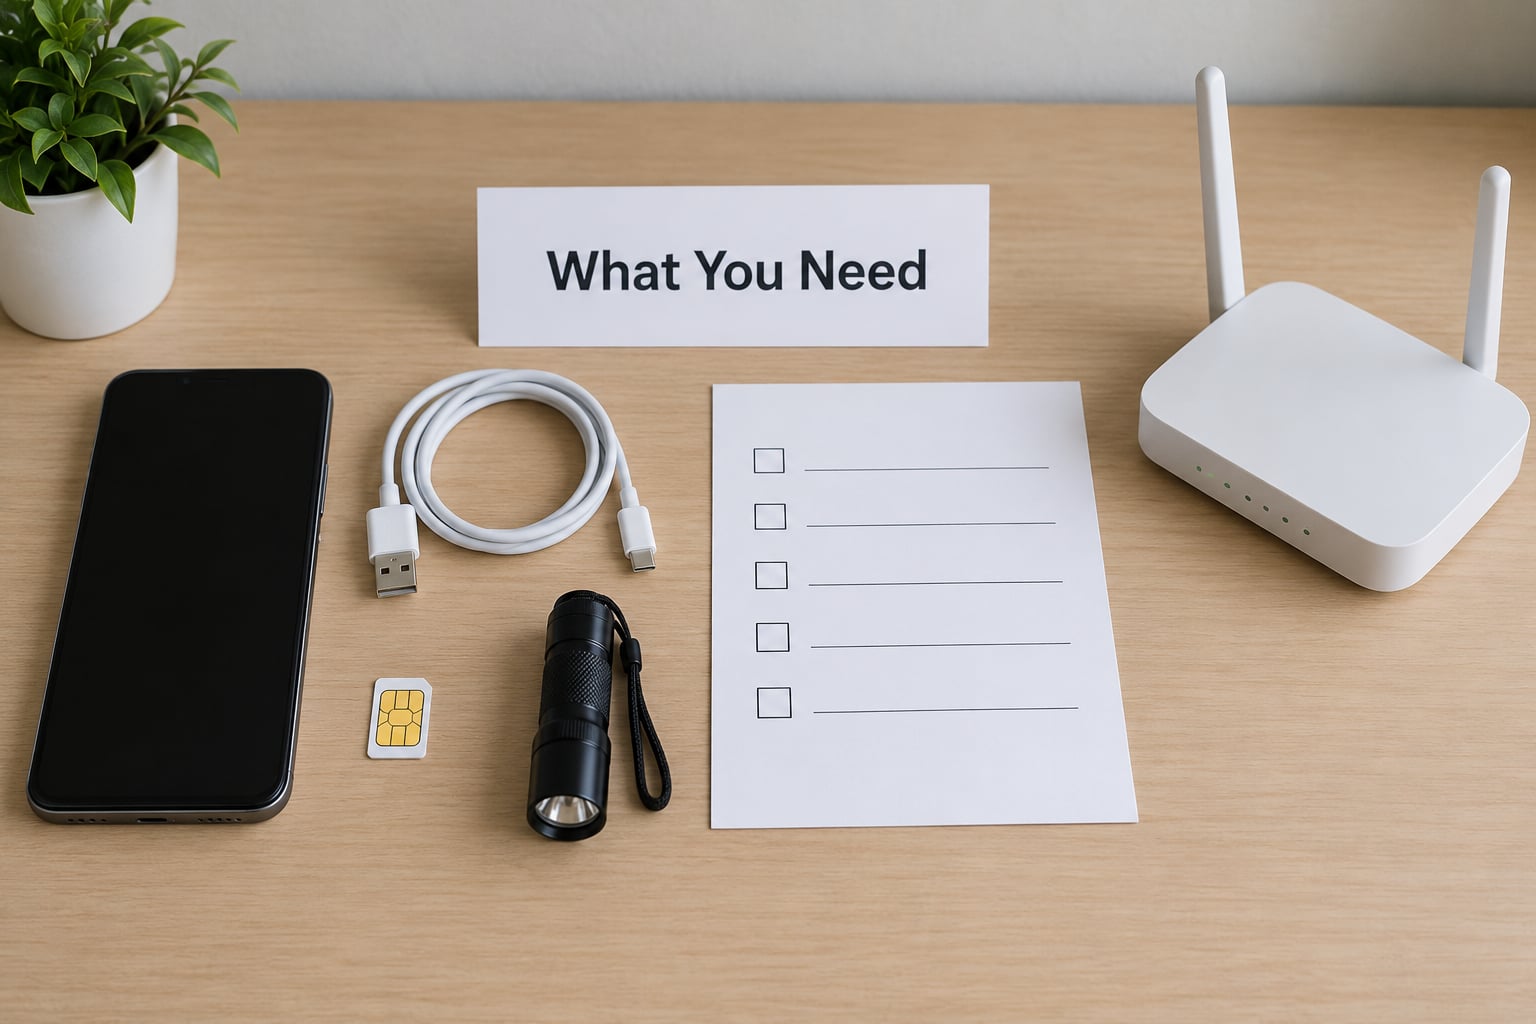
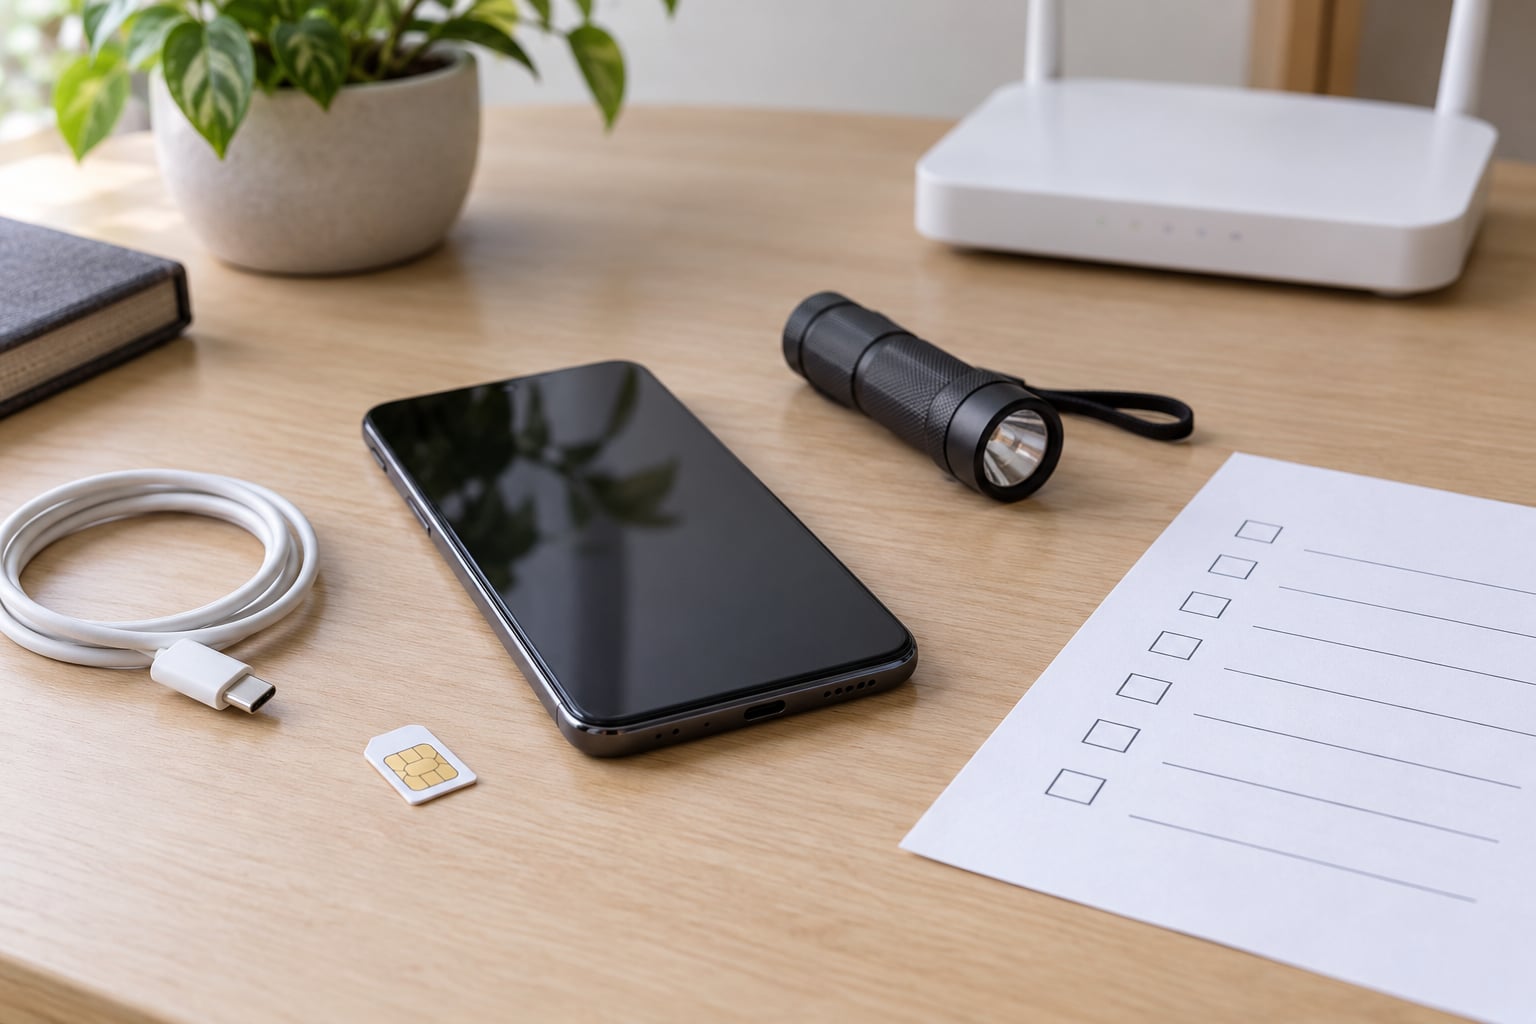
You need the phone, the charger and cable it shipped with, your SIM details or eSIM activation code, the original box with every accessory, and a stable Wi-Fi connection. A flashlight helps with ports and edges, and a second phone or computer makes comparison testing and file transfer checks possible.
Two things matter more than the hardware. The first is your order confirmation, receipt or retailer account page, which tells you the actual date the clock stops. The second is a SIM PIN if your carrier requires one, since a locked SIM can stall your network checks.
Start before the window closes. Sellers vary on what counts as day zero: delivery, purchase or activation, and only the seller’s policy settles it. Read the policy wording first and screenshot it.
How to Test a Phone Before the Return Window Closes: Step by Step
Document the device before you test it
Record the serial or IMEI number, the purchase date, the seller, the stated condition, the accessories included, the battery percentage and any visible damage. This takes two minutes and it becomes the baseline for everything after.
Take timestamped photos of the phone in the state it arrived, box included, before you power it on or move anything. If a fault shows up later, that earlier image shows the device was not damaged in your hands. Buyers who document problems with photos and screen recordings have far smoother returns than those who describe them from memory. If you are working out how to test a phone before the return window closes, do this first rather than after a morning of tapping through settings.
On iPhone, the identifier sits under Settings > General > About. On Android, dial *#06# for the IMEI, or check Settings > About phone > Status > IMEI. Compare it with the number printed on the box and the number on your order confirmation. A mismatch is a serious problem worth raising before you set the phone up at all.
Check the display, buttons, speakers, microphones, and cameras
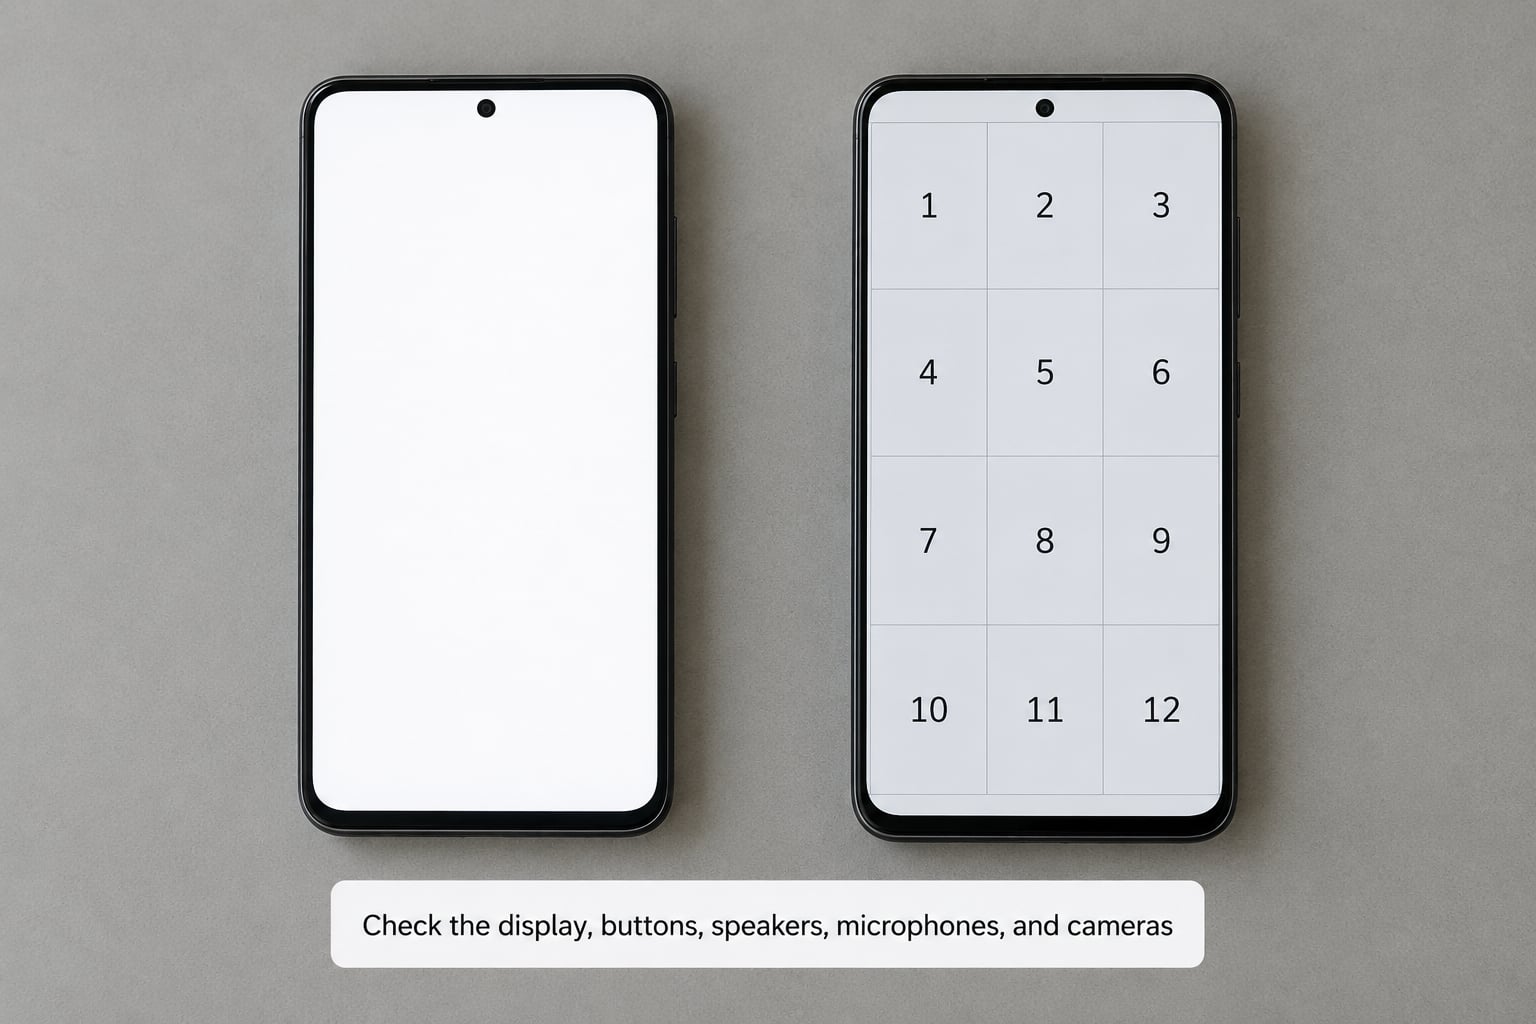
Open a solid white image, then a solid black one, then red, green and blue, and look at the screen in a dim room. Dead pixels stay black on white and bright on black, while stuck pixels show one wrong colour that never changes. A faint ghost image that fades within a minute of switching to a plain white screen is temporary image retention, which is normal on OLED panels, not burn-in.
Now test touch across the whole panel. Open any app with a grid and drag a selection from the top-left corner to the bottom-right, then repeat on the other diagonal. Screen-record this so you have proof of any dead zone. Check every button, the volume rocker, the power or side key, and the haptics if the phone has them.
Test audio both ways. Play something through the earpiece, the speaker, and any paired headphones or earbuds. Record a short voice memo or video clip to test the microphone, then play that clip back to confirm it captured cleanly. Crackle, dropouts or a call that cuts out on one end are reportable faults.
Work through each rear lens in turn by switching between them in the camera app, then take the selfie shot. Check autofocus by pointing at a nearby object, test the flash, the zoom, and video stabilisation by panning slowly. A lens with permanent haze or a photo that will not focus is a fault, not a style choice. Finish with Face ID or the fingerprint sensor, registering and unlocking several times in different lighting.
How to test a phone battery, charging and everyday performance
Plug the phone in with the supplied cable and adapter and watch the charge indicator appear. Wiggle the cable gently in the port; if charging cuts out, the port or connector is suspect. If the phone supports wireless charging, confirm it aligns and charges on a pad too. Let it run down through a normal day and note whether it drains far faster than you would expect.
Battery health numbers live in different places on each platform. On iPhone, open Settings > Battery > Battery Health & Charging. On Android, look under Settings > Battery or Settings > Device care > Battery, and check the vendor equivalents on Samsung and Pixel devices. On a new phone these should read near full capacity with a low cycle count, so anything showing meaningful wear is worth documenting.
Watch for overheating during normal use, especially while charging or recording video. A phone that is uncomfortably hot from simple scrolling is not something you should accept. Record the exact temperature warnings, restart notices, or performance slowdowns you see rather than describing them later from memory.
Verify Wi-Fi, cellular service, Bluetooth, GPS, calls, and apps
Connecting to a network proves very little. Open a video and let it buffer, then load a few pages with Wi-Fi switched off and mobile data running instead. Confirm the signal indicator shows the expected network type in your status bar, and check whether it holds steady rather than flipping between 5G and 4G.
Pair a Bluetooth accessory such as earbuds or a watch, play audio through it, and confirm both devices stay connected across a short walk. Test GPS in an open area or a maps app and check your reported position against the real one. Try a real phone call in both directions, send a text, and check that notifications arrive on all your usual apps.
Most people figuring out how to test a phone before the return window closes stop at the home screen, which is exactly where the reportable faults hide. Install the apps you actually use and watch for crashes or missing permissions. On both platforms the camera, microphone, location and Bluetooth permissions should behave normally; a phone that cannot open the camera app in a third-party app has a real software fault. If the network behaves oddly, reset network settings before you start pulling returns: on iPhone this is Settings > General > Transfer or Reset iPhone > Reset > Reset Network Settings, and on Android it sits under Settings > System > Reset options, Reset Wi-Fi, mobile and Bluetooth network.
Finally, confirm the phone is not tied to somebody else’s account. An iPhone showing a previous owner’s Apple ID at the setup screen, or an Android phone demanding a previous owner’s Google password, has an activation lock that will block a clean return. Resolve that before you go any further.
Common mistakes that can put a return at risk
Waiting until the final day. Faults like battery drain and intermittent charging often only show up after days of use, so a single late test is not enough. Work backwards from the deadline and test across several days.
Relying on a boot test. A phone that turns on and passes setup can still have a dead corner on the digitizer, a failing microphone or a worn battery. Go subsystem by subsystem.
Not documenting anything. Keep the photos, the screen recordings, and your serial number. Screenshots of the fault, the date and the order page are the cheapest insurance there is.
Testing through a case or a lifted screen protector. A tight case can kill touch input near an edge, and a lifting protector leaves a false dead band. Take the phone out, clean the screen with a dry cloth, and test again before you call it a fault.
Using a damaged charger or cable. A frayed cable can make a healthy port look broken. Test with the supplied accessories or a known-good set before logging a charging fault.
Skipping account removal. Leaving your accounts signed in, or leaving someone else’s lock on the device, is one of the fastest ways to get a return rejected. Sign out fully and factory reset only after testing is finished.
Changing settings without recording them. If you toggle developer options, change refresh rates or reset the network, note it. A setting you forgot can look like a fault to the person assessing the return.
Expecting a like-for-like replacement. A replacement unit is a fresh unit with its own new return window and its own faults to test. Start the whole process again from the document step.
Frequently Asked Questions
When should I start testing a phone I want to return?
Start as soon as the phone arrives, not when you notice a problem. Basic checks take 30 to 45 minutes and catch dead pixels, touch dead zones, faulty microphones and camera defects immediately, while drain and charging faults need a few days of ordinary use to show. Testing early also leaves room to go back to the seller with the problem fresh. If you only have a few days left, test the hardware first because that is where the most reportable faults sit.
How do I know if a phone has a battery problem before returning it?
Three signs point to a battery fault: it drains far faster than expected during ordinary use, it shuts down unexpectedly at a percentage that should still be available, or it becomes uncomfortably hot while charging or scrolling. On iPhone check Settings u0026gt; Battery u0026gt; Battery Health u0026amp; Charging. On Android look under Settings u0026gt; Battery or Device care u0026gt; Battery. On a new phone, meaningful wear or a high cycle count is worth documenting before you send it back.
Should I factory-reset a phone before sending it back?
Yes, and only after testing is complete. A factory reset removes your accounts, apps, photos and messages, which is what a seller expects and what protects you if the device is resold. Sign out of every account first, including Google or Apple, and remove any SIM or deactivate the eSIM. Keep the box, cable, adapter and any documentation the seller listed as included, because many policies require them with the return.
What if the phone has a carrier lock or activation lock?
A carrier lock means the phone will not work with another carrier’s SIM, which is normal if you bought it from a carrier on a plan. A previous owner’s account lock is different: the phone shows their Apple ID or Google password and cannot be erased or returned. Do not attempt to bypass it. Sign out if the account is yours, or contact the seller so they can remove the lock or take the device back as a locked unit.
How can I document a defect if I only have the phone and not the original box?
You can still build a usable record. Screen-record the fault happening, including the date shown on the phone, then take photos of the screen in a dim room with solid-colour images open. Note the serial or IMEI number, the order number and the date in writing, and keep your receipt or order confirmation email. Send it all in one message through the seller’s return channel so the timeline stays intact.
Does testing every function take too long before the return window closes?
No. A complete pass takes roughly 45 minutes, and you can split it across a couple of sessions. The display, touch, camera, audio and connectivity checks are quick and can be done in one sitting. Battery and charging behaviour is the only test that needs time, so start that early and check it again the day before your deadline. Once it is done, stop fiddling and file the return.
Conclusion
The first thing to do is write down your deadline and photograph the phone in the state it arrived. That single habit decides most returns, because it is the difference between a fault you can prove and a fault you have to describe. Then work through the checklist: display and touch, buttons and audio, every camera, charging and battery, connectivity, apps and identifiers. Record each fault as you find it rather than at the end.
Once testing is finished, sign out of your accounts, remove the SIM or deactivate the eSIM, factory reset the device and pack the accessories the policy lists. Then contact the seller while the return window is still open, and you will have the strongest possible case built from your own notes.