Bad audio is the fastest way to make a phone video look homemade, and the fix usually is not a pricier microphone. To record better audio when filming with a phone you control three things in order: how close the microphone sits to your mouth, how quiet and echo-free the room is, and what kind of microphone is doing the capturing.
Most of the improvement comes from distance and room treatment, not gear. Move the mic from arm’s length to six inches and the background hum drops away on its own. Fix the room and the echo goes with it. This guide covers both, plus the phone settings, monitoring habits, and editing steps that clean up whatever is left.
I have tested enough phone recordings to know the pattern: the takes people complain about are almost never ruined by the microphone. They are ruined by a fridge hum, a bare wall, or a cable scraping a shirt.
Table of Contents›
- What You Need
- Step-by-Step: How to Record Better Audio When Filming With a Phone
- 1. Choose a Quiet Recording Location
- 2. Set the Phone for Clean Audio
- 3. Place the Microphone Close to the Speaker: How Distance Fixes Phone Audio
- 4. Monitor While Recording
- 5. Record a Controlled Test Clip
- 6. Film With Stable Technique
- 7. Check and Edit the Final Audio
- Common Mistakes
- Frequently Asked Questions
- Can I use wired earbuds to record better audio with my phone?
- Is it better to record video and audio separately on a phone?
- How do I reduce echo when recording audio indoors?
- Are Bluetooth headphones good enough for monitoring phone recordings?
- How do you fix phone audio that is too quiet or distorted?
- Do I need an external microphone to get good sound quality on a phone?
- Conclusion
What You Need
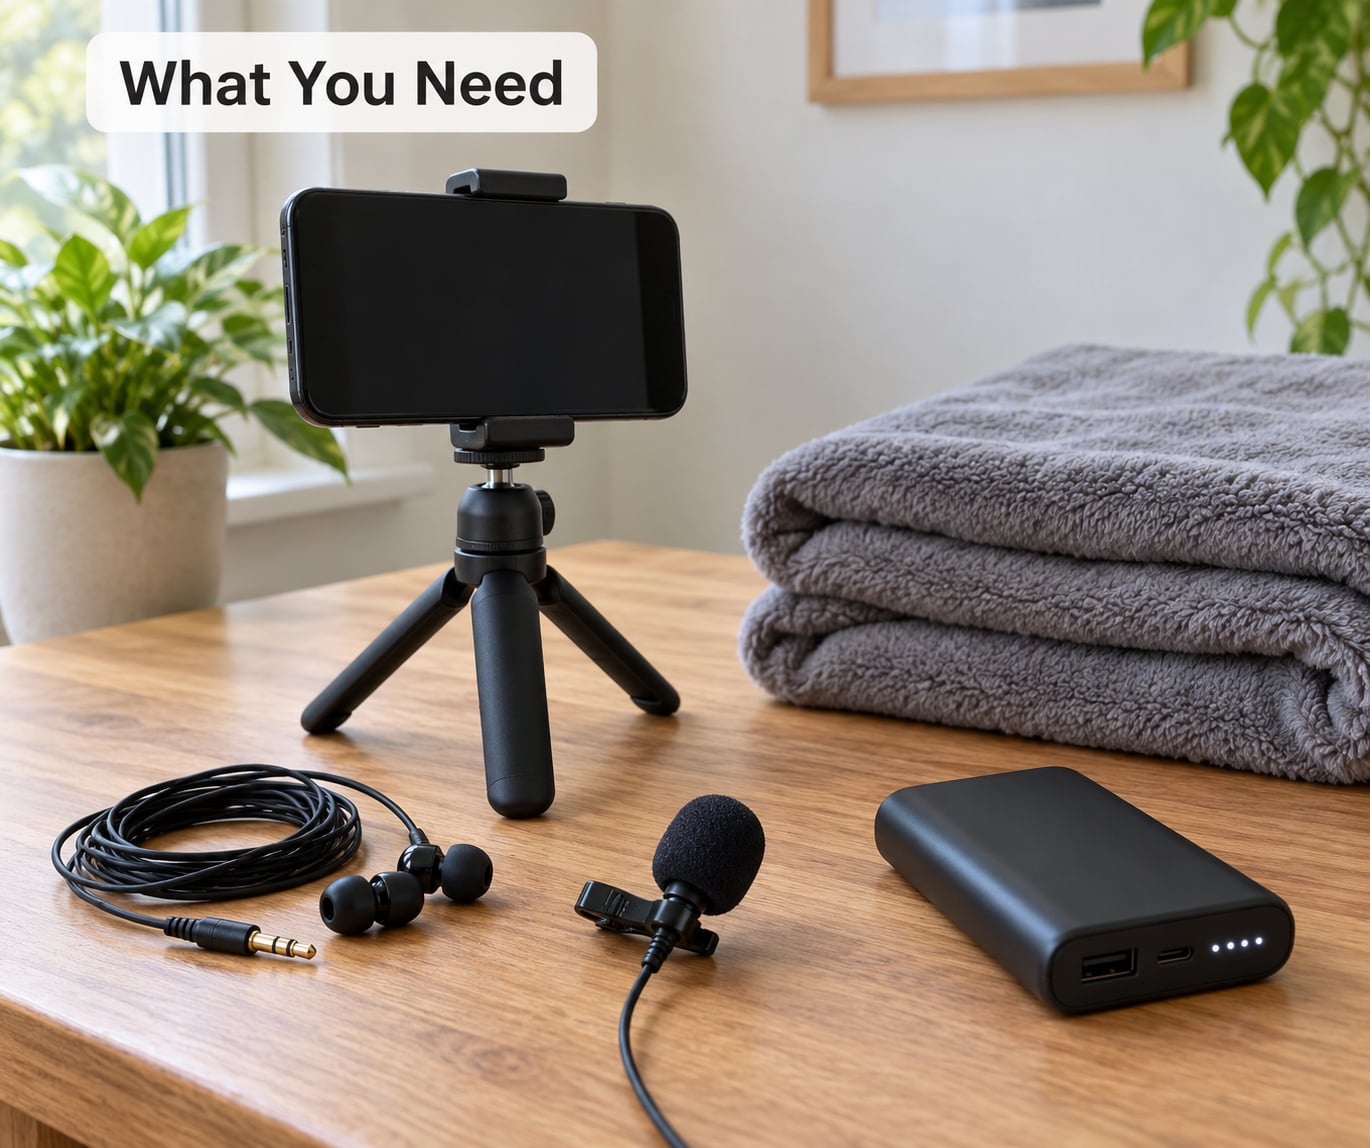
Start with what you already own. A phone with reasonable free storage, a pair of wired headphones, and a room you can quiet down will carry you through most talking-head and vlog work without spending anything.
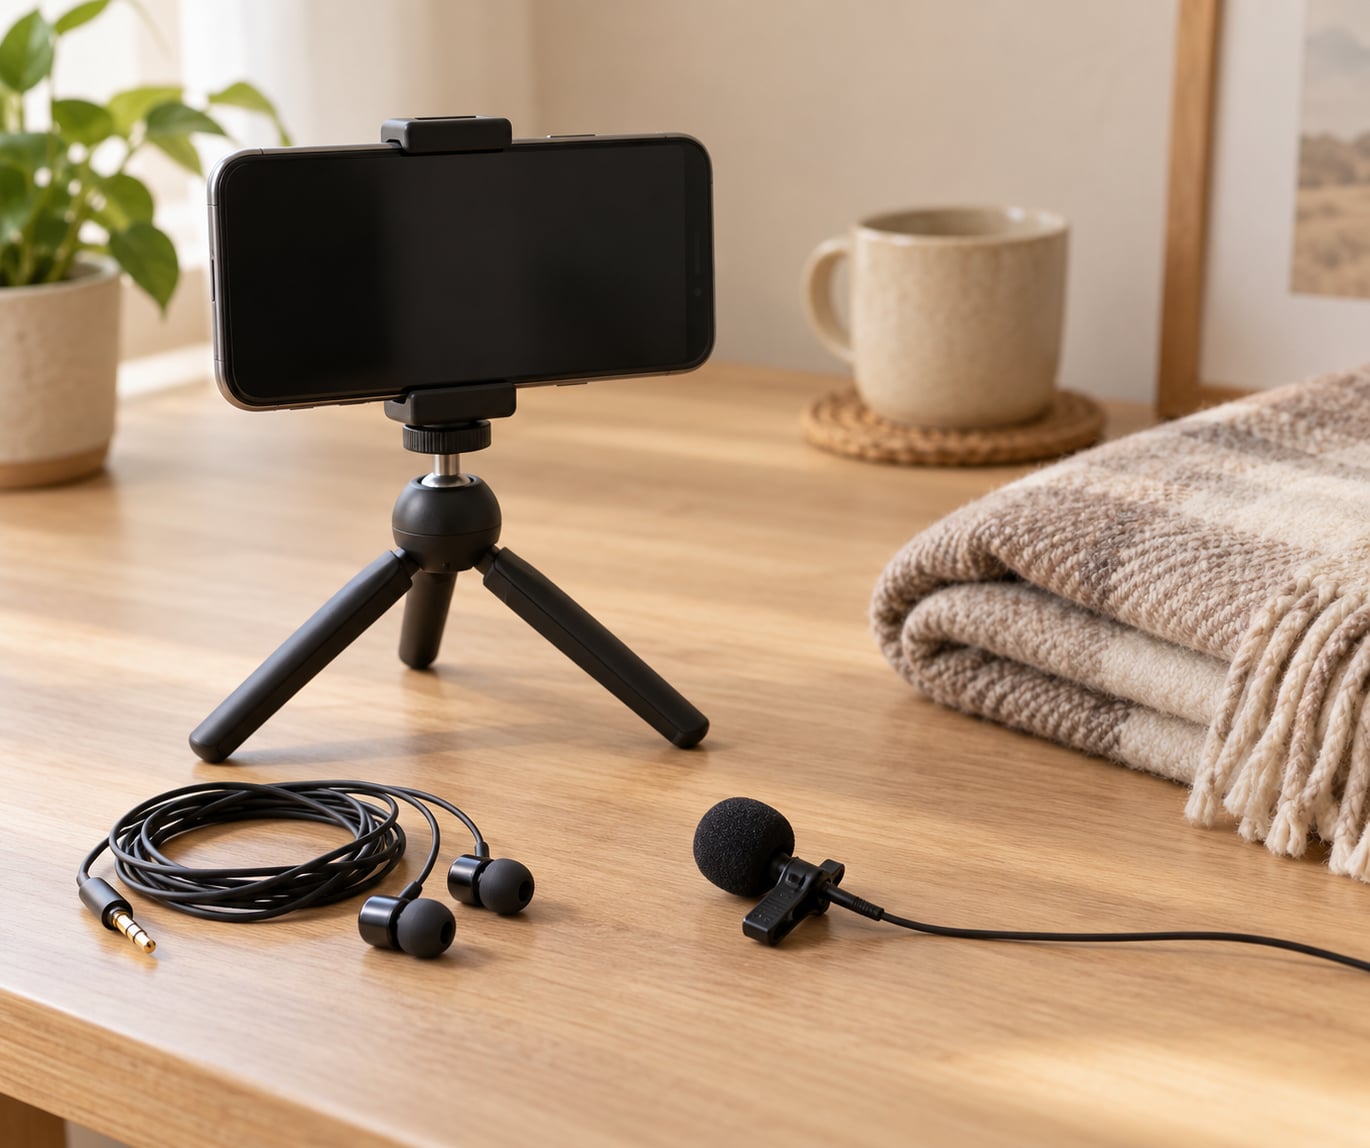
The optional upgrade is a clip-on lavalier microphone with a wired connection. It costs less than a takeout dinner and it puts the capsule at your chest instead of across the room. A second optional item is a fuzzy windscreen for any outdoor work, and a small tripod or phone clamp helps because a moving phone rubs against itself and picks up every knuckle knock.
Exact controls differ by phone model, camera app, and app version, so treat menu names below as a map rather than a guarantee. On iPhone the useful tools live in the native Camera and Voice Memos apps and in Settings. On Android the stock camera app and the device’s sound recorder cover the same ground, and some brands bury extra audio options inside their own camera modes such as Pro or Video stabilization.
Step-by-Step: How to Record Better Audio When Filming With a Phone
1. Choose a Quiet Recording Location
Find the quietest room you have and treat every continuous hum as your enemy. Air conditioners, ceiling fans, refrigerators, washing machines, and open windows all sit right where a phone mic can pick them up, and a phone mic picks up everything equally.
Close windows and doors, switch off fans and appliances you can live without for twenty minutes, and keep other people out of the room while you record. Bare walls, tile, glass, mirrors, and empty corners reflect your voice back at you, which is what people call echo. A bedroom with a bed, a closet full of clothes, or a corner draped with a heavy blanket all work better than a tiled kitchen.
You will know it worked because a ten-second test clip played back on headphones gives you clear speech and a low, steady floor of silence. If you can hear a hum, a fan, or a long tail after you stop talking, the room is not ready.
2. Set the Phone for Clean Audio
Turn off interruptions before you record. Airplane mode silences calls, texts, and notification chimes on iPhone, and on Android the equivalent is Do Not Disturb plus Airplane mode. A single notification sound landing mid-sentence ruins the take, and you will not hear it coming if you are not wearing headphones.
Check that your storage is not nearly full, because a phone that runs out of space mid-record can drop the audio track or end the file early. Then use the native camera app rather than a social app’s in-app capture button. The social apps usually re-encode and compress what they record, which strips the audio quality you just worked for.
If your phone offers an audio quality or format setting inside the camera app, pick the highest option. If it offers a microphone direction or stereo toggle, turn it off so the app records a single clean channel. Stabilization modes are for movement and do not change audio, though on some models they reduce handling noise by keeping the microphone grille pointed away from your grip.
Lock exposure and focus if your camera allows it, because a refocus mid-sentence can nudge the automatic gain and change your volume.
3. Place the Microphone Close to the Speaker: How Distance Fixes Phone Audio
Distance is the single biggest lever, and it is free. The rule of thumb is that a phone’s built-in microphone handles a subject at about 18 to 24 inches in a quiet room, and any further than that the room noise starts to catch up with your voice.
The 3:1 rule from film audio says a second microphone should sit three times farther from the subject than the first one. With a phone it works in reverse: whatever you add, the main microphone you actually use should stay close. A lavalier clipped to your collar, six inches from your mouth, beats a shotgun microphone on a tripod across the room every time in a normal apartment.
Here is what closeness means in practice by shot type:
- Interviews and talking head: clip the lav to your collar, tap it so it does not rub fabric, and keep it pointing at your mouth rather than straight out.
- Vlogging and walk-and-talk: wired earbuds with an inline mic keep the capsule at your jaw. Wireless clip-ons do the same without a cable down your shirt.
- Product demos and unboxings: the sound is your voice, so keep the mic on you, not near the product. Move the phone, not the microphone.
- Distant subjects and wide shots: get physically closer. A phone cannot pull clean dialogue from six feet away in a live space, and no accessory changes that.
Keep the microphone grille clear. Most cases cover the bottom mic openings, and a hand wrapped around the lower third of the phone blocks the same openings.
4. Monitor While Recording
Put on wired headphones and listen to every take. Monitoring is the only way to hear what is actually landing in the file, because the tiny speaker on the back of your phone cannot reveal hiss, clipping, or a faint hum.
Listen for four things. Clipping sounds harsh and crackly when a loud syllable hits the maximum level. Hiss is a constant fizz that disappears when you stop speaking. Wind is a low rumble that swells with movement. Feedback is a rising squeal that happens when an open speaker and an open microphone sit close together, which is why you never monitor through the phone speaker.
If you cannot monitor, watch the on-screen audio meter in the camera app while recording, or open a sound meter app beforehand to learn what a normal speaking level looks like in that room. The fix for a level that runs too hot is simple: move the microphone a little farther away. The fix for a level that runs too low is closer, not louder.
5. Record a Controlled Test Clip
Before any real take, record ten to fifteen seconds of speech at your normal volume and playing distance. Play it back through wired headphones in a quiet spot.
A good test clip has speech that sounds close and present, a room with a low even floor, and a silence between your sentences that is not a cavern. If the silence rings, the room is too reflective. If you can hear the microwave, the room is too noisy. If your voice sounds distant and thin, you are too far away. Adjust one variable and repeat.
The same test is worth running in a new location, because a room that sounded fine standing still can reveal a fridge cycling on two minutes later.
6. Film With Stable Technique
Handling noise is the quiet killer of phone audio. Every squeak, grip shift, and cable tug lands in the recording as a burst of rustling that is distracting at any level.
Hold the phone with two hands, or mount it. Touch the frame, not the body. Move your hand before you take a breath, not while you are speaking. Keep a wired lavalier cable clipped to your clothing with tape or a small tie so the connector cannot knock the capsule, and route it under clothing where movement is lowest rather than over a collar.
For interviews and tutorials, record the voice separately. Keep the phone locked off on a stand for picture, then record your voice with the phone’s own recorder app or a second device held steady at mouth height. That one habit removes handling noise and grip blocking from your audio entirely, and it costs nothing.
7. Check and Edit the Final Audio
Watch the finished cut with headphones before you upload. On a phone screen you will miss problems that listeners hear immediately.
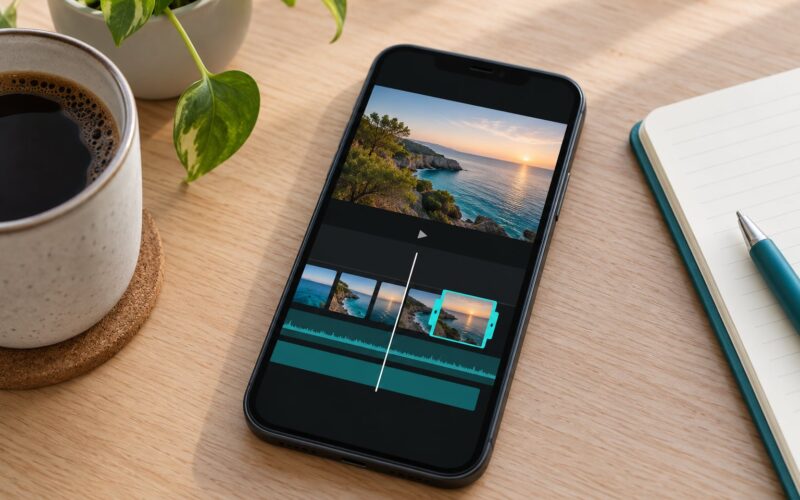
Start by keeping the original file. Trim dead air, cut the room’s worst gaps, and then apply gentle noise reduction, a few decibels at a time. Heavy noise reduction is where beginners damage audio, because it hunts for anything that is not speech and smears it into a watery, robotic hiss. Reduce less than you think you need.
Normalize dialogue so it sits consistently loud, then bring music and sound effects down until they sit under the voice rather than beside it. If the audio is clipped from the original take, no amount of editing restores it, which is why the recording stage matters more than the edit stage.
Common Mistakes
Almost every bad phone recording traces back to one of these, and each has a straightforward correction.
- Filming in a noisy room. Fix: close doors and windows, switch off fans, air conditioning, and appliances, and reschedule around known noise like school pickup or a washing cycle.
- Leaving the microphone across the room. Fix: get the capsule within about six inches of your mouth. Move the phone to fit the shot rather than the mic to fit the phone.
- Relying on the built-in microphones at long range. Fix: clip on a lavalier, or record the voice separately and sync it in the edit.
- Covering the microphone grille. Fix: check that your case and your hand leave the bottom and top mic openings clear.
- Recording without headphones. Fix: monitor with wired headphones so hiss, clipping, and room noise reach you during the take instead of after the upload.
- Speaking too loudly into the microphone. Fix: hold a normal speaking volume at a normal distance. Blowing past the capsule creates plosives, and loud syllables clip the recording into distortion.
- Leaving the phone in a fixed spot while the subject moves. Fix: keep a consistent distance, because automatic gain hunting makes the volume swell and dip whenever the level changes.
- Using aggressive noise reduction. Fix: reduce gently in small steps, and normalize instead of pushing overall volume to maximum.
- Recording long single takes. Fix: break a long shoot into short clips. Phones can drift a fraction of a second out of sync over a long recording, and short takes keep the drift under a frame and easy to correct.
- Shooting outdoors with no wind protection. Fix: cover the microphone with a foam windscreen and speak slightly to one side of it so gusts hit the foam instead of the capsule.
Frequently Asked Questions
Can I use wired earbuds to record better audio with my phone?
Yes. Wired earbuds are usually better than relying on a phone’s built-in microphone because their microphone capsules sit closer to your mouth. Keep the earbud microphone unobstructed, speak toward it, and hold the wire so it cannot tap the phone or rub your shirt. They are a free upgrade and a good first step before buying anything.
Is it better to record video and audio separately on a phone?
For interviews, tutorials, and vlogs, separate audio gives a cleaner result because the phone can stay in a stable video position while a lavalier microphone stays near the speaker. Sync in your editor using a clap or a sharp finger snap visible on camera. Short clips also limit drift on long recordings.
How do I reduce echo when recording audio indoors?
Choose a room with soft items such as curtains, rugs, bedding, or upholstered furniture, and avoid bare walls, glass, tile, and empty corners. A closet full of clothes or a corner draped with a heavy blanket also works. Put the microphone closer to the speaker, speak at a natural volume, and keep the recording distance fixed.
Are Bluetooth headphones good enough for monitoring phone recordings?
Bluetooth can add wireless delay, codec noise, or connection dropouts, so it is not ideal when judging precise levels or timing. Wired headphones are more reliable for monitoring. If Bluetooth is all you have, it still beats no monitoring at all for catching hiss and a hum, just not for judging exact volume.
How do you fix phone audio that is too quiet or distorted?
Too quiet means the microphone is too far away, so move it closer rather than raising the volume later. Distortion means the level clipped during recording and cannot be repaired. Distorted audio needs a retake with the microphone a little farther away, and with a foam windscreen if you were speaking very close.
Do I need an external microphone to get good sound quality on a phone?
Not always. Recent flagships have capable built-in microphones that work well in a quiet room at about 18 to 24 inches. You will need an external microphone for anything louder than a quiet room, for two people, or for any shot where the subject is far from the phone. Distance and room treatment come first.
Conclusion
If you do five things before you record, most of the bad audio disappears. Move to the quietest room you have and kill the fans, the air conditioning, and the fridge hum. Put the best microphone you have as close to your mouth as you can, and if that is the phone itself, get inside eighteen inches.
Then switch the phone to airplane mode or Do Not Disturb, put on wired headphones, and record fifteen seconds of test audio before the real take. Watch the meter, listen for the room, and you will get better phone audio than most published video made with far more expensive equipment.