ADB is a free command-line tool from Google’s Android SDK that lets you control a phone or tablet from your computer: install apps, move files, capture screenshots, read system logs and restart the device. Learning how to use ADB for beginners takes about 20 minutes of setup, and you do not need a rooted phone or any prior command-line experience. You type one line at a time, you see the phone’s answer on screen, and you stop when you have what you need.
Below is the walkthrough I wish someone had handed me on day one: what to download, where the file goes on each operating system, how to read the output of adb devices, and what to do when the phone does not show up at all. Menu names shift a little between manufacturers and Android versions, so where wording differs I have said so.
Table of Contents›
- What You Need
- Step-by-Step
- 1. Prepare Your Android Phone or Tablet
- 2. Download and Install Android Platform Tools
- 3. Connect the Device and Confirm It Is Detected
- 4. Run Your First ADB Commands
- 5. Install an APK and Access App Details
- 6. Transfer Files and Use Basic App Management
- Common Mistakes
- Frequently Asked Questions
- Is ADB safe to use on an Android phone or tablet?
- Do I need to root my Android device to use ADB?
- Why does adb devices show my device as unauthorized?
- Can I use ADB wirelessly instead of a USB cable?
- What is the difference between ADB and Fastboot?
- Conclusion
What You Need
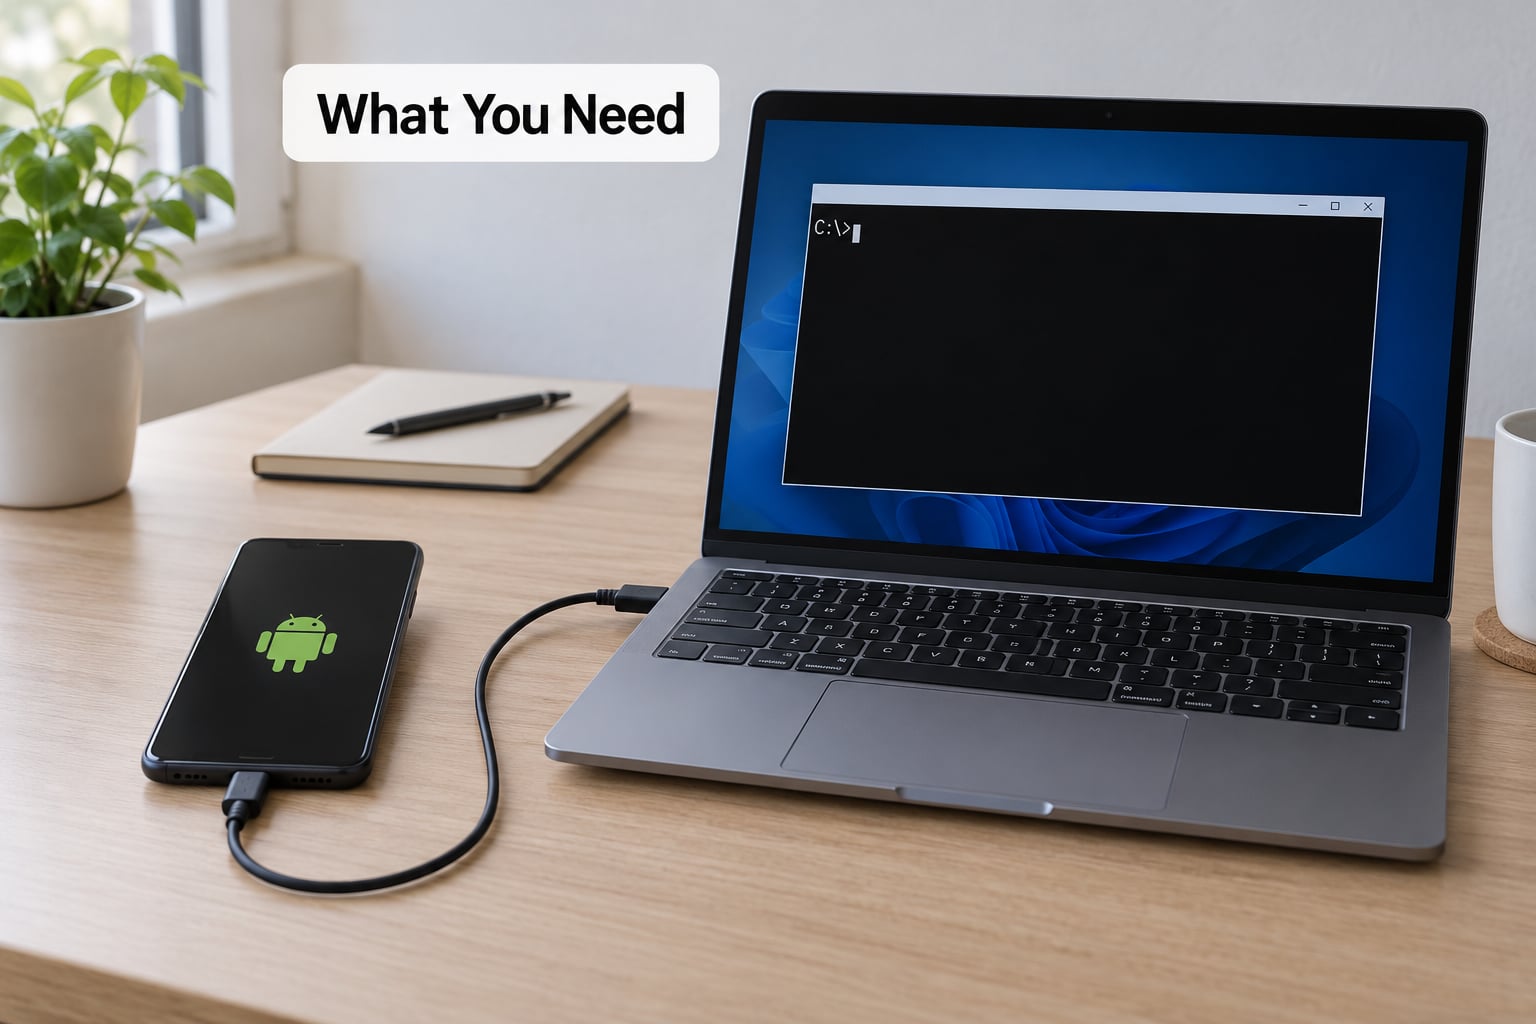
Four things, and only one of them is a download.
- An Android phone or tablet running Android 5.0 or newer. ADB works on both phones and tablets, and it works on stock Android as well as Samsung, Xiaomi, OnePlus and other skins.
- A computer running Windows, macOS or Linux. A Chromebook works through Linux, and Windows 10 and 11 are the usual starting point.
- A USB data cable. This is where most beginners get stuck. Many cables sold with phones charge only and carry no data, so the computer never sees the device at all. If your phone charges but nothing appears in
adb devices, swap the cable before anything else. - Android SDK Platform-Tools, a small zip file from Google that contains the
adbprogram. The download is only a few megabytes and extracts to roughly 30 MB once unzipped.
No rooting, no Android Studio, and no paid software. If you only want to try one command, that is enough.
Step-by-Step
1. Prepare Your Android Phone or Tablet
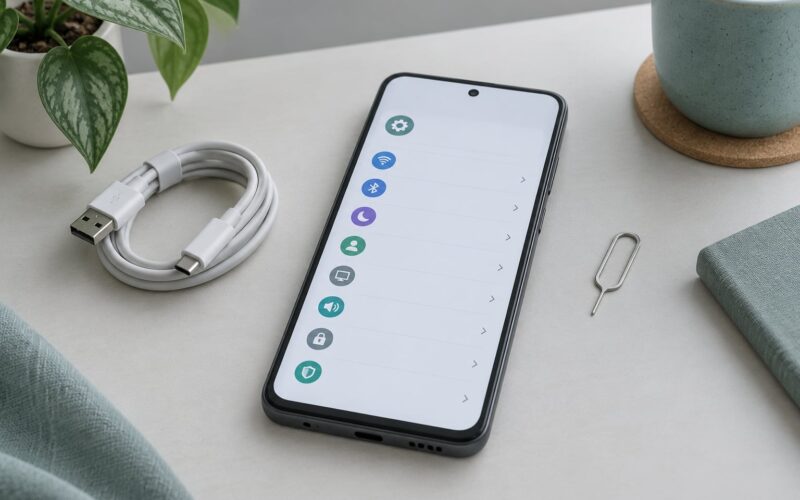
ADB stays switched off until you unlock Developer options and turn on USB debugging. The path is usually Settings, then About phone, then tap Build number seven times. Android asks for your lock-screen password, then a short message confirms that Developer options are unlocked.
The exact labels vary. Samsung usually puts it under Settings, About phone, Software information, Tap build number seven times. Xiaomi and Redmi bury it in About phone, then MIUI version. OnePlus keeps Build number in the top block of About phone. Nothing changes if you cannot find it: search Settings for the word “build”.
Now go back to Settings and find Developer options, usually near the bottom of the system section. Turn on USB debugging. Read the warning dialog before accepting it: this switch lets a computer run commands on your phone, which is why it is off by default.
Samsung adds a second switch, USB debugging (Security settings), which lets you sideload certain apps. Xiaomi requires USB debugging (Security settings) before adb install will do anything. On a Samsung, the Knox counter trips to a permanent warning if you flash a bootloader, and that cannot be undone, so keep that in mind before any fastboot step.
2. Download and Install Android Platform Tools
Get Platform-Tools from Google’s own page at developer.android.com/tools/releases/platform-tools rather than from a mirror or forum attachment. The download is a zip file that contains a folder called platform-tools. Unzip it somewhere you will not tidy away, such as your user folder.
Windows. The zip gives you a platform-tools folder containing adb.exe, fastboot.exe and a handful of DLLs. Open that folder, click the address bar in File Explorer, type cmd and press Enter. A Command Prompt opens with your platform-tools path already in it, which saves typing. You can also drag the folder onto an open terminal window to paste the path.
macOS. Unzip the archive and open Terminal. Run cd followed by the path to your extracted folder, then run ./adb version. The dot matters: macOS will not run an executable from the current folder without it. Homebrew users can skip the manual steps with brew install --cask android-platform-tools, which puts adb in your PATH properly.
Linux. Ubuntu and Debian ship it as adb in the standard repositories: sudo apt install adb. On other distributions, or if you prefer the Google build, unzip the archive and make the binaries executable with chmod +x adb fastboot.
To avoid typing the folder path forever, add platform-tools to your PATH variable so adb works from anywhere. On Windows, search “environment variables”, edit the PATH under User variables, and add the full path to your platform-tools folder, ending with a semicolon. On macOS and Linux, add an export line to your shell profile. Close and reopen the terminal afterwards.
If Windows says 'adb' is not recognized as an internal or external command, the PATH edit did not take. Open a brand new terminal window and try again; if it still fails, use the full path, for example C:platform-toolsadb.exe devices.
3. Connect the Device and Confirm It Is Detected
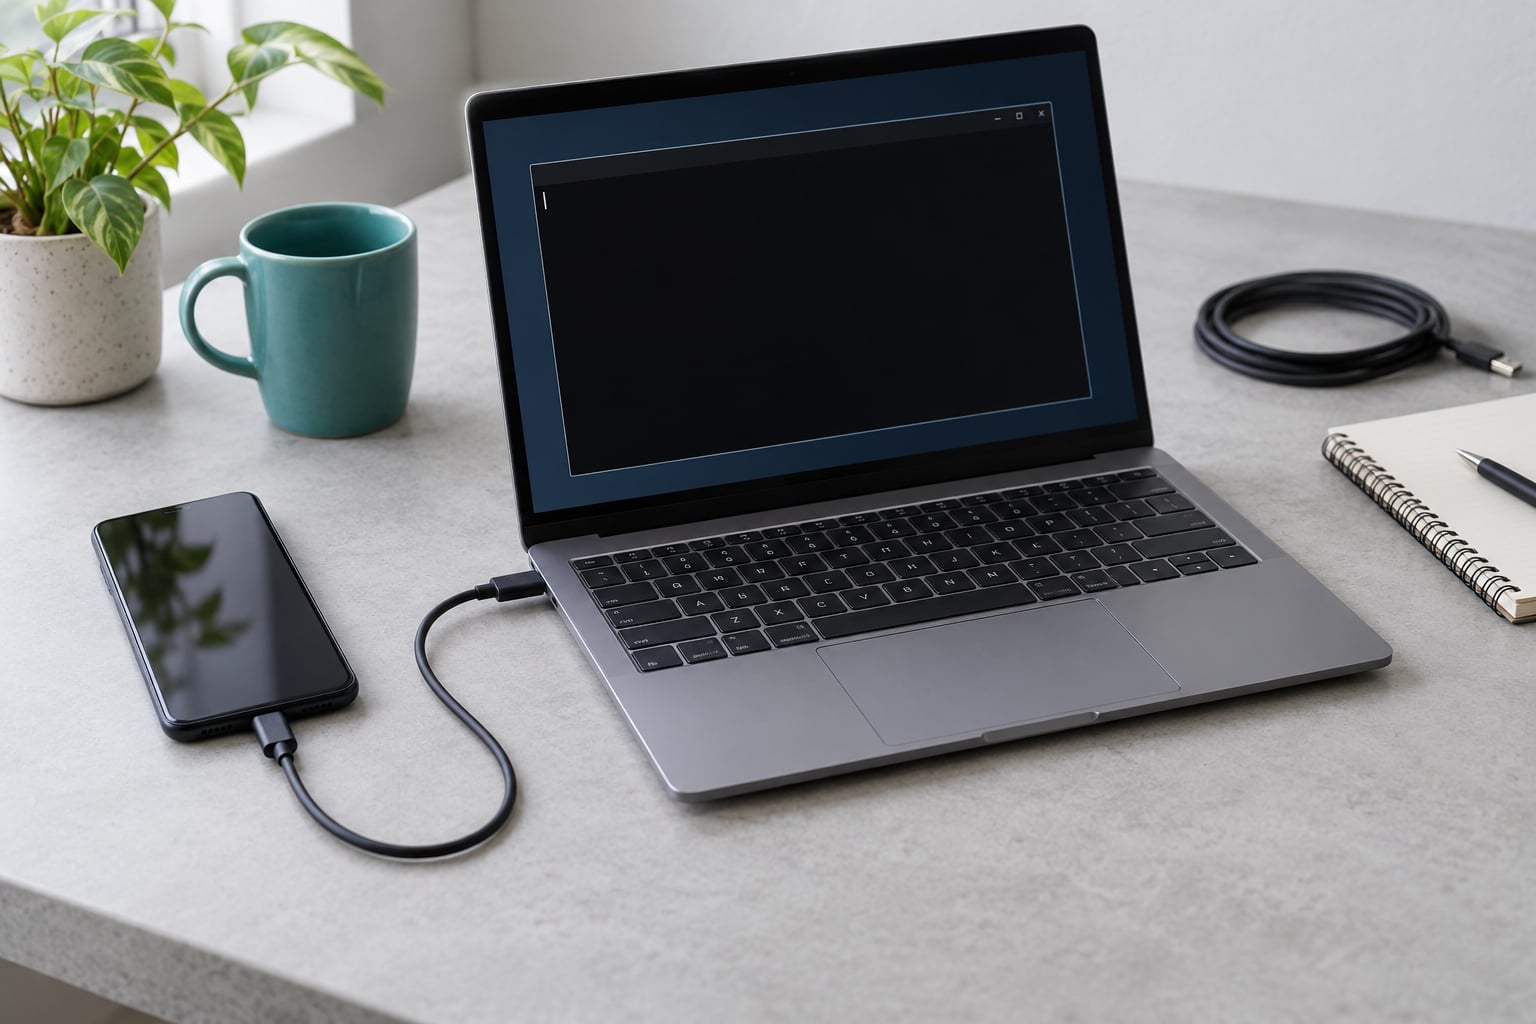
Plug the phone into a port on the computer that is wired directly to the motherboard. USB hubs, docks and front-panel ports are the usual suspects when a device refuses to appear. On the phone, pull down the notification shade and pick File transfer from the USB mode options, since the default charging-only mode hides data from the computer.
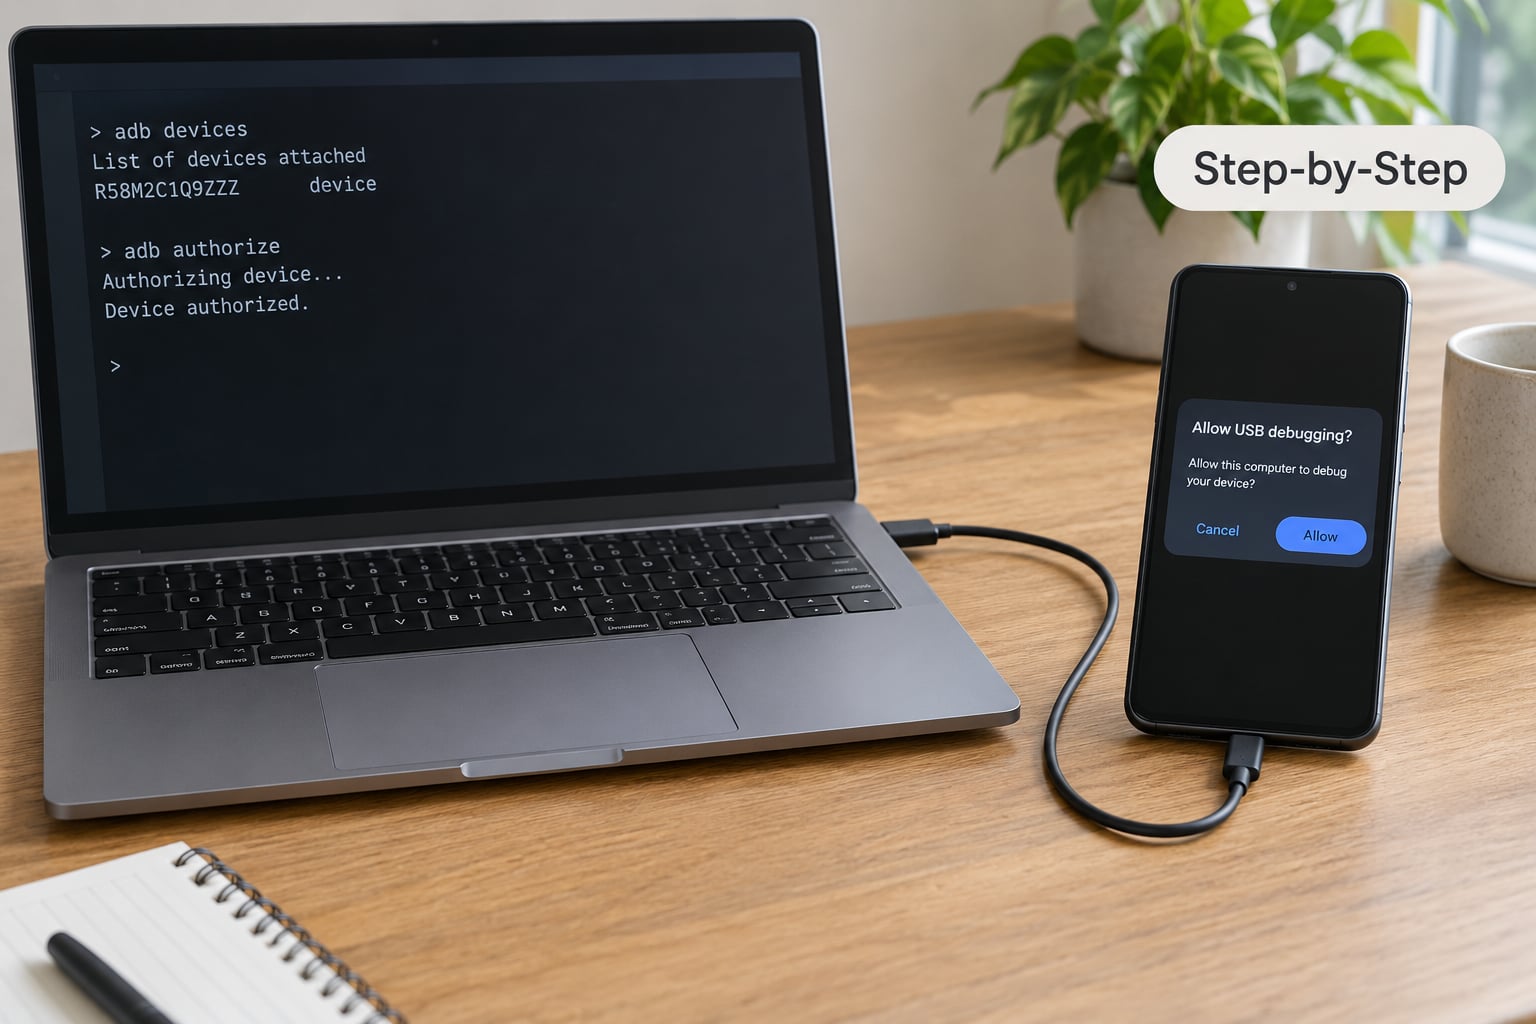
Run adb devices. A working connection looks like this:
List of devices attached
R5CT30ABCDE            device
The long string is your device serial number, and the word device at the end is the important part. The other words you will eventually meet are unauthorized, meaning you have not approved the RSA fingerprint prompt on the phone, and offline, meaning the connection dropped and needs resetting with adb kill-server followed by adb start-server.
If two phones or a phone plus an emulator are connected, each command needs a target: adb -s R5CT30ABCDE shell getprop tells that exact device what to do. Emulators usually appear as emulator-5554, which is a serial number too, not an error.
4. Run Your First ADB Commands
Start with read-only commands. They change nothing, so they are impossible to regret.
| Command | What it gives you |
|---|---|
adb version | The version of platform-tools running on your computer |
adb shell | Opens a shell prompt on the phone itself; type exit to come back |
adb shell getprop ro.product.model | The exact model string, a good confirmation you are talking to the right phone |
adb shell pwd | The current directory on the device |
adb shell ls | Files in that directory |
adb shell pm list packages | Every installed app package name |
adb logcat | A live stream of system logs; press Ctrl+C to stop |
adb --help | The built-in list of everything adb can do |
Running adb shell puts you inside the phone, where the full Unix toolkit is available. From there ls, cat, ps, df and dumpsys battery all work. I like adb shell dumpsys battery for checking real battery health figures rather than the rounded ones the settings screen shows.
5. Install an APK and Access App Details
Point adb at an APK on your computer and it installs to the connected phone:
adb install myapp.apkLook for Success on the next line. Without -r the install fails when the app already exists on the device, since adb refuses to overwrite silently. Add -r to replace an existing copy. Some APKs need -d if they are built for an older Android version.
The package name is the identifier you use everywhere else: adb shell pm list packages prints a long list such as com.example.notes, and you can filter it with findstr on Windows or grep on macOS and Linux. Launch an installed app with adb shell am start -n com.example.notes/.MainActivity.
To remove an app for the current user only, adb shell pm uninstall --user 0 com.example.app disables it and frees its space while leaving the system files intact, so it can be restored with cmd package install-existing. Read the package name twice before you type it. The full adb uninstall form deletes the app itself.
6. Transfer Files and Use Basic App Management
Copying a photo off the phone:
adb pull /sdcard/DCIM/photo.jpg C:UsersYouDesktopPushing a file the other way:
adb push notes.txt /sdcard/Download/Both commands print the transfer percentage, so you can tell a finished transfer from a stalled one. Paths with spaces need quotes on both Windows and macOS shells.
A couple more that come up constantly: adb shell screencap /sdcard/shot.png followed by adb pull /sdcard/shot.png grabs a screenshot, and adb shell screenrecord /sdcard/video.mp4 records the screen until you press Ctrl+C. adb shell pm clear com.example.app wipes one app’s data back to a fresh install, and adb reboot restarts the phone. To disconnect cleanly, run adb disconnect for Wi-Fi sessions or unplug the cable.
Wireless debugging on Android 11 and newer works the same way. Open Developer options, tap Wireless debugging, then Pair device with pairing code, and on the computer run adb pair 192.168.1.50:37123 and type the six-digit code. Afterwards adb connect 192.168.1.50:5555 joins the device and adb devices lists it like a cabled phone. On older Android versions, run adb tcpip 5555 once over USB first.
Common Mistakes
Almost every beginner problem on the forums reduces to one of these strings.
| What you see | What it means | Fix |
|---|---|---|
'adb' is not recognized | platform-tools is not on your PATH | Add the platform-tools folder to PATH, reopen the terminal, or run the full path to adb.exe |
| Empty list under List of devices attached | No device is talking to the computer | Swap in a data cable, try a motherboard USB port, set USB mode to File transfer, check Device Manager for an unknown device |
unauthorized | The RSA fingerprint prompt was never accepted | Unlock the phone, accept the prompt, or revoke USB debugging authorizations in Developer options and replug |
offline | The adb server lost the connection | Run adb kill-server then adb start-server, replug, and try again |
adb: error: failed to get feature set | Version mismatch between platform-tools and the phone | Download the newest platform-tools, then kill-server and restart |
INSTALL_FAILED_UPDATE_INCOMPATIBLE | An existing copy was signed by a different key | Uninstall the old app first, then install the new APK |
| Install does nothing on Xiaomi | The extra security toggle is off | Turn on USB debugging (Security settings) and sign in to a Mi account |
On the safety side, some commands are destructive and none of them are needed to get started. adb root and adb remount fail on a stock phone anyway. Sideloading the wrong firmware, wiping partitions, or removing system packages by hand can leave a phone that will not boot, and recovery usually means downloading the exact firmware your model number requires. Read a path twice before you type a rm, and start with read-only commands until the phone has behaved itself for a few sessions.
One habit worth building early: switch USB debugging back off in Developer options when you finish. On Android 8 and newer the toggle only authorises a computer while the screen is locked, which is the setting I leave mine on.
Frequently Asked Questions
Is ADB safe to use on an Android phone or tablet?
Yes, as long as you download platform-tools from Google’s official developer site and stick to read-only and everyday commands. ADB can do anything a rooted phone can, so the risk sits with destructive commands like wiping partitions or sideloading the wrong firmware, not with ADB itself. Keep USB debugging switched off when you are not using it.
Do I need to root my Android device to use ADB?
No. Rooting is a separate operation that unlocks the Android system partition, and most ADB beginners never need it. Installing apps, transferring files, screenshots, logs, app data clearing and wireless debugging all work on a stock phone. Only tasks that modify system files require root, and those are exactly the ones worth avoiding when you are new.
Why does adb devices show my device as unauthorized?
The phone has not approved the computer yet. Unlock the screen, look for the Allow USB debugging dialog with an RSA fingerprint, tick Always allow from this computer and tap Allow. If no dialog appears, go to Developer options, tap Revoke USB debugging authorizations, unplug the cable, and reconnect. It usually shows up within a second or two.
Can I use ADB wirelessly instead of a USB cable?
Yes, on Android 11 and later. Open Developer options, choose Wireless debugging, then Pair device with pairing code, run adb pair with the IP and port shown, and type the six-digit code. Pairing expires within seconds, so have it ready. Older versions need adb tcpip 5555 over USB once before adb connect will work.
What is the difference between ADB and Fastboot?
ADB talks to a running Android system and can install apps, move files and read logs. Fastboot runs before Android loads and is used for firmware-level jobs like unlocking the bootloader and flashing images. ADB is the everyday tool; fastboot only matters when you are flashing or recovering, and unlocking a bootloader can void your warranty and trip Knox on Samsung.
Conclusion
Install platform-tools from Google’s developer site, unlock Developer options and turn on USB debugging, connect with a data cable, and run adb devices until you see a serial number followed by device. That single line is the whole checkpoint: until it says device, nothing else will work.
Then begin with adb shell getprop ro.product.model and adb shell pm list packages. Learn to use adb for beginners by reading output, not by memorising commands, and hold off on installs, transfers and anything that erases until the read-only ones feel boring.