A charging port clogs with pocket lint, dust and residue, and once debris packs down against the contact pins your phone or tablet charges slowly, intermittently, or not at all. To clean a charging port safely, power the device off, inspect it with a flashlight, loosen compacted debris with a wooden toothpick, blow out loose particles with short bursts of compressed air, then lightly wipe residue with a cotton swab dampened with 90%+ isopropyl alcohol and let the port dry for 5 to 10 minutes. The whole job takes about ten minutes and needs no tools you don’t already own.
The reason it matters is that a cable has to seat firmly to deliver power. A wad of compressed fuzz in the bottom of the port holds the plug off the pins, and on a USB-C or Lightning connector that gap is only a fraction of a millimetre. Left alone, trapped moisture and debris also encourage corrosion, which no amount of cleaning will fix.
Table of Contents›
- What You Need
- Step-by-Step
- How to clean a charging port safely
- Common Mistakes
- When to Stop and Get the Port Checked
- Frequently Asked Questions
- Can I use compressed air to clean a charging port?
- What is the safest way to remove lint from a charging port?
- Can I clean a charging port with alcohol or any liquid?
- Why is my device not charging even after I clean the port?
- Should I clean a Lightning, USB-C, or micro-USB port differently?
- Conclusion
What You Need
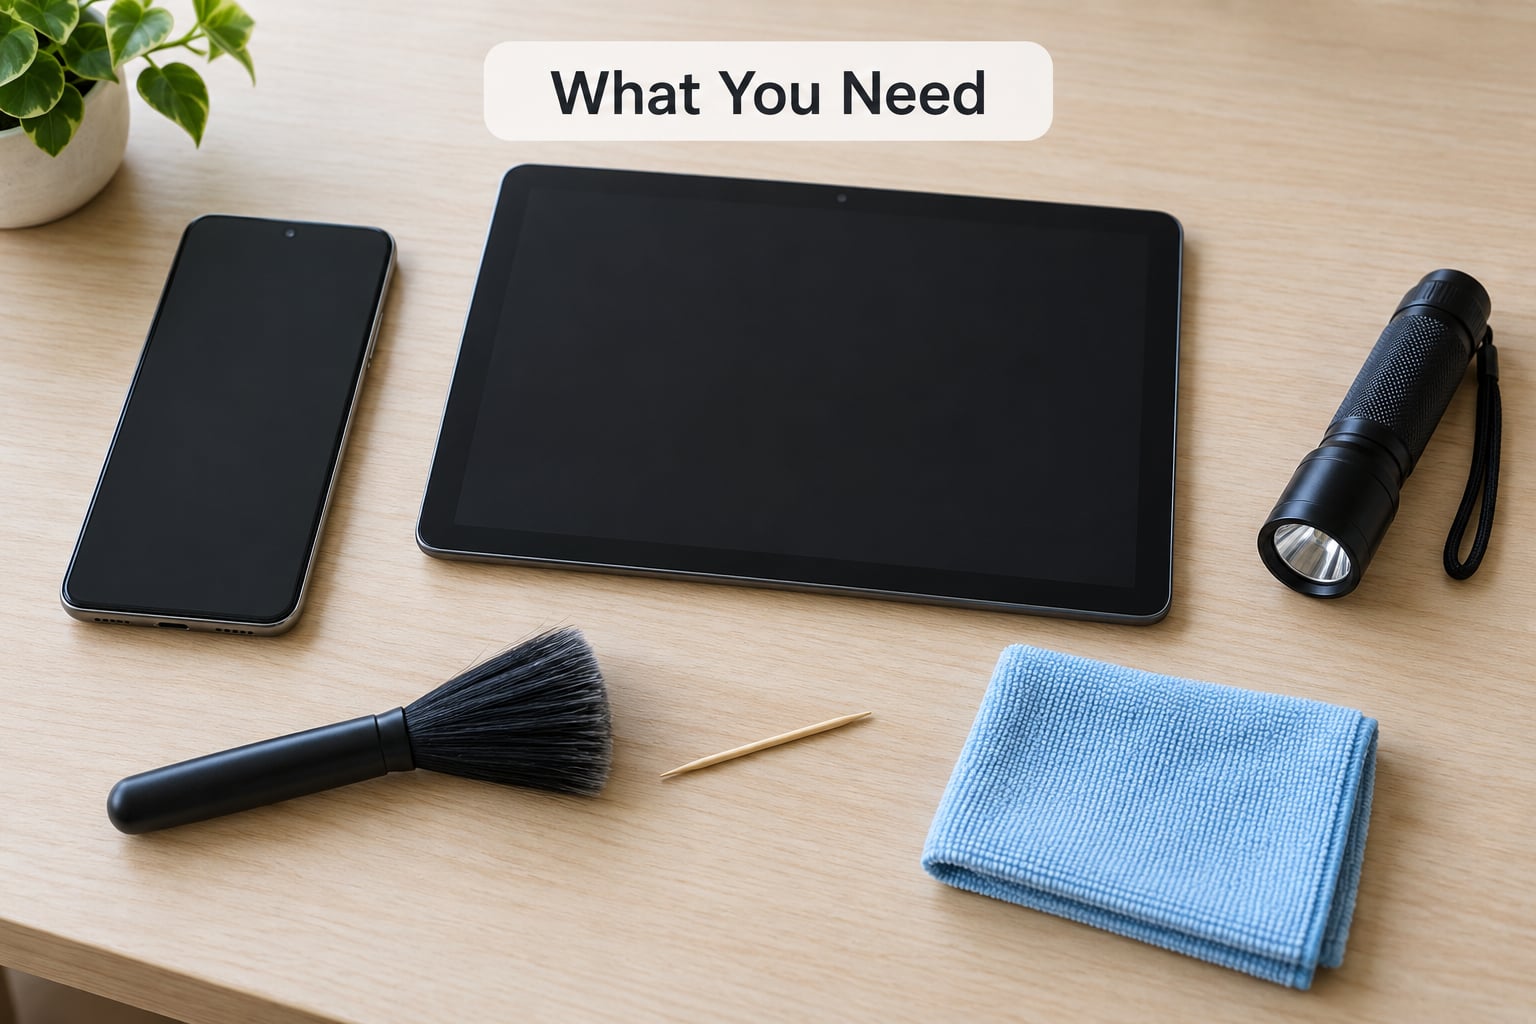
Gather everything before you pick up the device. Scrambling halfway through with a phone in one hand and nowhere to put the toothpick is how people end up with a stray tool scratching the back glass.
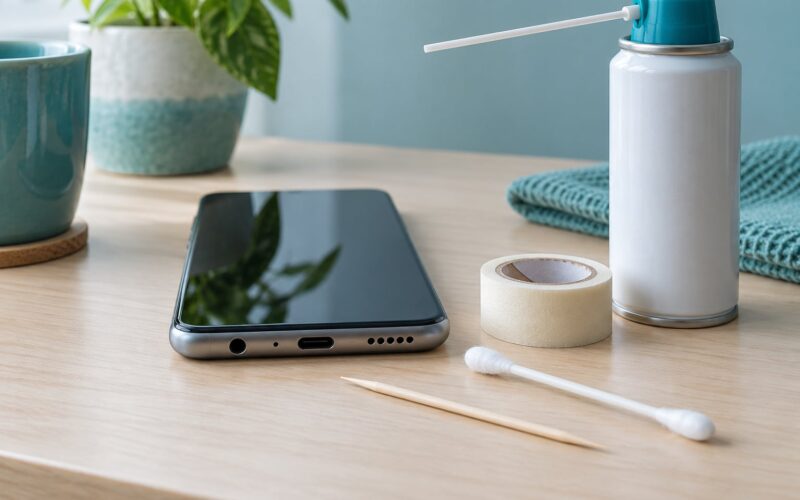
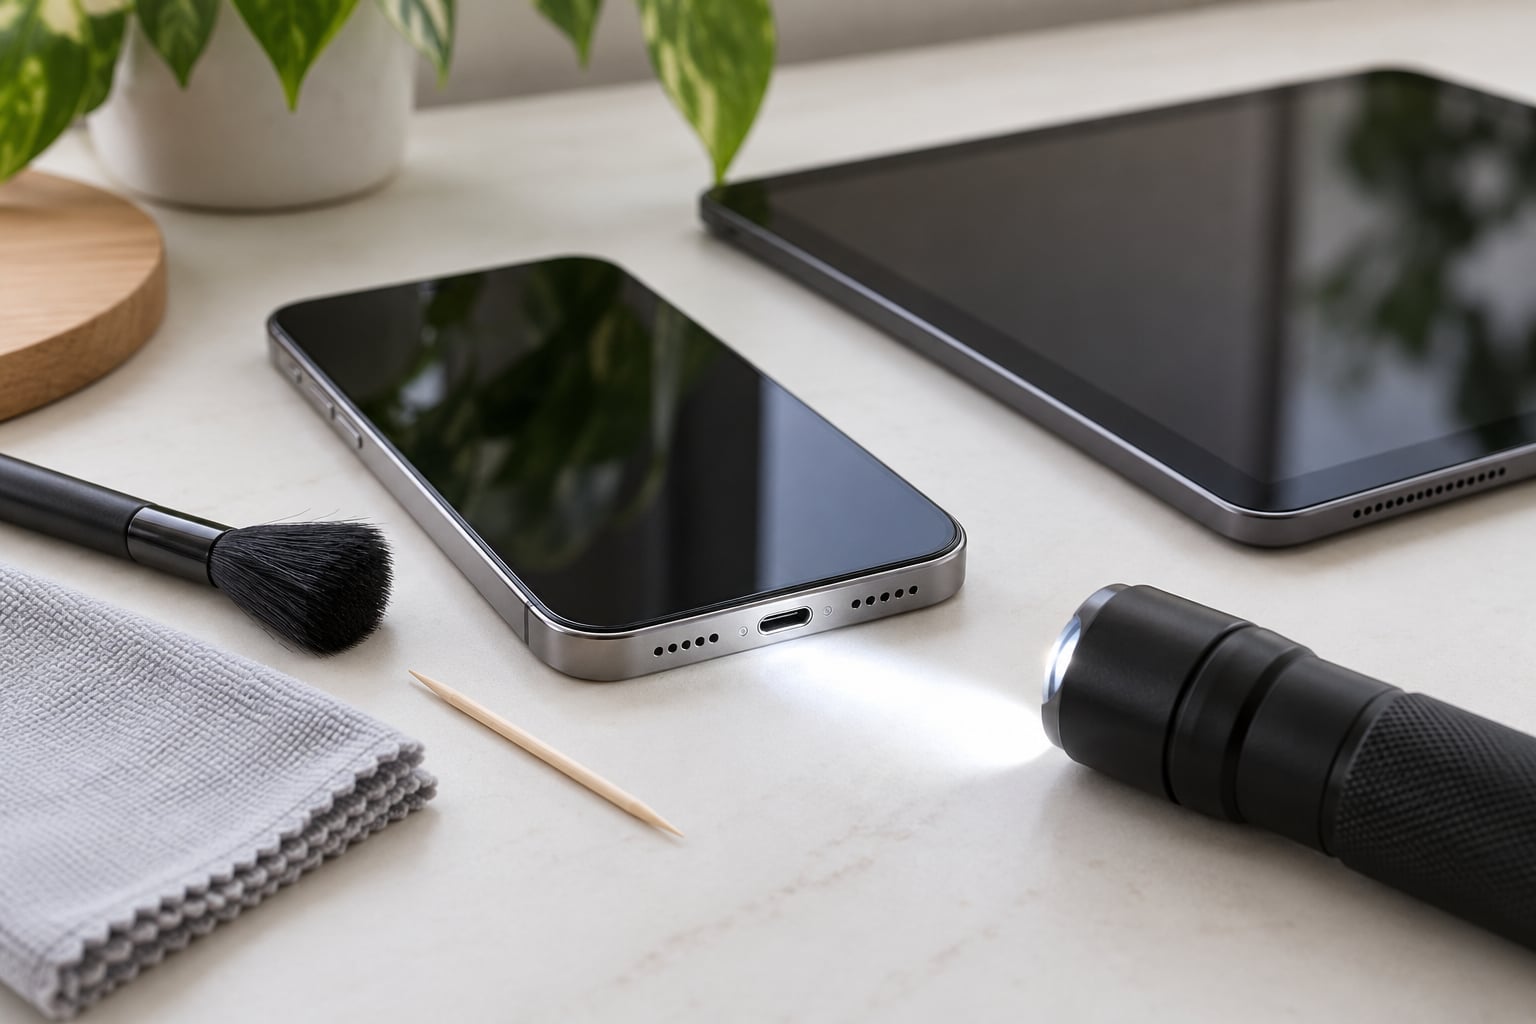
- A flashlight or phone flashlight held by someone else. You cannot judge what is packed inside a port without light.
- A wooden toothpick, the round kind, for compacted lint. Wood is soft enough not to scratch contacts, and it will not conduct.
- A soft-bristled brush, a clean toothbrush or an anti-static brush works, for loose dust around and inside the cavity.
- Compressed air in a plain can, not a “spray and blow” electronics cleaner.
- Cotton swabs and a bottle of 90% or higher isopropyl alcohol, only if you see sticky residue rather than dry lint.
- A microfiber cloth for the outside of the device.
Here is the short version of what separates safe tools from the ones that cause real damage.
Wooden toothpick. Safe. Soft and non-conductive, and it dislodges packed lint without scratching pins.
Soft toothbrush. Safe. Loosens dust without any hardness and without building static.
Plastic opening pick. Safe with care. Useful on a very tight plug, but keep the tip inside the cavity and never twist it against the contacts.
Compressed air can. Safe if kept upright. Short bursts clear particles you cannot reach by hand.
90%+ isopropyl on a swab. Safe in small amounts. It displaces residue and moisture and evaporates fast.
Paperclip or bobby pin. Avoid. Metal can scratch, short or bend the contact pins.
Knife, screwdriver or SIM pin. Avoid. Rigid metal in a narrow slot bends pins on contact.
Standard cotton swab. Avoid inside the port. Too wide, and fibres break off and stay behind.
Water, saliva or household cleaner. Avoid. It shorts contacts, corrodes them and carries minerals into the cavity.
Your mouth. Avoid. It adds moisture and pushes debris further in.
No compressed air? You can get most of it out with the wooden toothpick and the soft brush alone. Tap the open port downward over a surface so loose debris falls out rather than deeper in, then brush. Two or three careful passes with a dry toothbrush clear most of what air would have.
Connector type changes the tool more than the method. A Lightning port on older iPhones and many tablets is deep and narrow, so a round toothpick reaches further than a swab does. USB-C, on iPhone 15 and newer, on Samsung Galaxy models and on most modern tablets, is wider and shallower, with a tongue of contacts in the middle that you can lift debris around but should never lever against. Micro-USB ports have a latch tab inside one wall, and forcing a tool past that tab is the most common way owners break them.
Step-by-Step
How to clean a charging port safely
Work in a well-lit space with the device on a soft, non-slip surface. Do this top to bottom, and stop at any step where something resists.
- Power the device off completely. Shut it down rather than just locking the screen, then unplug it. Working on a live device risks a short, and you will not be able to tell a short from a bad cable later.
- Inspect the port with a flashlight. Look straight in and take a photo on your phone if you can. Dry, pale fluff on the walls and floor of the cavity means cleaning should fix it. Dark, greasy residue spread across the pins, greenish flecks or a visibly bent pin mean you are already past the cleaning stage.
- Loosen the debris with a wooden toothpick. Insert it no more than a few millimetres, scrape gently along the inside walls, and rotate it lightly. Work from the sides inward. Never push straight down, because that is what compacts lint into a harder plug. If the toothpick meets resistance, back off rather than leaning on it.
- Clear loose particles with short bursts of compressed air. Hold the can upright, above and to the side of the port, and give two or three one-second bursts. Do not insert the straw into the port and do not tilt the can, because an upright can is the only way to be sure propellant stays out of the cavity. It worked if the fluff you saw is no longer visible in the flashlight beam.
- Wipe residue with a damp cotton swab, only if you need to. Lightly dampen a swab with 90%+ isopropyl alcohol so it is barely wet, swab the walls and the outer rim, and never flood the opening. You want to lift a sticky film, not soak the board behind the pins. Do this only when a dry sweep left visible grime; dry lint does not need liquid.
- Let the port dry before powering on. Give it 5 to 10 minutes with the device open to the air, then longer if you used alcohol. Wipe the exterior with the microfiber cloth. Plugging in and finding it charges is the only proof that worked.
If the cable still feels loose or charges only one way round after a full pass, do not repeat the steps harder. The problem is mechanical, and forcing it is how a repairable port becomes a board-level one.
Common Mistakes
Reaching in with metal. Paperclips, bobby pins, needles and SIM ejector tools are the top cause of bent pins, and a bent pin reads as a phone that will not charge no matter what you clean. Use wood or plastic instead.
Pushing debris deeper. Anything that compresses toward the back wall makes the problem worse, because the plug still cannot reach the pins. Scoop sideways and out, and use airflow to move what you dislodge.
Pouring or dripping liquid in. Alcohol belongs on a swab that is barely damp, not in the port. Water and saliva carry minerals that leave corrosion behind once they dry, which is exactly the mark that later looks like a burnt pin.
Blowing with your mouth. This is the most common habit people pick up from online tips, and it does two bad things at once: it introduces moisture and it drives fluff further in. Use a can or a brush.
Cleaning a powered device. Debris and alcohol can bridge live contacts. Shut it down fully first, every time.
Tilting the air can. A tilted or inverted can sprays liquid propellant along with the air. Hold it upright and slightly above the port.
Waiting for it to get worse. Prevention is cheap and quick. A case with a raised lip or a silicone port cover keeps pocket fabric out, clearing your headphone jack and speaker grilles on the same schedule keeps debris from migrating, and two minutes of flashlight checks every few months catches a problem while the lint is still loose.
When to Stop and Get the Port Checked
Cleaning solves exactly one problem: debris sitting between the plug and the contacts. If what you are seeing is not loose debris, more cleaning will not help, and it costs you the warranty conversation later if you break something trying.
Dark marks that do not wipe away. Fresh lint is pale grey or beige. Marks that stay after a dry brush and an alcohol swab are usually corrosion or burnt contacts from moisture plus power, and they need a port or board-level repair.
A pin you can see is bent or missing. Lightning and micro-USB ports have small spring contacts along the top and bottom that bend if a cable is ever forced in at the wrong angle. Bent contacts can sometimes be straightened by a repair shop, but never at home.
Heat, smell or intermittent cut-outs. A port that gets warm while charging, smells faintly of burning, or drops the connection at random points can be a damaged connector. Unplug it and stop using that port.
Swelling or a rounded back. That is a battery problem, not a port problem. Stop charging and get the device assessed.
Apple and other manufacturers publish port care guidance for their own devices, and following it is the safest route if you are at all unsure. On warranty, gentle cleaning from outside with non-conductive tools is not the kind of thing that voids coverage, but opening the device yourself does. Check your coverage terms before a repair shop works on it, since many will handle a clean port under warranty.
If liquid got into the port, stop cleaning it and dry it instead. Disconnect the cable, power the device off, and leave the port open to the air for at least 24 hours, ideally upright. Do not use rice, a hair dryer or a heat gun; warm air pushes moisture deeper and heat can deform seals. If it still misbehaves after a full day, take it in.
Repair shops and manufacturers also have their own criteria for when a port gets replaced rather than cleaned, which usually comes down to whether the contacts themselves are damaged.
Frequently Asked Questions
Can I use compressed air to clean a charging port?
Yes, short bursts from a plain aerosol can are one of the safest ways to clear loose debris. Hold the can upright and slightly above the port, then give two or three one-second bursts with the nozzle outside the opening. Never insert the straw into the port and never tilt the can, because a tilted can sprays liquid propellant into the cavity. Compressed air moves particles you cannot reach, so follow it with the toothpick and brush steps.
What is the safest way to remove lint from a charging port?
Power the device off, unplug it, and look inside with a flashlight. A wooden toothpick is the safest tool: it is soft enough not to scratch or bend contacts and it will not conduct. Scrape gently along the inside walls from the sides inward rather than pushing straight down, then tap the port downward and brush out the loosened fluff. Never use paperclips, pins or a knife.
Can I clean a charging port with alcohol or any liquid?
Only in tiny, controlled amounts, and never poured in. Lightly dampen a cotton swab with 90% or higher isopropyl alcohol and wipe the walls and outer rim. Pure water, saliva, household cleaners and glass sprays should never go near the port, because they leave minerals behind that corrode the contacts. Let the port air dry for 5 to 10 minutes, longer if the device got damp, before plugging anything in.
Why is my device not charging even after I clean the port?
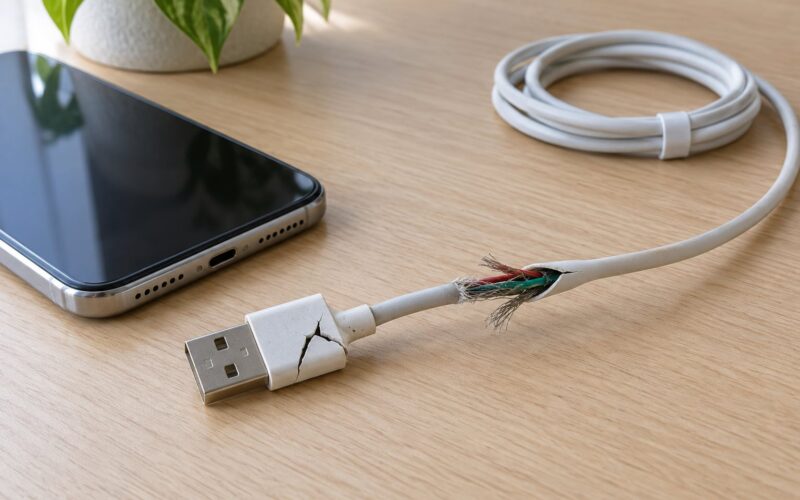
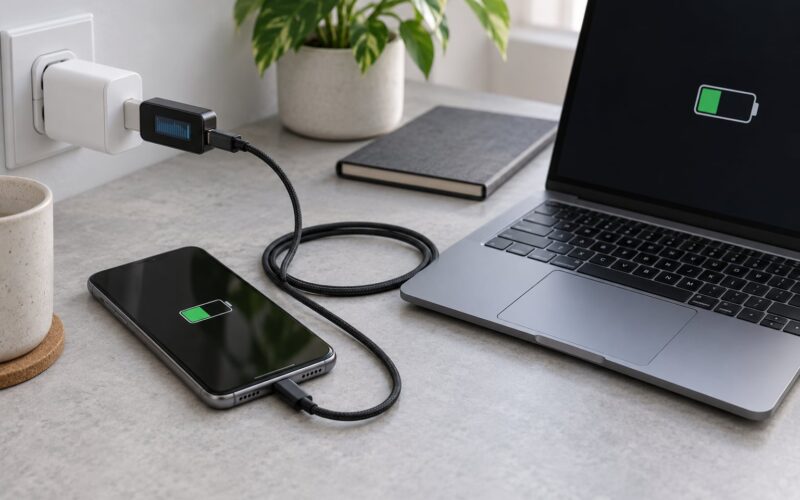
If the port is clean and the problem remains, the fault is usually elsewhere. Try a different cable and a different charger, and check the outlet, because a failing cable charges only one way round and feels loose. Software also matters: a system update, a stuck charging flag or a battery that no longer holds charge can all look like a port fault. If a second cable behaves the same way, the port or the battery needs service.
Should I clean a Lightning, USB-C, or micro-USB port differently?
The safety rules are identical, but the geometry changes what you can reach. Lightning ports on older iPhones are deep and narrow, so a round wooden toothpick goes in further than a swab. USB-C ports, on iPhone 15 and newer and on most modern tablets, are wider with a contact tongue in the middle, so work around it rather than levering on it. Micro-USB ports have a latch tab on one wall, which is why you must never force a tool past it.
Conclusion
If you remember one thing about how to clean a charging port safely, make it this: unplug the device, power it off and look inside with a flashlight before you touch anything. If you see loose debris, lift it out sideways with a wooden toothpick, clear the rest with short bursts of upright compressed air, and stop there. If the port stays blocked, the marks do not wipe away, or the metal looks bent, put the device down and get it checked rather than cleaning harder.