To use a stylus on an Android tablet, touch the screen with the pen tip first. Most pens draw immediately. Extra steps only come into play for a Bluetooth smart pen, a manufacturer pen like the S Pen, or a tablet where you want palm rejection and pressure turned on.
That last part surprises people. They buy a pen, tap the glass, get a dot, and assume something is broken. Usually nothing is broken, the pen simply does not do what they expected. So this guide walks through the whole path: confirming the pen works with your tablet, charging and switching it on, pairing it over Bluetooth, finding the stylus settings Android hides in plain sight, and testing it properly.
The whole setup takes about five minutes. The fiddly part is knowing which of the three pen types you own.
Table of Contents›
- What You Need
- The three stylus types, and what each one actually does
- Step-by-Step: How to Use a Stylus on an Android Tablet
- Step 1: Check That Your Tablet and Stylus Are Compatible
- Step 2: Charge and Enable the Stylus
- Step 3: Pair a Bluetooth Stylus or Active Pen
- Step 4: Configure Stylus Settings and Apps
- Step 5: Test the Stylus and Adjust Your Writing
- Common Mistakes and Quick Fixes
- The stylus does not work at all
- Bluetooth will not find the pen
- Input is inaccurate or offset
- No pressure sensitivity or tilt
- Hover does nothing
- My palm keeps drawing
- Shortcuts fire by accident
- The pen will not hold a charge
- Frequently Asked Questions
- Can I use any stylus with an Android tablet?
- Do I need to turn on Bluetooth to use a stylus?
- Why does my Android stylus have no pressure sensitivity?
- Will a stylus work if my tablet has a screen protector?
- Why does my stylus work in one app but not another?
- Quick Conclusion
What You Need
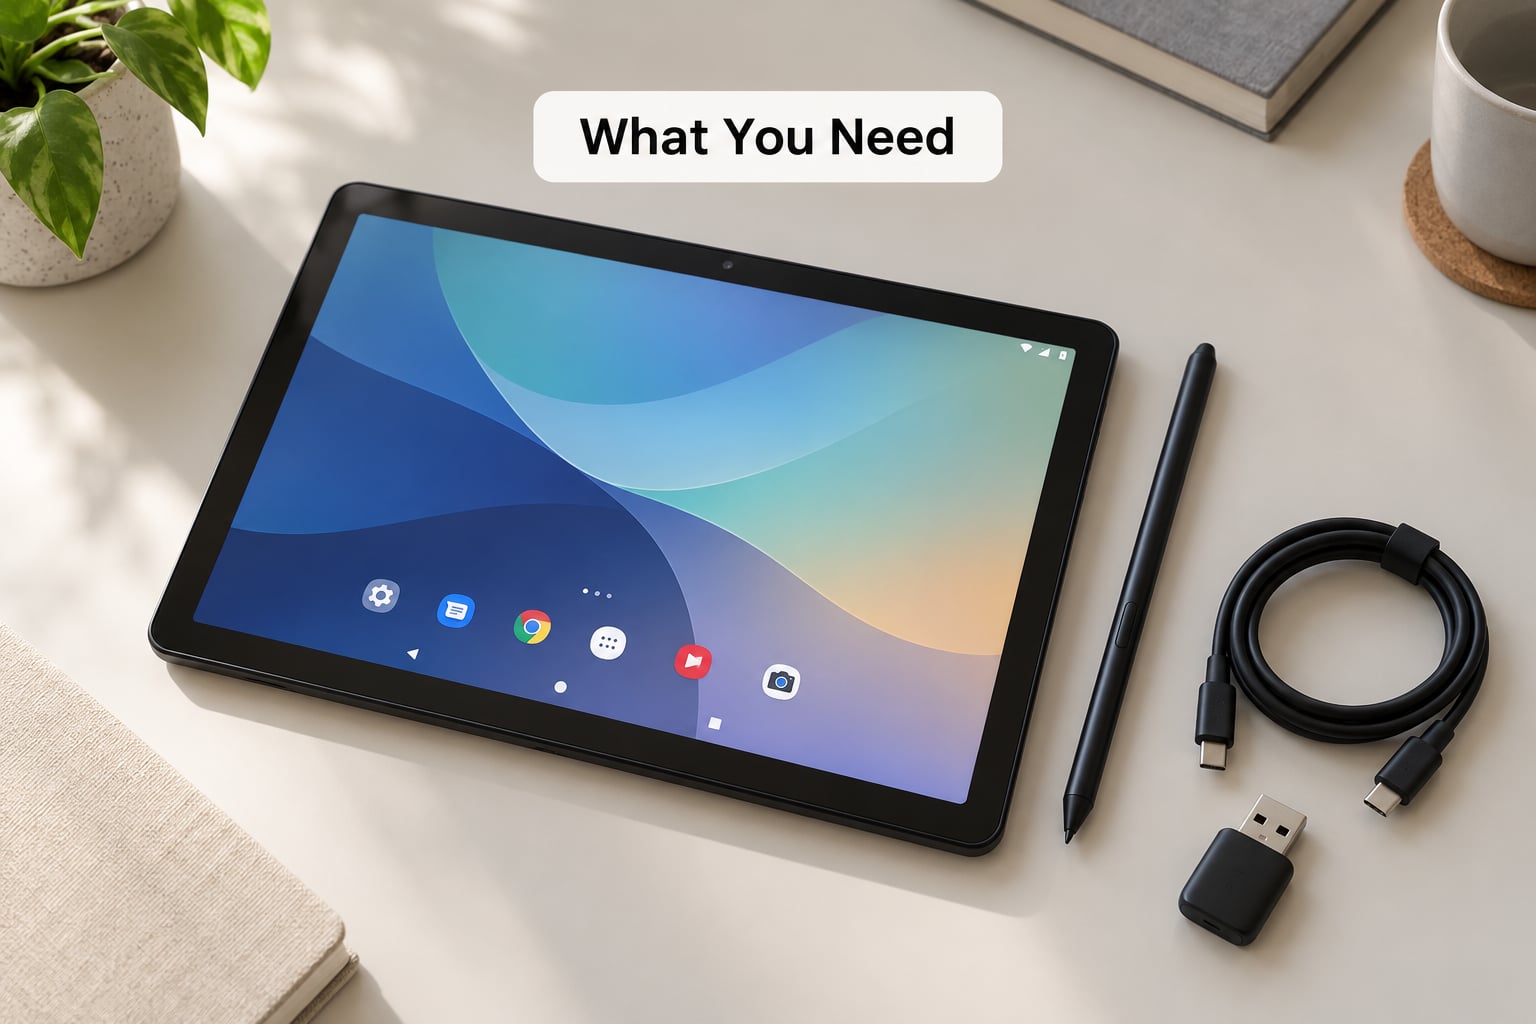
You need three things, and one of them you might already own.
- An Android tablet running a reasonably current version of Android, plus its model number or name so you can check stylus support.
- A stylus that suits it. This is where most buying mistakes happen, so the three types matter.
- A note-taking or drawing app installed and open when you test.
- Optional: a charging cable or dock for an active pen, a Bluetooth adapter if your tablet lacks Bluetooth, and a screen protector rated for stylus use.
The three stylus types, and what each one actually does
A passive capacitive stylus is a plastic or metal stick that touches the same grid your finger does. It works on every Android tablet made in the last decade, needs no battery and no pairing. What you get is a more precise fingertip. No pressure, no tilt, no palm rejection.
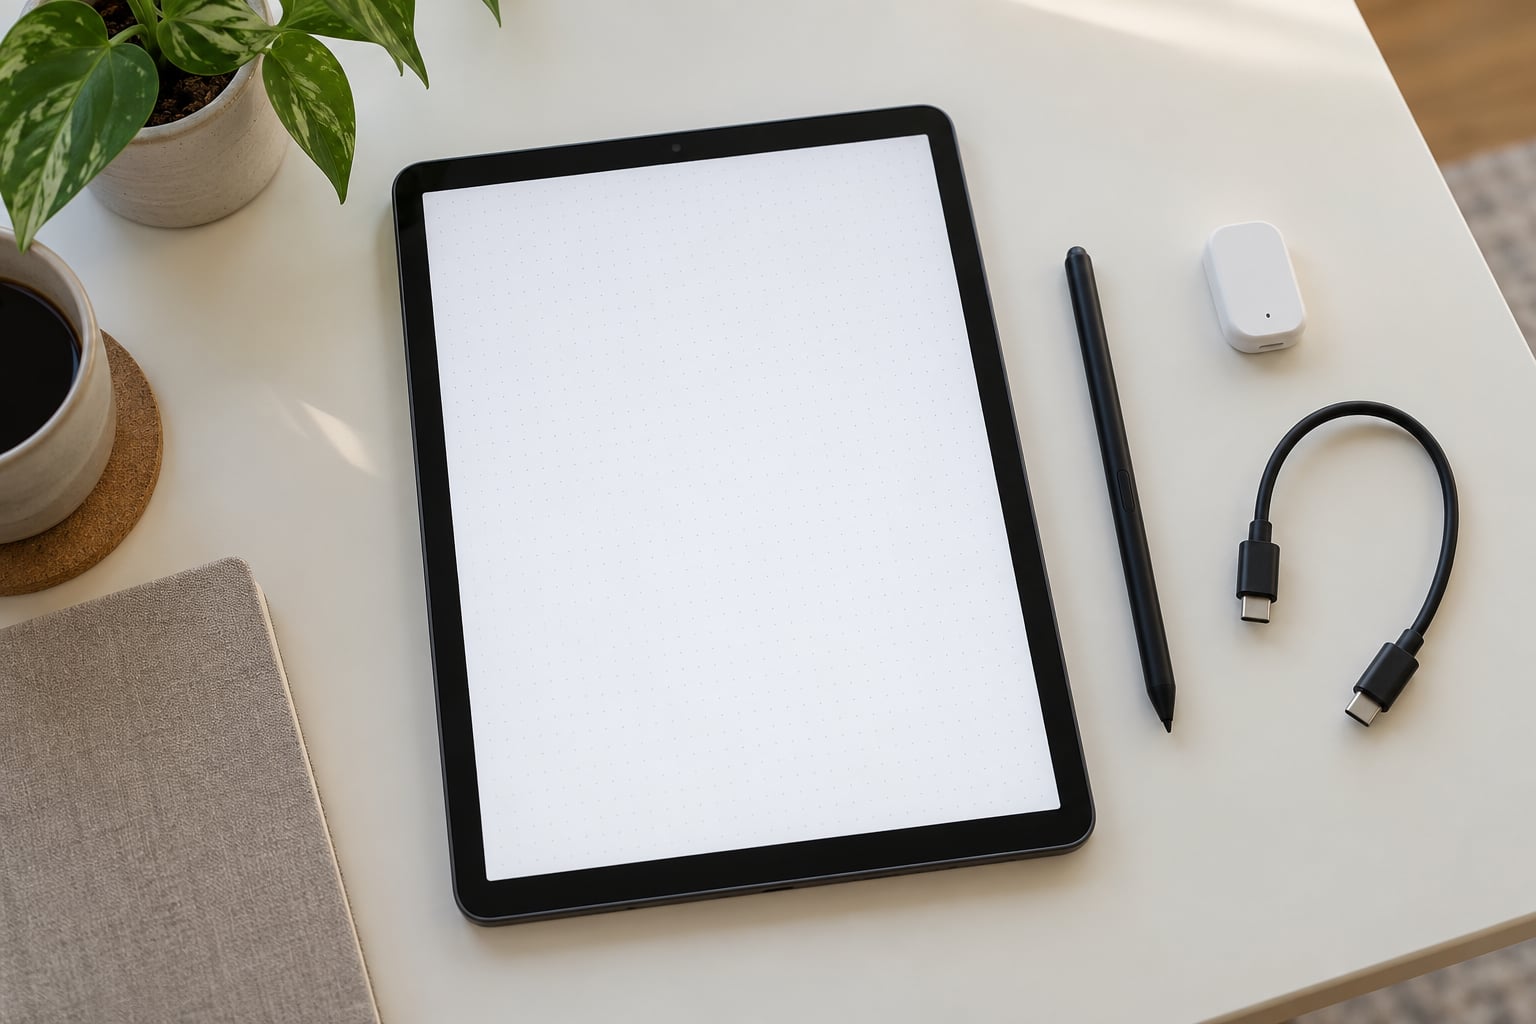
An active stylus talks to the digitizer in the screen. It reports pressure, tilt, hover and sometimes a barrel button, and the tablet has to be built to hear it. This is what the S Pen is, what a USI 2.0 pen is, and what most pens sold as stylus-compatible actually are.
A Bluetooth stylus adds wireless pairing on top of the active type. It can bring extra buttons or a shortcut gesture, and it usually has an internal battery you need to watch. The pairing step is the only part of this guide that does not apply to the other two.
Here is the compatibility rule in one line per device family, because guessing costs you a return:
- Samsung Galaxy Tab models that shipped with an S Pen expect the S Pen or S Pen Air. Some newer Galaxy Tabs use a different pen, and some older Galaxy Tabs work with any capacitive pen.
- Google Pixel Tablet accepts USI 2.0 pens. A USI 1.0 pen will not fall back and will simply not work.
- Lenovo Tab models vary by generation. Some take a Lenovo Active Pen, some take USI 2.0, and the budget lines take any capacitive pen.
- Amazon Fire HD and most budget Android tablets have no active digitizer at all, so any capacitive pen is your realistic option.
- TCL and other mid-range tablets usually ship with a basic active pen that pairs over Bluetooth and needs its own charging.
The manufacturer specification page for your model is the authority here. If it says active stylus supported, buy active. If it says nothing, assume capacitive.
Step-by-Step: How to Use a Stylus on an Android Tablet
Step 1: Check That Your Tablet and Stylus Are Compatible
Start by identifying your model. On the tablet itself, go to Settings, then About phone or About tablet, and read the model name. On Samsung devices the model number is usually on the back or under Settings, then About phone, then Model number.
Next, search that model name plus stylus support, or read the manufacturer specification page. Look for one of three phrases: active stylus supported, USI version, or bundled with a pen. Any of those tells you the digitizer is listening. Silence means it is not.
How success looks here is simple. If the spec page mentions pressure, hover or a pen in the box, you have an active-capable tablet. If the tablet shipped without a pen and the page does not mention one, treat it as a capacitive-only screen.
The passive-versus-active difference decides whether later steps apply. A capacitive pen is done at this point. An active pen may need a separate app, an adapter or a pairing process depending on the brand.
Step 2: Charge and Enable the Stylus
Active and Bluetooth pens are usually switched off when they leave the box. Find the power control first: it is commonly a side button near the middle of the barrel, a slider, or a recessed button near the tip end on slim pens.
Charge it before first use, even if it feels new. Many pens ship partly charged and shut down mid-session when the cell is low, which looks exactly like a hardware fault. Ten minutes on the supplied cable or in the charging dock is usually enough to rule the battery out.
Check the battery indicator before you blame the tablet. Common designs: a small LED near the barrel that goes green, amber or red, a three-dot charge gauge on the pen body, or a battery entry appearing in Bluetooth settings once the pen is on and paired.
Manufacturer pens behave differently. An S Pen wakes when it detects the tablet’s digitizer or the charging pins underneath it, and has no on-off switch. If you have that kind of pen, skip this step and go straight to testing it on the screen.
How success looks: the indicator changes state, or the pen appears as a device in your tablet’s settings. How failure looks: no indicator, no device, nothing happens on the screen. Move to Step 3.
Step 3: Pair a Bluetooth Stylus or Active Pen
Bluetooth pairing is only needed for smart pens with buttons or gesture features. Pure USI and S Pen styli pair over the air with the digitizer instead, which is why they show no Bluetooth entry.
The Android path is stable across recent versions and most skins. Open Settings, tap Connected devices, then Pair new device. If you cannot see Connected devices, look for Wireless and network, then Bluetooth, then tap the three-dot menu and choose Pair new device. Older builds put pairing under Settings, then Bluetooth, then the scan icon in the top right.
Make sure Bluetooth itself is on first, using the tile in Quick Settings or the Bluetooth switch in Settings. Wake the pen right before you scan, because many sleep after a minute or two of inactivity and drop off the list.
Look for the pen by its name on the brand, such as the model name on the barrel or a generic entry like Stylus, Pen, or T-Pen. Tap it, accept the pairing prompt, and wait for Connected to appear under Bluetooth settings.
If the pen does not appear, the fixes are straightforward. Charge it fully, wake it again, and restart Bluetooth by toggling it off and on. Move the pen closer to the tablet. Tap the pen’s tip once or twice, since many only broadcast while being pressed. On some tablets, tapping the entry in Quick Settings opens pairing without going into Settings at all.
How success looks: the pen stays listed as Connected when you come back to the settings page. If it shows as Paired but disappears after a few minutes, the pen is dropping its connection, and you should check for a firmware or app update from the pen maker.
Reconnecting later is uneventful. Press the pen’s tip or side button to wake it, and it should reattach within a second or two. On some models you must tap it in the Bluetooth list again, particularly after the tablet has been restarted.
Step 4: Configure Stylus Settings and Apps
Android exposes stylus options in different places depending on the version and the manufacturer, so search Settings for stylus, pen, or pointer before assuming the option does not exist.
The most common locations: Settings, then Accessibility, then Pointer controls or Interaction controls, which is where you find stylus-related behaviour. On Samsung tablets, look under Settings, then Features and assistant settings, then S Pen settings, and again under Advanced features for Air Actions or Bixby Notes. On Google tablets, stylus behaviour often appears under Settings, then System, then Gestures or Screen. Some builds also expose a Stylus entry at the top level of Settings once a pen is connected.
Worth turning on or checking:
- Pointer controls and gestures for hover behaviour, right-click style actions and keeping a cursor from jumping.
- Palm rejection so the part of your hand resting on the screen does not draw. This is a real feature on active pens and a checkbox inside some apps, and it does nothing on a passive capacitive pen.
- Pressure and tilt handling, which is usually app-side rather than system-side.
- Button customisation for a barrel or side button, where the manufacturer allows remapping to eraser, undo or an app launch.
- Pen only drawing options in individual apps, so finger taps scroll and pan while the pen draws.
One setting worth a separate paragraph: the default notes app. Go to Settings, then Apps, then Default apps, then Notes app, and pick the app you want. On a Galaxy Tab, pressing the S Pen button with a note app set here opens that app straight to a blank page. On tablets with a stylus button or a gesture shortcut, the same idea applies.
For apps, the pick depends on what you are doing. Handwriting and daily notes: Samsung Notes on Galaxy, MyScript Notes or Nebo elsewhere, Noteshelf, Notability. Text-heavy study notes: Microsoft OneNote, which pairs ink with typed structure. Quick lists: Google Keep, which handles ink and handwriting to text. Drawing: Krita for illustration, Infinite Painter for painting and sketching, or a colouring app for practice. PDF annotation usually happens in whichever PDF viewer you already use, so check that it detects pressure before you commit to it.
One honest limitation here. Samsung Notes stays on Galaxy hardware, so if you expect to move to another tablet later, pick an app that exports cleanly. A few note apps flatten handwriting into an image on PDF export, which makes the notes unsearchable later. That is a dealbreaker for anyone who wants to find a phrase they wrote six months ago.
Step 5: Test the Stylus and Adjust Your Writing
Open a notes or drawing app and draw a set of test strokes: light, heavy, fast, slow, and a tight spiral. That single test tells you most of what you need to know.
Check line thickness first. If every stroke is the same width no matter how hard you press, the app is not reading pressure. Many apps need a setting like a stylus or pressure checkbox enabled, and a few have a pen-only mode that ignores the digitizer entirely. If your pen is an active model and pressure still does nothing, the app may not support it.
Check latency next by writing a line of connected cursive quickly. If the line visibly trails or wobbles behind the nib, the tablet or app is doing the smoothing, not the pen. Turn off smoothing or stabilisation in the app where you can, and accept some lag on budget panels, where display latency is often noticeably worse.
Rest your writing hand on the screen and test palm rejection deliberately. On an active pen with rejection enabled in the app, the hand is ignored. On a passive capacitive pen, the hand will draw scribbles every time, and no setting fixes that because the hardware cannot tell the difference.
Check hover, eraser and buttons next. Hover means the pen registers before it touches, which some drawing apps use to show a brush preview. An inverted stylus (the end that has no nib) acts as an eraser in several Samsung and third-party apps, while others need a toolbar button. A barrel button that does nothing is usually an app support gap rather than a fault.
Then adjust how you write. Slow down slightly on tight curves, and keep the pen at a shallow angle rather than nearly vertical. Sit the tablet at a slight lean with the screen closer to eye level, which reduces hand strain and smudging. If you are right-handed, park the hand’s heel off the screen edge and let only the writing fingers touch down.
How success looks: strokes vary with pressure, the hand resting on the screen does not draw, and a full page of notes takes no more effort than writing on paper. That is the finish line.
Common Mistakes and Quick Fixes
Almost every stylus problem on Android has a short fix. Work down the list in order rather than jumping around.
The stylus does not work at all
Charge the pen and wake it, then confirm the tablet actually supports active input. If it is a capacitive pen and nothing happens, the nib may be capped or the pen is not conducting. Test the pen on a phone with a notes app to rule out the tablet.
Bluetooth will not find the pen
Toggle Bluetooth off and on, wake the pen immediately before scanning, and stay within a couple of metres of the tablet. Remove any stale entry first: tap the pen in the paired list, choose Forget, then pair it again. On Android 12 and later, also check that Location is permitted, because the system can hide nearby devices when location services are off.
Input is inaccurate or offset
Turn off any enabled touch block or palm-detection filter that is misreading the pen, and disable screen rotation lock while you test so the tablet is not switching axes mid-stroke. If the pen writes in the wrong spot entirely, a mismatched pen and digitizer combination is the likely cause, which means a compatibility problem rather than a settings one.
No pressure sensitivity or tilt
Check the app first, since most stylus support is per app. If the app has a pressure toggle, enable it. If the pen is passive, no setting will create pressure, and the answer is a different pen. A few cheap pens register pressure in some apps and not others, which is a digitizer protocol mismatch.
Hover does nothing
Hover is supported by some pens and some apps only. Confirm your pen advertises hover, then test in an app known to show a brush preview, such as a drawing app, rather than a standard notes app. A Bluetooth connection is usually not required, since hover travels over the digitizer.
My palm keeps drawing
Turn on palm rejection inside the note or drawing app, and look for a setting called palm detection, ignore touch, or hand writing. Keep your hand below the contact line where possible, resting the heel of the palm past the active area. On tablets with a case, make sure the case does not press the screen and trick rejection into switching off.
Shortcuts fire by accident
If a double-tap or a barrel button keeps launching something, remap or disable it in the manufacturer’s stylus settings. Frequently triggered culprits are the notes shortcut, screenshot capture, and smart select, which can all be turned off without disabling the pen itself.
The pen will not hold a charge
Clean the charging contacts on the pen and in the dock or cradle, and confirm you are using the supplied cable. A worn cable that charges other devices but not the pen is a common culprit. If the pen runs flat in under an hour, the cell is usually done, and replacing the pen beats fighting it.
Two habits keep a stylus working long term. Store it in its case or dock rather than loose in a bag, and replace the nib when it feels rough or the pen starts skipping, since a worn tip is what causes dropped strokes more often than the tablet.
Frequently Asked Questions
Can I use any stylus with an Android tablet?
Almost certainly yes, as long as the pen is capacitive. Any cheap stylus that works on a phone will work on any Android tablet, because it uses the same touchscreen grid. You only need an active pen, one that reports pressure and hover, if your tablet specification page says it supports one. Samsung Galaxy Tab models and the Pixel Tablet are the two families where the pen choice really matters.
Do I need to turn on Bluetooth to use a stylus?
Usually not. A passive capacitive pen and most active pens, including the S Pen and USI 2.0 pens, talk to the digitizer directly and never appear in Bluetooth settings. Bluetooth only comes into play for smart pens with side buttons or shortcut gestures. Those need Bluetooth on and a completed pairing before their extra features work.
Why does my Android stylus have no pressure sensitivity?
The most common cause is the app, not the pen. Many notes and drawing apps have a stylus or pressure toggle that is off by default, and some ignore pressure data entirely. If your pen is a passive capacitive model, it physically cannot report pressure, and no setting will change that. Active pens that show no pressure in any app usually have a digitizer mismatch with your tablet.
Will a stylus work if my tablet has a screen protector?
Yes, provided the protector is thin and rated for stylus use. Extra-thick tempered glass or a multi-layer protector can stop an active pen registering at all, because the digitizer cannot detect it through the added gap. Capacitive pens are far less affected since they rely on a looser electrical contact. If your pen stopped working the day you added a protector, remove it and test to confirm.
Why does my stylus work in one app but not another?
Stylus support is decided per app on Android, not by the system. A drawing app may read pressure, hover and a barrel button while a notes app only accepts simple taps, and some apps only accept finger input for their toolbars. Check the app settings for a pen or stylus toggle, and test in a second app to confirm the tablet and pen are fine.
Quick Conclusion
Start by confirming compatibility, because it decides whether the rest of this even applies. Find your model in Settings, then About tablet, and check whether the specification page mentions active stylus support or USI. If it does not, any capacitive pen will work and you are done after the first test.
If it does support an active pen, charge the pen fully, wake it, and pair it over Bluetooth only if it has buttons or gestures. Then set your stylus options and default notes app, open a note app, and draw a few test strokes to check pressure, palm rejection and hover.
Menu names and available features differ by Android version and by manufacturer, so treat any setting you cannot find as a naming difference rather than a missing feature. Search Settings for stylus, pen, or pointer before concluding your tablet lacks it. Updated for 2026.