You can edit a PDF on an Android tablet in about two minutes: open the file in a free editor like Adobe Acrobat Reader, tap Edit PDF, add your text, highlight, image or signature, then save a copy back to your tablet. Most of the tools you need are already free. The only catch is knowing which save button to press, because that is where edits usually get lost.
Here is the honest version. Nearly every Android PDF app handles annotation for free — highlighting, drawing, sticky notes, stamps and signatures all work. Changing the actual words inside a paragraph is a different story, and on a tablet it is usually limited to a paid tier or blocked entirely on scanned pages. I’ll show you both routes and tell you which button to hit at the end.
Table of Contents›
- What You Need
- Step-by-Step
- How to edit PDFs on an Android tablet in Adobe Acrobat
- Add text, highlights, notes, and other markup
- Insert, rotate, reorder, or delete pages
- Add an image or electronic signature
- Save, export, and share the edited PDF
- Common Mistakes
- Frequently Asked Questions
- Can I edit a PDF on my Android tablet without a stylus?
- What is the best free app for editing PDFs on Android?
- Why can I not edit my scanned PDF?
- Can I edit a PDF saved in Google Drive or Dropbox?
- How do I convert an edited PDF back to another file format?
- Conclusion
What You Need
Start with the file itself. Know where it lives — Downloads, Google Drive, Gmail attachments, a chat thread — because you will need to find it again after editing. If it is a document someone sent you, download it to the tablet first rather than editing it inside a cloud preview window.
Next, check free storage. A photo-heavy PDF can easily be 20 to 40 MB, and editing creates a second copy while the first is still there. If your tablet is nearly full, save will fail with an error that looks like nothing happened at all.
Then install the editor. Adobe Acrobat Reader is the safest starting point for most people; Xodo and Foxit are strong alternatives if you want more annotation control. If you plan to scan paper into a PDF first, install a document scanner too, since most editors can create a scan but a dedicated scanner app does a cleaner job with lighting and edge detection.
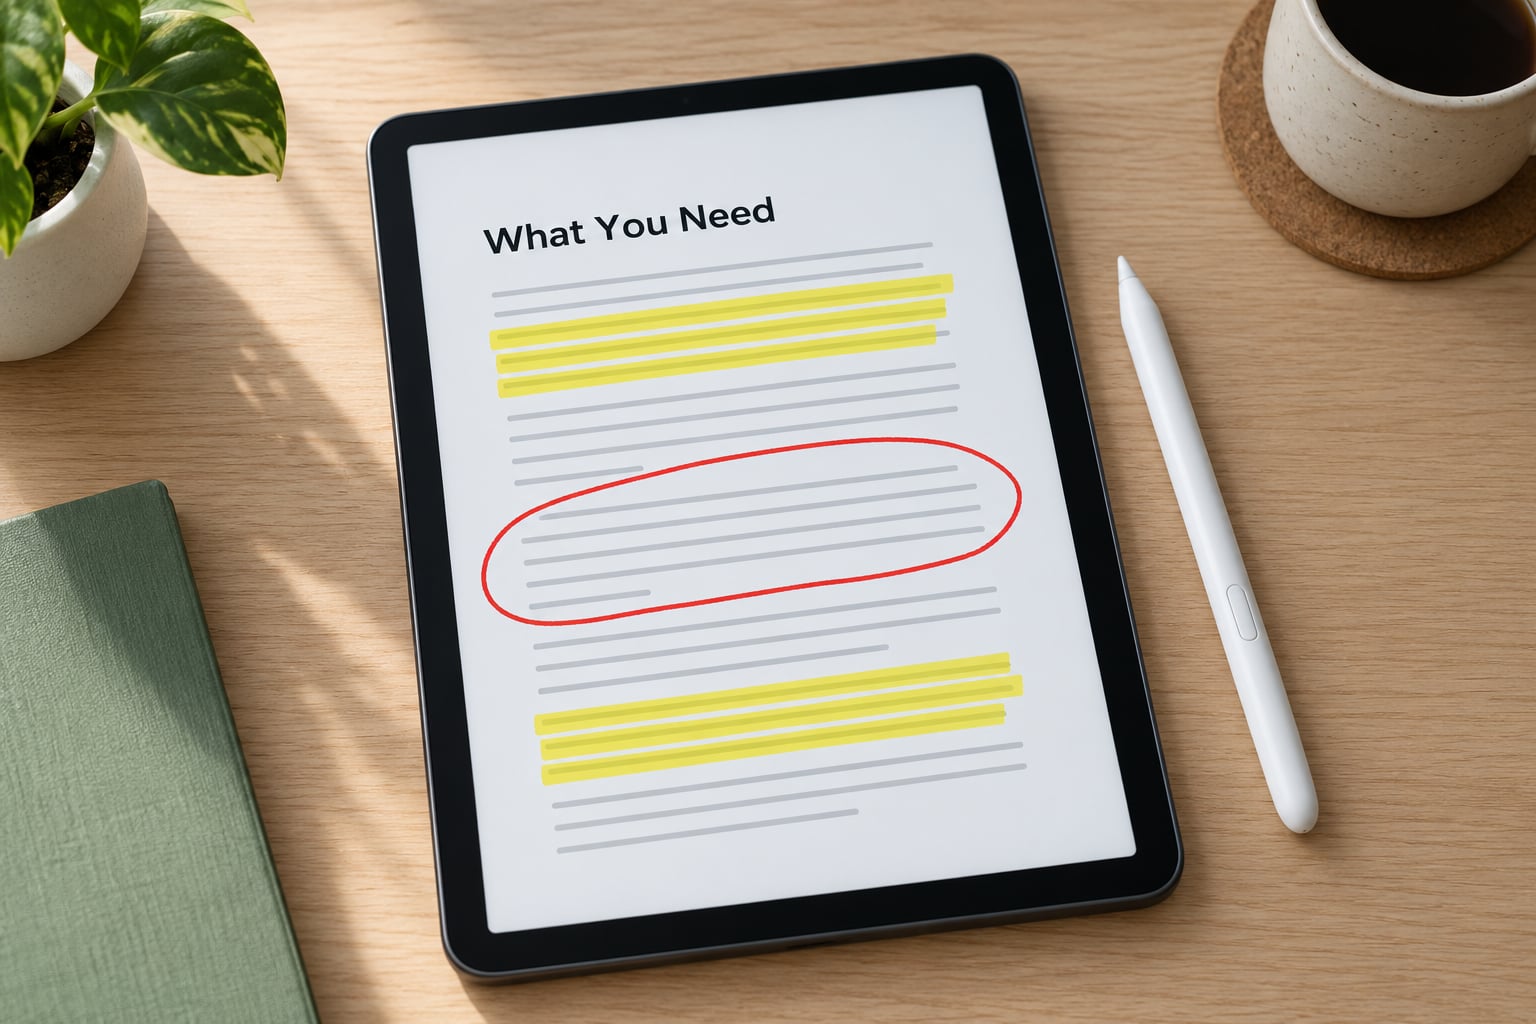
A stylus is optional, not required. A finger works fine for highlighting and short notes. A stylus earns its keep for freehand markup on lecture slides, handwritten corrections, and drawing arrows and boxes around things.
Step-by-Step
How to edit PDFs on an Android tablet in Adobe Acrobat
Open Adobe Acrobat Reader from the app drawer. If the PDF is on the tablet, tap Open in the bottom menu and pick it from Downloads or your Files app. If it is in Google Drive, tap the folder icon in the same menu, sign in if asked, and choose the file from there — the app will make a local working copy automatically.
Tap Edit PDF in the bottom menu. The ribbon along the bottom changes to show text boxes, draw, highlight, note, stamp and signature tools, and the page thumbnails strip appears along the left or top edge depending on your tablet’s orientation.
One thing worth knowing: menu labels drift between app versions. On some builds you will see Edit PDF, on others Edit Text or Content Editor in the same bottom bar, and the page strip sits on the right in landscape instead of the left. Same tools, slightly different furniture.
On an older Android tablet, the app may also prompt you to convert the PDF for faster editing before it will let you type. That conversion flattens the text layer, so keep the original file untouched and work on a copy.
Add text, highlights, notes, and other markup
To add typed text, tap Text box in the ribbon, then tap the spot on the page where the text should start. A box appears with a cursor inside it. Type, then drag the small handles to resize the box, and drag the box itself to nudge it into place — one finger to draw, one finger to move.
Pinch the text box corners to change the font size, or tap inside it and use the formatting bar that appears for bold, colour and alignment. If your text sits over a scanned page, match the size to the surrounding text or it will look pasted on.
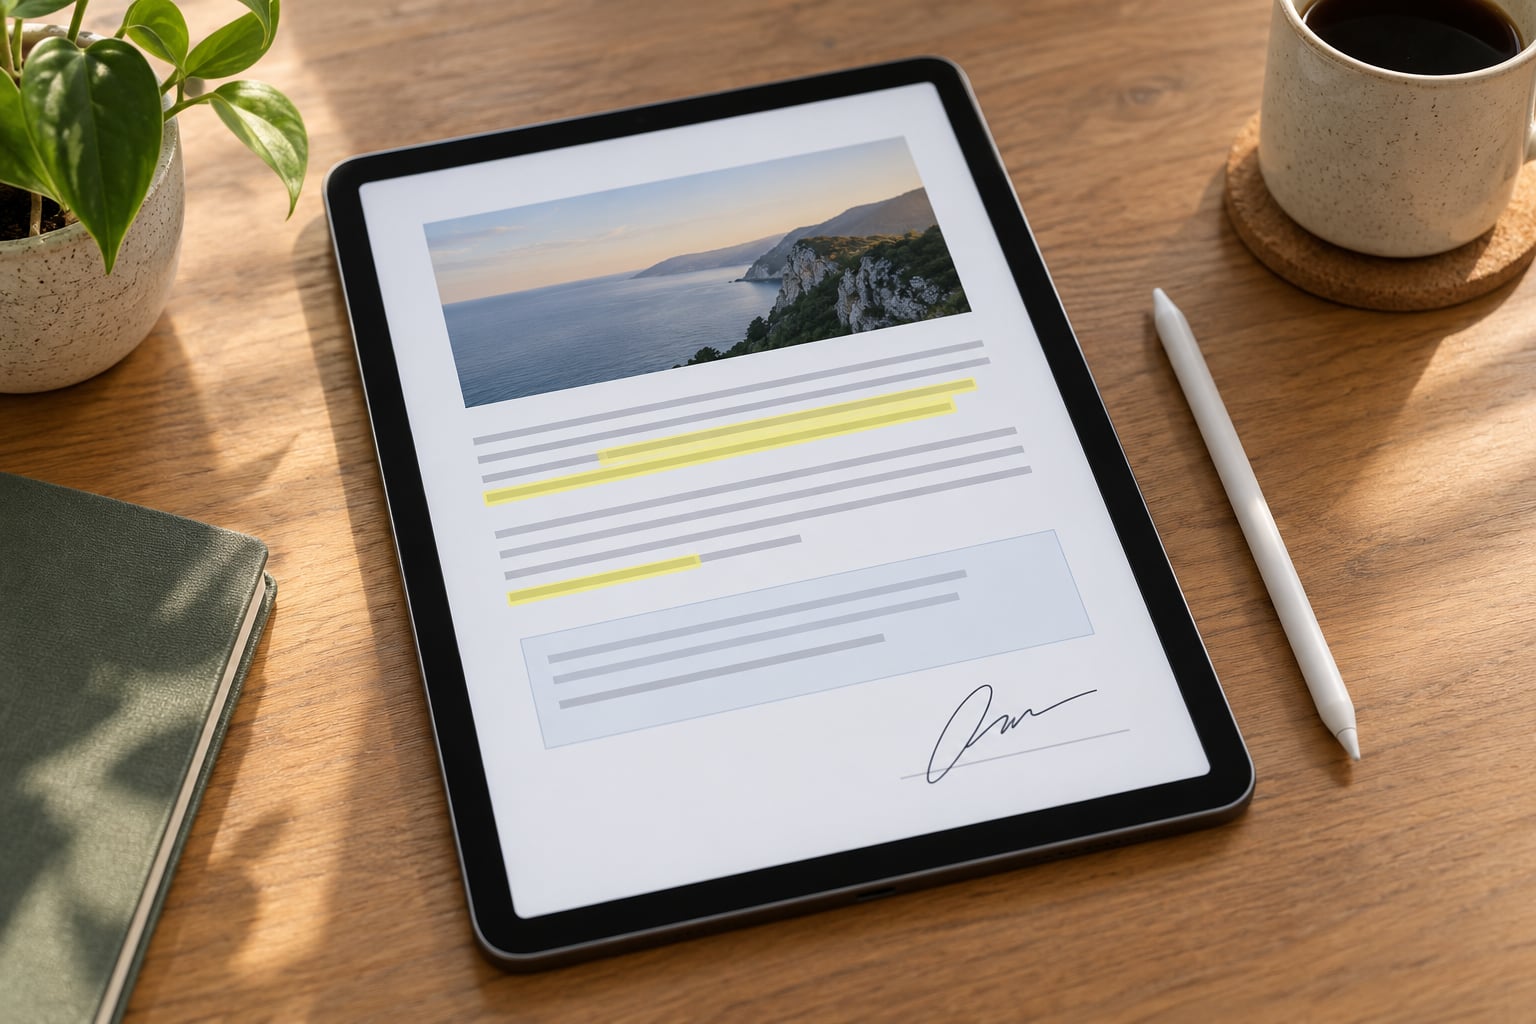
To highlight text, tap Highlight and drag across a sentence. The colour follows whatever swatch is currently selected, so tap the swatch first if you want something other than yellow. Highlighting an already-highlighted passage toggles it off, which is a quick way to clean up a misfire.
For freehand markup, tap the pen or Draw tool and drag your finger or stylus. Pinch with two fingers while drawing to change the line thickness, and use the eraser tool to remove a stroke you regret. Most apps put Undo in the top bar, and it usually steps back one action at a time — hold it to undo several.
Sticky notes are separate from highlights. Tap Note, then tap the page where the note marker should sit, and type your comment. Notes show as a small icon you can tap later to read or delete, which keeps the page itself clean.
How do you know an annotation actually took? Close the tool and look at the page: the highlight should be a solid block of colour behind the text, and the note icon should stay put. Then open the page thumbnails on the left to confirm your markup appears on the page you expected.
One last thing before you move on: annotations only count once they are written into the file itself, not while you are previewing them in the editor. Saving in place matters, and we cover exactly how to do that next.
Insert, rotate, reorder, or delete pages
Tap the page thumbnails strip to open page management. From there you can select a page, and the options that apply to it appear as a row of icons.
To insert a blank page, choose Insert from the page menu, then pick where it goes — before the current page, after it, or as a new page at the end. Inserting before or after matters more than it sounds: add a cover page and you want it first, add a signature page and you want it last.
To rotate, select the single page and tap Rotate. Rotating one page in a scanned document is the standard fix for a sideways feed from a scanner. If you need a whole section turned, select several thumbnails at once rather than repeating the tap.
To reorder, drag a thumbnail to a new position in the strip. The other pages shift down as you drag, so watch where you drop it — release too early and your page lands one position off. To delete, select the page and tap the bin icon, then confirm.
Verify the result before you leave the page menu. Scroll the thumbnail strip from top to bottom and check the sequence reads correctly. Deleting the wrong page and only noticing after you export is the single most common page-management mistake.
Add an image or electronic signature
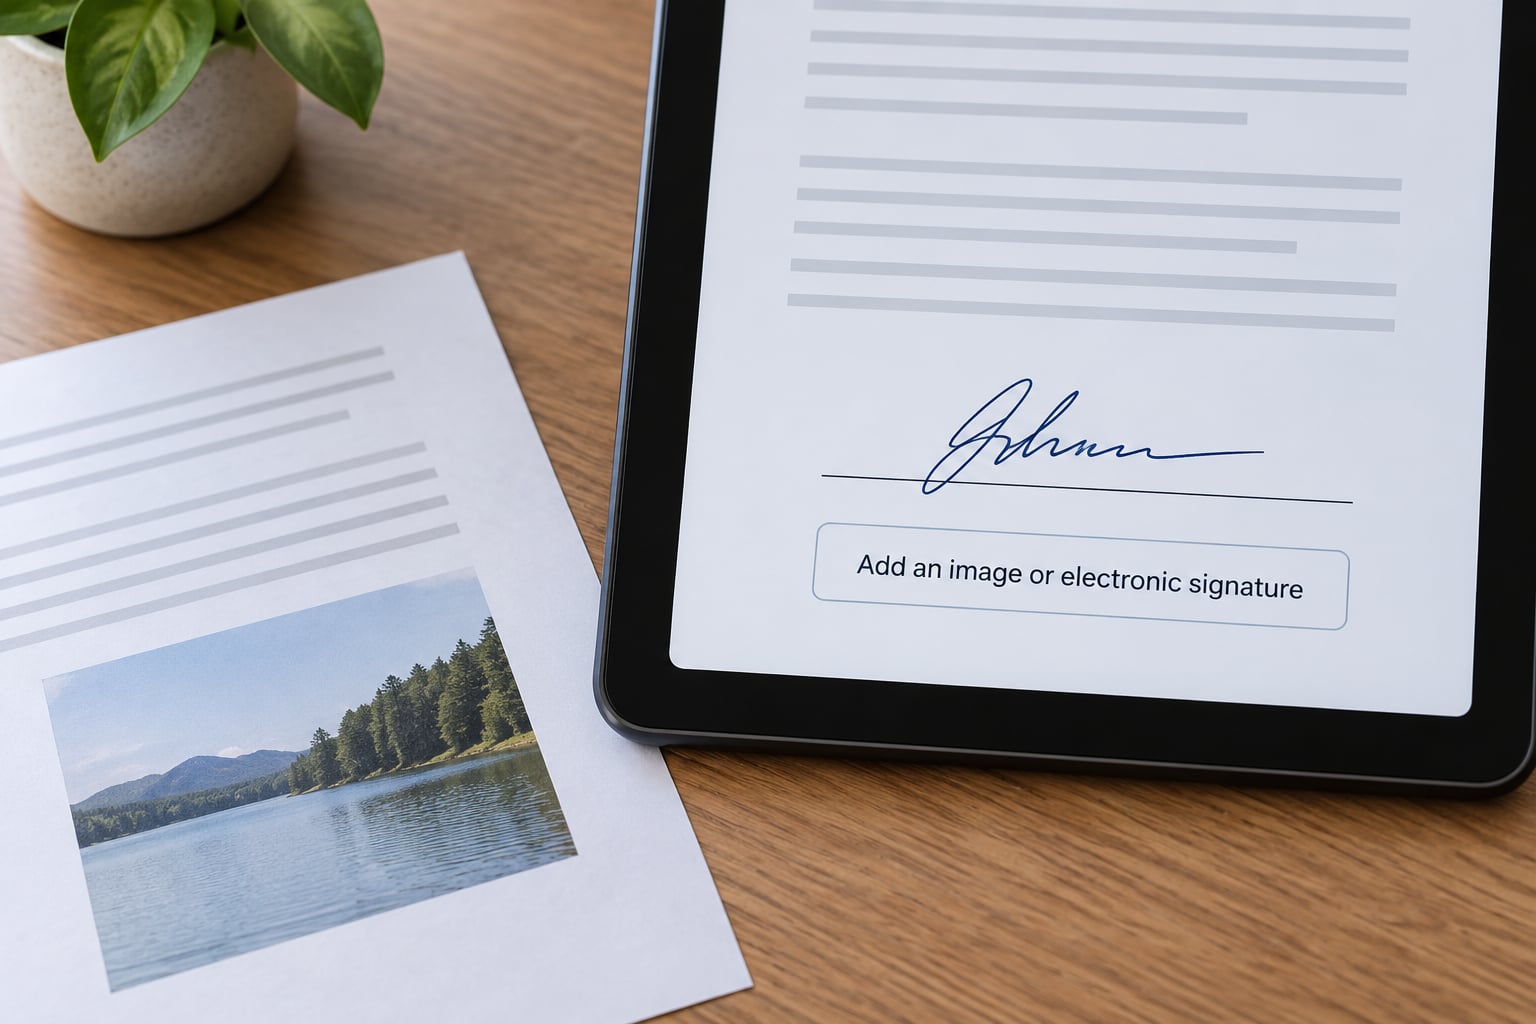
For an image, tap the image or photo icon in the ribbon, choose Add image, and pick a file from your gallery or take a fresh photo. The image lands on the page at full size, usually anchored centre-page.
Drag a corner handle to scale it, keeping one corner pinned so the aspect ratio holds and the photo doesn’t stretch. Then drag the middle to reposition it, and use a two-finger twist to rotate it slightly if the page is tilted.
If the image is the wrong way round, delete it and re-add it rotated from your gallery before placing it. Rotating after placement often clips the corners on a wide photo.
For a signature, tap Stamp in the ribbon and choose Add signature. You can type your name and pick a script font, or select Create and draw it with a finger or stylus in the signature box — the drawn version looks far more natural on a contract.
Once the signature exists it is stored in the app, so the second document you sign takes seconds. Place it on the signature line, resize it to about the height of the text above it, and move it until it sits centred on the line. Signatures exported at full size look wrong; drag the handles down before you finish.
Save, export, and share the edited PDF
This is the step that decides whether your work survives. Three options exist, and they are not interchangeable.
Save writes your changes back over the file you opened. The annotations are inside the PDF, the page count is right, and reopening the same file shows your edits. This is the one most people mean when they say the edit disappeared — they tapped something else.
Save a copy creates a new file, usually with “(edited)” or a numbered suffix in the name, and leaves the original alone. Use it whenever the PDF is a receipt, a contract someone else sent, or anything you might need to compare later.
Export writes the file somewhere else entirely — Downloads, Drive, email or a messaging app. Export is a delivery step, not a save. If you export to Downloads and don’t also save, you can end up with a stray copy and an unchanged original.
My rule: make a copy of the original first, edit the copy, then save. Two taps of extra work, and a lost edit stops being a disaster.
To share the finished file, tap Share from the save menu. Android’s share sheet lists Gmail, Drive, WhatsApp and Messages, and each one receives the PDF as an attachment. If the file is large, email clients may shrink or reject it — sending it through Drive as a link avoids that entirely.
Reopen the file after saving to confirm. Close the document fully, reopen it from Downloads, and check that your text boxes, highlights, signature and page order are all still there. If they are, the edit is genuinely in the file and will open the same way on a laptop or someone else’s phone.
Common Mistakes
The edit looked saved but vanished. You tapped Export or Share instead of Save, or you saved to a copy and then reopened the original. The fix: after any edit, tap Save explicitly, then close the app completely and reopen the file to verify.
Annotations are missing after reopening. This happens when the app was in read-only mode. Look for an edit or pencil icon that needs activating before you can draw — annotation tools are greyed out in view mode. Also confirm the PDF is not open as a read-only or protected document.
Formatting looks wrong after editing. The app converted the file to make the text editable, which flattens the original layout. Fonts, columns and images can shift slightly. The fix is to keep your additions small and boxed rather than reflowing whole paragraphs, which mobile editors handle badly.
A page got deleted by accident. Undo in the page menu often restores it if you have not left the document. If you have already saved, open the previous version — Google Drive keeps file history for files synced through it, and that is often the only way back.
Save fails with a storage error. The tablet is out of space, or the file is too large for the app to write. Check free storage in Settings, delete large downloads, and try again. Very large scanned documents also help when split into smaller files before editing.
The PDF only exists in the cloud. If the file lives in Drive or Dropbox and you edited the preview rather than a downloaded copy, your changes are trapped in the app. Make the edits, then use Save a copy to pull the file down to Downloads, and upload that copy back if you want the cloud version updated too.
Two habits prevent most of this. Work on a copy every time, and reopen the file once before you walk away from the tablet.
Frequently Asked Questions
Can I edit a PDF on my Android tablet without a stylus?
Yes. Every tool in this guide works with a fingertip. Highlighting, sticky notes, text boxes, page management and saved signatures are all tap or drag operations, and stored signatures can be created with a finger once and reused on every later document. A stylus only adds precision for freehand drawing, so it is worth having for marking up lecture slides, not for signing a form.
What is the best free app for editing PDFs on Android?
Adobe Acrobat Reader is the most dependable free starting point because annotations, text boxes, signatures and page tools work without a subscription and it saves back to the file you opened. Xodo and Foxit are better if you annotate heavily and want more control over drawing tools. Truly editing existing text inside a paragraph is the part most free apps keep behind a paid tier.
Why can I not edit my scanned PDF?
A scan is a picture of a page, not text, so there is no text layer to select and change. The editor has nothing to edit until it runs OCR, which reads the words out of the image and adds a selectable text layer underneath. Once OCR finishes you can highlight and place text boxes, though editing the original words is still limited. Scanning at 300 DPI gives the most accurate recognition.
Can I edit a PDF saved in Google Drive or Dropbox?
You can, but download it first. Editing inside the cloud preview often works in a temporary copy that never reaches your Files folder, so the changes appear to disappear. Open the file from Drive in your editor, make the changes, then use Save a copy to pull the finished PDF down to Downloads. Upload that copy back to Drive if you want the shared version updated.
How do I convert an edited PDF back to another file format?
Most Android editors convert out through their export or share menu, which offers Word, Excel, image and plain text options, sometimes only for paid accounts. A free route is to open the file in Google Docs, which imports PDFs as editable text you can then download in another format. Expect the layout to shift, since conversion rebuilds the document rather than translating it perfectly.
Conclusion
Start by copying the original. Save a duplicate to Downloads, open the copy in Adobe Acrobat Reader, and make one small edit — a single text box or your signature — before you touch anything else. Export or save, then reopen the file to confirm the change is really inside it. Once that loop feels normal, everything else in this guide is the same process with a different tool.